You are wanting to start out making DIY Homemade wood signs. Where do you start? We all start somewhere and it seems to be very confusing upfront. During my research when I was starting out, there are many things I wish I knew. However, over the journey of my wood sign business, I learned what I am good at and enjoyed.
When you are just beginning to create DIY Homemade wood carved and painted wood signs it can be overwhelming. Pick a purpose for the wood sign and start there. You will discover your niche and create many masterpieces. Don’t give up and experiment with different techniques until you find your specialty.
In this post, I will describe my journey to find my niche of DIY Homemade wood-carved signs. I started with what I had around the house from other projects or inexpensive solutions providing them to friends and family to get feedback. The secret is getting honest feedback, finding your comfort zone, and only do what you can afford. You don’t need to spend a lot of money to get started. It will grow faster than you think.
List Of Best Wood Signs For The Beginner
Making a DIY Homemade wood sign is not as hard as it may seem. If you have some basic tools around the garage or home you already have a head start. However, if you don’t have any tools around the garage or house, it will not prevent you from starting to create your wood signs.
Basic Tools For Wood Signs
As I researched the basic tools for creating DIY Homemade wood signs I came across many different levels of tools. Some of the tools have a lot of options and capabilities, while others were basic. To be honest it was very confusing and can be very expensive. The question was what are the basics? The answer is it depends on your budget, skill level and what kind of signs will you be making.
Most of the tools you will need don’t need to be expensive or fancy with a lot of options. What you need is the basics. Some folks look for the Harbor Freight ads or Craigslist. Others look to eBay or Facebook. Either way, you may go they will work, however, I’m betting you already have most if not all of what you will need to start making DIY Homemade wood signs.
How do I make wood signs and what DIY Homemade wood signs do I make? This question is not easily answered. My experience was I tested many techniques and ways to make DIY Homemade wood signs. My original goal was as a hobby but as I made more wood signs, I really enjoyed working with the wood signs I wanted to sell them.
I had several tools already from home projects but was missing a few. So I thought it would be beneficial to let you know the basics if you decide you want to start making DIY Homemade wood signs.
Basic List of Wood Sign Tools

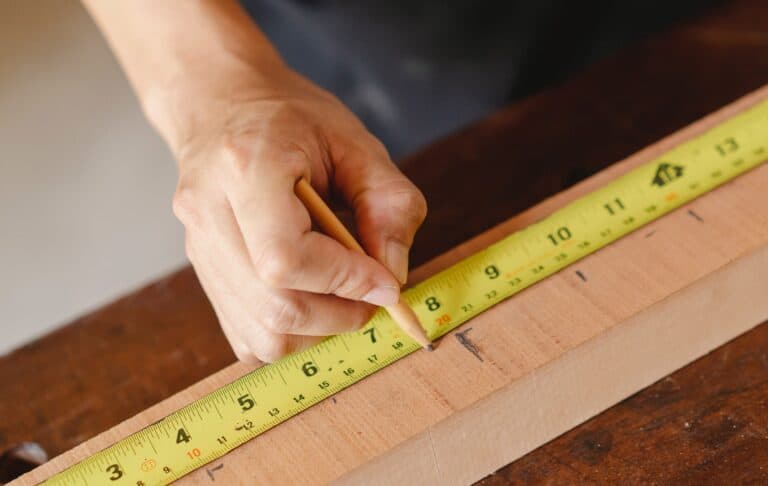
- Tape Measure – A tape measure is key to measuring and ensure all is equal in your wood signs. You may already have one in your garage or home, however if you need one they are very inexpensive.
- Sand paper – Sand paper is very important as it smooths the wood to accept stain or paint. Sand paper also creates your appearance such as distressed or rustic look very well if you like that type of DIY Homemade wood signs. If you would like more information regarding sand paper you can read our post – “Sanding 101 – For Wood Signs“
- Drill – A basic drill will work here. The purpose of the drill would be to drill pilot hols for putting in screws in the cross boards across the back for multiple board wood signs.
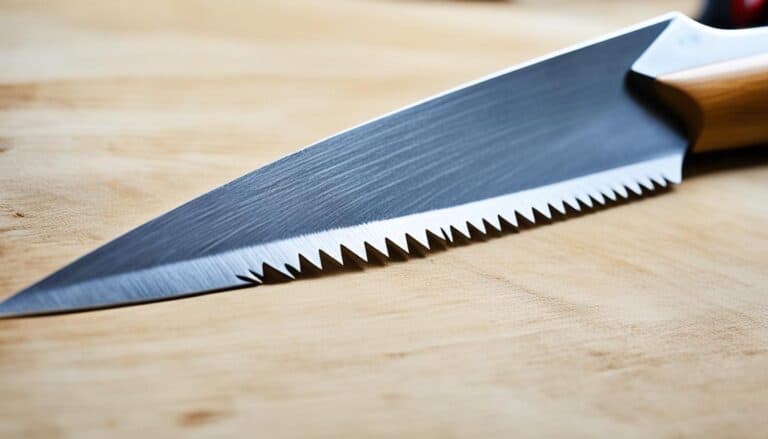
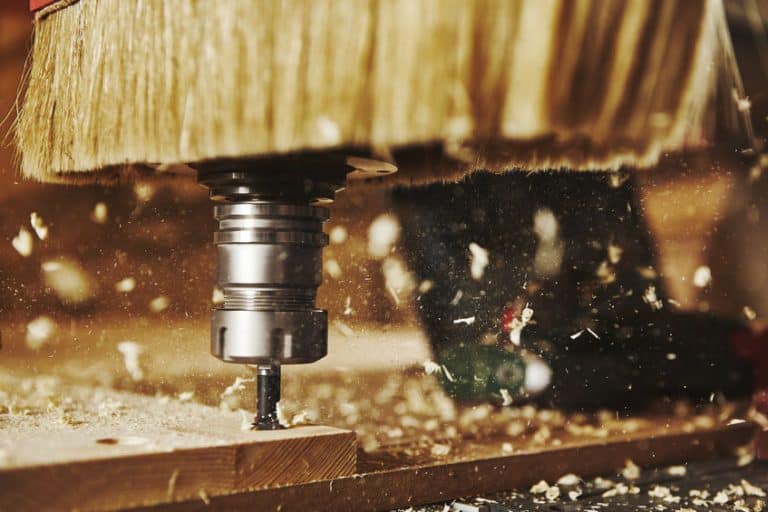
- Saw – There are many saws out there for cutting wood. A minimal hand saw will work if you are just starting out.
- Paint – If you are looking to paint your wood sign, most folks who start usually do you will need paint. There are many paints on the market for different applications, appearances and effects. If you want to know more information on paints you can read our post – “Down To Earth Way Of Painting Wood Signs“
- Paint Brushes – If you are on a tight budget a basic paint brush from your local hardware store will work. The cheap paint brushes will accomplish what you are going for however I would recommend you spend just a little more money here. A good paint brush does reflect in the paint job.
- Wood Glue – There are many wood glues on the market. For the purpose of basic bonding wood together Titebond III is a good glue. It works very well for several different types of wood, especially pine and it dries very quickly.
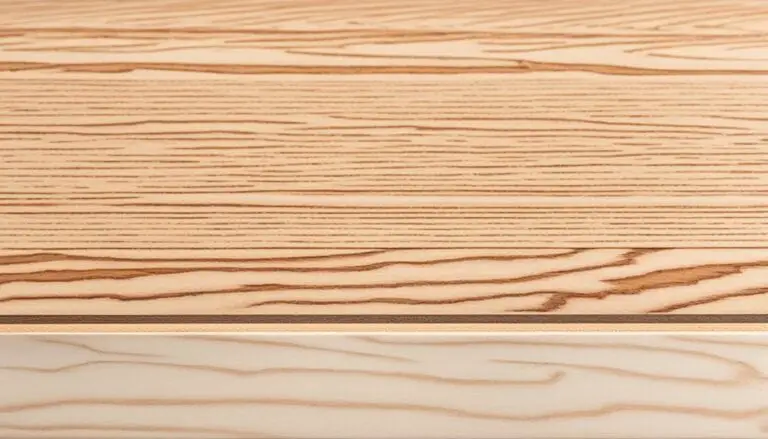
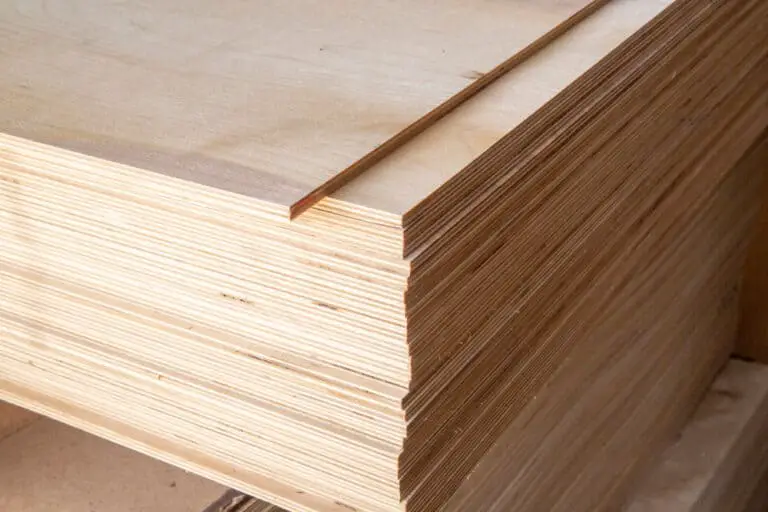
- Wood – This can be an expensive endeavor as there are a lot of different types of wood for wood sign projects. For the basic requirement I recommend pine or pallet wood. It is fairly cheap and sometimes free. If you would like to know more information on wood for your wood sign projects you can read my post – “What Is The Best Wood For Wood Signs?”
Extra Tools – The Next Level
I wanted to list some of the tools you can use if you have them already or have the budget and want to purchase. This tool list is not necessary but definitely helps as you progress in your wood sign journey.
Orbital Sander – An orbital sander is one of the best tools you can have to sand with different grits and techniques. It saves you lots of time and allows you to create many new projects. This is definitely top of a list of tools to have.
Paint Brush Rollers – If you have a big area to paint or a lot of backgrounds to paint a 9-inch roller should definitely be on your list. They are not that costly, especially on Amazon, and saves time and effort on your wood signs.
Miter Saw – A miter saw is quite a time saver in cutting boards for your wood signs. A fairly inexpensive miter saw can be invaluable. It is really quick in cutting boards, straight or at an angle. It will make your cutting very easy and should be considered as a tool.
Square – A square is essential to keeping things straight. I know when I draw a line it isn’t straight, so this has been very helpful. Additionally, a square will ensure your corners or at a perfect 90 degree. There are many uses for a square and they will be a great help for you.
Work Bench – A workbench is a great asset as well. Most folks, like myself, started doing projects in your home. With fumes, paint, and other safety concerns, like kids and animals, a good workbench in your garage or barn is the way to go. If you are not savvy to build one you can get them at your local hardware store.
If you would like to see what products I’m using and purchase you can see my recommended products here – “Recommended Products“
Great Wood Sign Projects To Get You Started
If you are just starting out I’m sure you are wondering where to start and what do I do. I know when I started I did a lot of searching on Youtube and Google to see what I could do with what I had around the house. What was going to be inexpensive and will I be any good at it.
If you have made a decision to start working on wood signs you have already overcome the biggest step. I really like working with wood and creating wood signs which impact many folks’ lives. Seeing the look on their face when they see the personalized wood sign makes it all worthwhile.
So you don’t have to go out and do hours and hours of research I wanted to provide you a few suggestions on how you can create some wood signs and get moving on your goal. Below I have listed several techniques which will help you with all the supplies listed above, for most items you may already have to get some great beginner wood signs made.
Homemade Stencil
It may seem overwhelming to think about stenciling a wood sign for a beginner, but it really isn’t and you can do this with the tools you already have at home. Below is a list to complete a homemade stencil wood sign.
- Take your wood board and cut to size and sand (Pine or Pallet wood works very well) – suggested size would be 20 wide x 18 tall.
- Lay them flat and align all together putting with smooth lines on the sides.
- Take two small 1 inch x 2 inch boards and place cross ways on the back approximately 4 inches in on each side along the width of the boards aligned.
- Using a drill – drill pilot holes approximately 3 inches from the top and bottom with a small bit.
- Place wood glue on the side which is going to be placed against the aligned wood boards and then drill in screws into the pilot holes to hold the braces on the back.
- Flip the board over and show the flat side up – This will be your place for your stencil.
- Ensure you have a clean surface on the front by sanding again and then cleaning with a clean cloth.
- Paint or Stain the front of the board with the color or stain of your choice.
- Using your computer, create your design. If you don’t have a word processing application you can use the Google apps. (Search Google Docs) You can get ideas from friends, family, a specific purpose such as a wedding, event, anniversary or welcome with the font you choose.
- Print your design out on a printer. If you don’t have a computer or printer you can use a friend or family members or go to you local library to use theirs as a suggestion.
- Place the printed paper on the front of the wood sign to your desire. Use a painter’s tap preferably or any tape you may have to hold in place.
- Take a knife or razor and cut out the lettering or image you want to paint.
- Paint in your lettering or image with a small brush or sponge applicator being careful not put too much paint. Use a tapping motion to paint.
You are done! This is a basic stencil sign which you have created for your family, friend, or client.
To better give you a picture of how to perform this I have included a video with provides an excellent example.
Hand Painted
Hand-painted signs can sound very difficult. When I was researching hand-painted signs I didn’t know how they got done so well and how they got so many different fonts done. I know that I am not an artist at all and don’t have the gift. So I was intimidated by the thought.
I was really taken aback by the technique of creating hand painted wood signs. It wasn’t that difficult at all and actually was pretty easy. Below I have listed the steps you need to hand paint your wood signs.
- Take your wood and cut to size. Most of your hand painted signs in general are 20 wide x 18 tall.
- Lay them flat and align all together putting with smooth lines on the sides.
- Take two small 1 inch x 2 inch boards and place cross ways on the back approximately 4 inches in on each side along the width of the boards aligned.
- Using a drill – drill pilot holes approximately 3 inches from the top and bottom with a small bit.
- Place wood glue on the side which is going to be placed against the aligned wood boards and then drill in screws into the pilot holes to hold the braces on the back.
- Flip the board over and show the flat side up – This will be your place for your stencil.
- (Optional) On the side of the wood sign without the support planks, paint your wood sign a solid color to provide a background. You can also stain your wood sign to provide a different type of background. Lastly, you can leave without paint or stain and go all natural wood which is appealing as well.
- Using your computer, create your design. If you don’t have a word processing application you can use the Google apps. (Search Google Docs) You can get ideas from friends, family, a specific purpose such as a wedding, event, anniversary or welcome with the font you choose.
- Print your design out on a printer. If you don’t have a computer or printer you can use a friend or family members or go to you local library to use theirs as a suggestion.
- Place the printed paper on the front of the wood sign to your desire. Use a painter’s tap preferably or any tape you may have to hold in place.
- Flip over the paper, using a pencil scratch a wide, about a 2 inch wide scratch, line around the edge of each letter or image. The purpose of scratching the back side is you will use this to transfer to the wood sign.
- Turn the paper back over to the front of the paper where your print is and place on the wood sign where you want your image or lettering. Secure with tape so it doesn’t move.
- Using a pencil outline each letter and/or image. You may need to perform this twice.
- Peel back one side only and look at the transfer on the wood to ensure that it has transferred to the wood sign properly. (Only releasing one side allows you to lay back down and continue without losing your place)
- Get your paint out that you are wanting to use and get ready to paint your wood sign. Looking at the lines on the wood you can paint inside the lines, one the lines or outside of the lines; it depends on the look you are going for.
- You will want to paint several coats to ensure you get good coverage.
- Take a exacto, razor blade or putty knife and clear the edges which need fixing.
- (Optional) – If you want to put a sealer on you can use a aerosol spray of polyurethane which will protect it and provide a very nice sheen. (Please note if you want to use this as an outdoor sign you will need to seal with a better sealer. If you want to know more about sealing your wood sign you can read our post – “How Do You Seal Your Wood Sign?”
Below I have included a video for your information that shows this technique very well.
Creating DIY homemade wood signs can seem like a daunting task. It really comes down to basics and using the tools and supplies you may already have around the house. This allows you to create your DIY Homemade wood sign for your family member, friend, or client which they will remember for a lifetime.
If you like the information provided please ensure you Pin the below for this article to Pinterest and also follow me on Pinterest