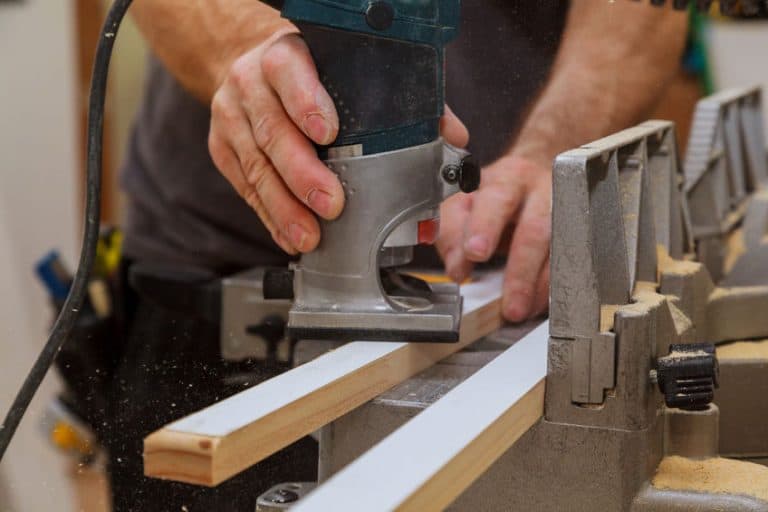
We all use tape measures for one reason or another, but do we really know how to use a tape measure. Most of us just use the numbers displayed, but what are the tape measure marks on various types of tape measures and how do we use them and will they help us. I wondered the same as I have been using a tape measure for woodworking in my wood shop for years, but never really knew what all the capabilities the tape measure offers.
Most tape measures use imperial (On Top) and metric measuring marks (On Bottom). The biggest mark is the inch mark with a number and then the next biggest mark is the half-inch (1/2 inch). The next smallest marks are quarters (1/4 inch), then down to eighth (1/8th) measurements. They also typically include red boxes for marking every 16 inches to assist in the construction of studs in a wall.
Although there are a lot of different types of tape measures on the market today they all offer the simplest solution to measuring your wood project. But to really take your tape measuring experience to the next level you need to know more about the tape measure you use every day. This will save you time and effort and you may be surprised to know the tape measure was created with the woodworker in mind.
How To Read Tape Measure Marks
As you know a tape measure is basically a flexible ruler. They can be made in materials such as cloth, plastic, or metal. Most of the tape measures used in a wood shop are metal. They have different intervals of measurement whether you use the Imperial tape measure or Metric tape measure systems (Some include both). It usually is self-retracting and will roll up inside of a small box for easy storage and use.
If you go to your big box stores or hardware you will notice they come in different lengths. Generally, you will see 12 feet or 25 feet, however, on occasion, you will find them even up to 100 feet long. These are of course purpose-driven so you can use them for whatever wood projects you will encounter.
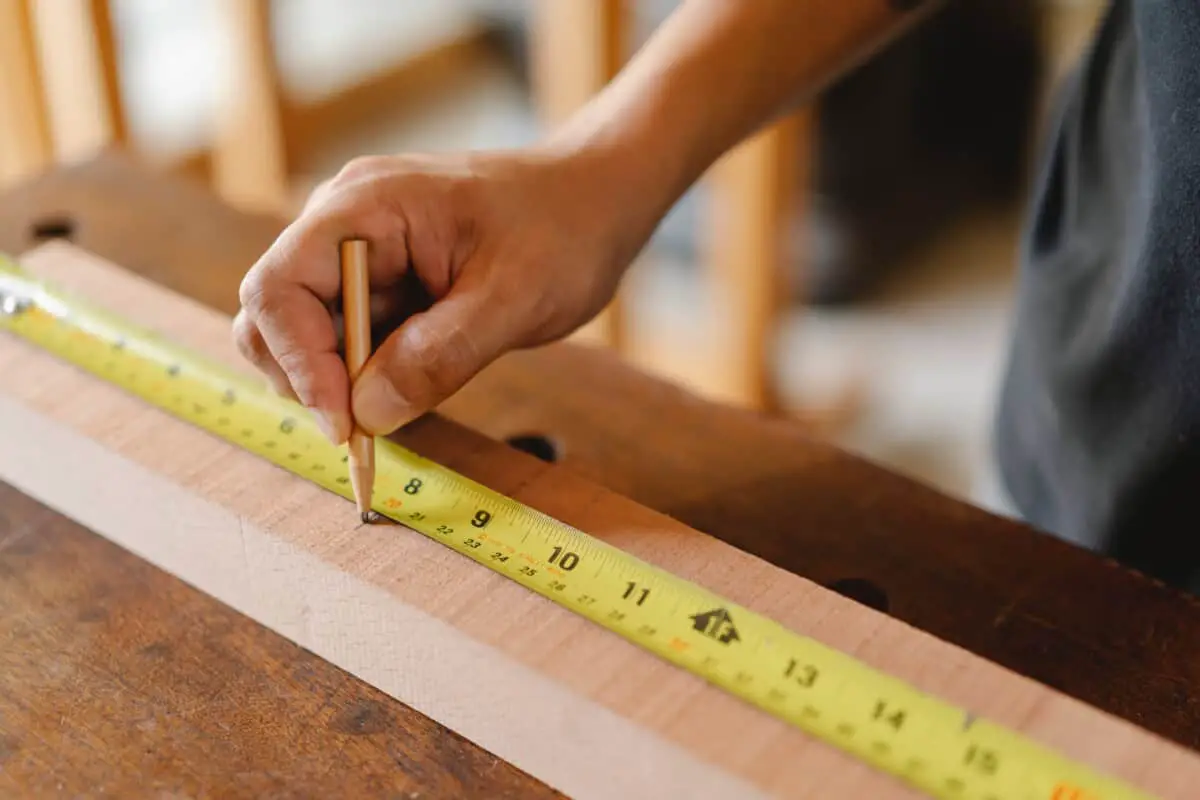
The typical tape measure utilizes tape measure markings to identify measurements. These marks sometimes have the measurement labeled with them which makes it a lot easier to read. However, if you don’t have the marks labeled the measurement marks are easy to identify. Let’s look at some detail to help you read your tape measure.

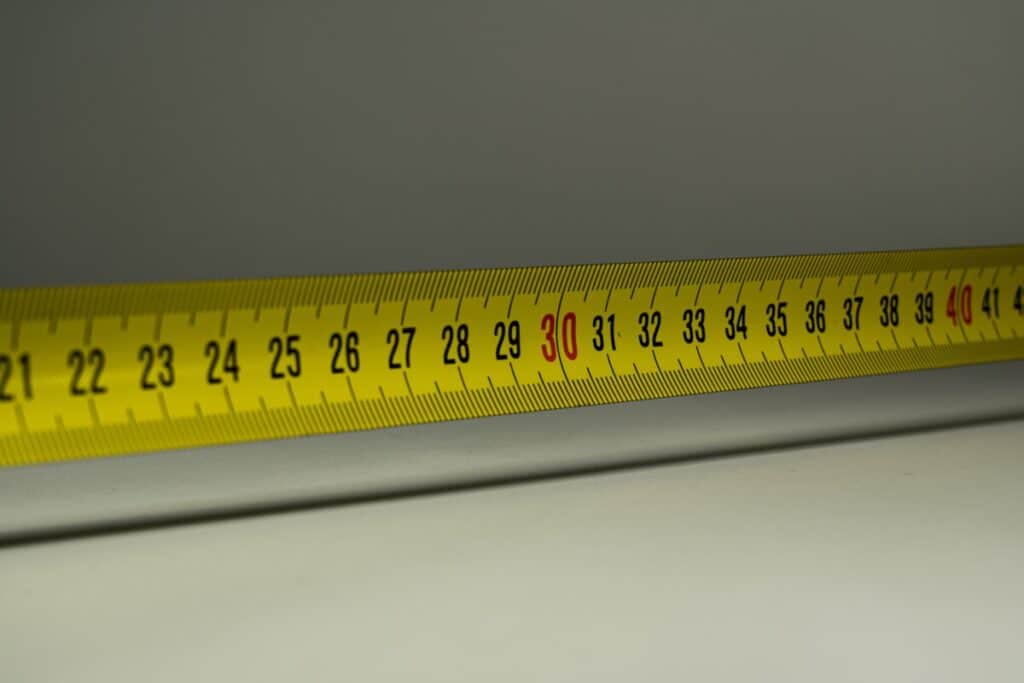
When you look at a typical tape measure you will see big numbers representing inches. Within each of these, you will see 16 lines or marks which represent 1/8th form of measurement.
- 1/2 – Within an inch, there are two halves. The middles line represents the 1/2 inch measurement and is typically the largest mark.
- 1/4 – Each inch is also broken down into 4 equal measurements of 1/4 with 4 marks. This would be the next smallest line or mark you see with the large numbers representing the inch. Two-quarter inches equal one-half inch. You will have 1/4″ or 3/4.
- 1/8 – There are 8 marks which are the next step smaller in size which represents the 1/8th mark. You will have 1/8″, 3/8″, 5/8″, 7/8″.
- 1/16 – The last one is the 1/16th mark. There are 16 of them and they are the smallest mark. You will have 1/16″, 3/16″, 5/16″, 7/16″, 9/16″, 11/16″, 13/16″, 15/16″.
The last one and believe it or not the one most used is the foot marker. This is typically represented by a block or arrow over the 12 inches, 24 inches, and so on the number. This makes it extremely easy to see the foot marker and use it when you are measuring your wood projects.
Tape Measure Secrets And Features You Don’t See
We all want to know secrets and that extra information which will make our use of time more efficient. There are many things we look at every day on a tape measure which we typically don’t pay much attention to but they will save you time and effort. Let’s look at a few items on your tape measure you don’t notice.
Slot For Holding

When you look at the end of the tape measure you will see a slot that has been cut out of the end. Have you ever wondered about what that slot is for? This slot is used typically when you are by yourself measuring, for example, a piece of wood for cutting, and you are unable to hold the tape measure steady.
Using a screw or a nail to mark the start of your measure you put the slot over the tip of the nail or screw and then pull the tape measure to make your measurement.
This is extremely easy to use and will assist you when you are by yourself or have an extremely long measurement to make and want the accuracy of the measurement.
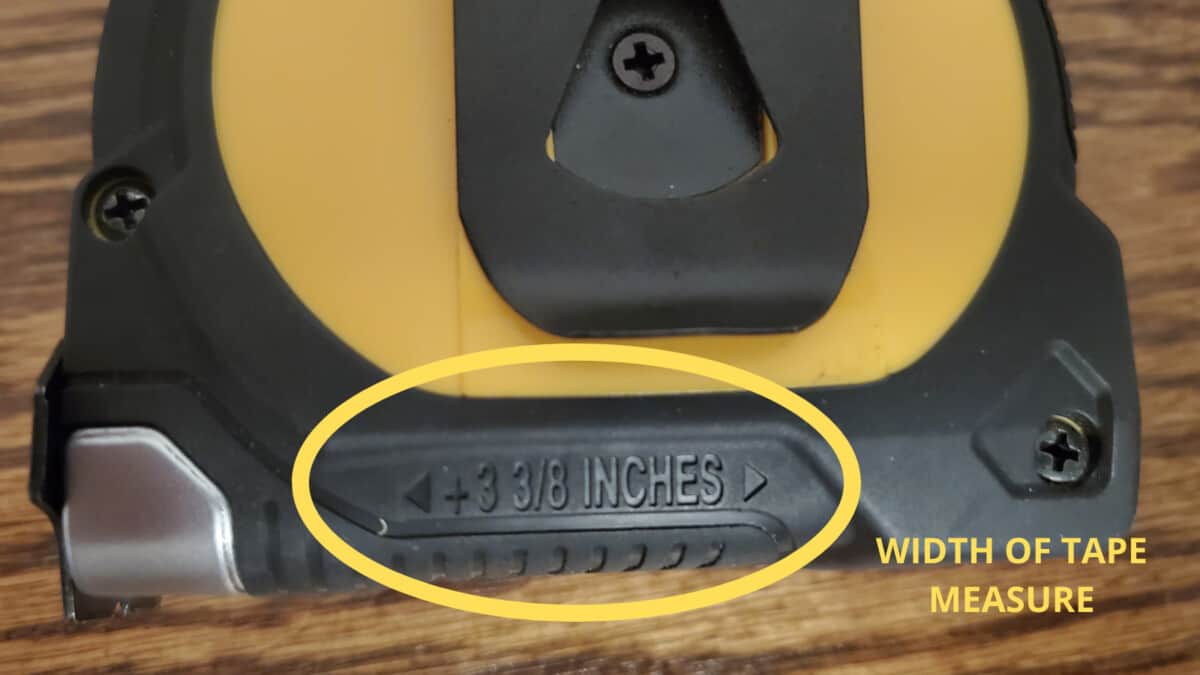
Tape Measure Case Width
On most of your tape measures if you were to look on the back and bottom they will have the width of the tape measure unit itself. The one represented in this picture for example is 3 3/8 inches.
If you are in a tight spot for measuring this comes in very handy. By extending the tape on your tape measure and then placing the tape measure unit against a flat surface you can accurately determine the length.
This comes in very useful, especially when you don’t want to rely on bending the tape measure roll and estimate what your measurement will be.
The Tape Catch (Moves 1/16 Of An Inch)
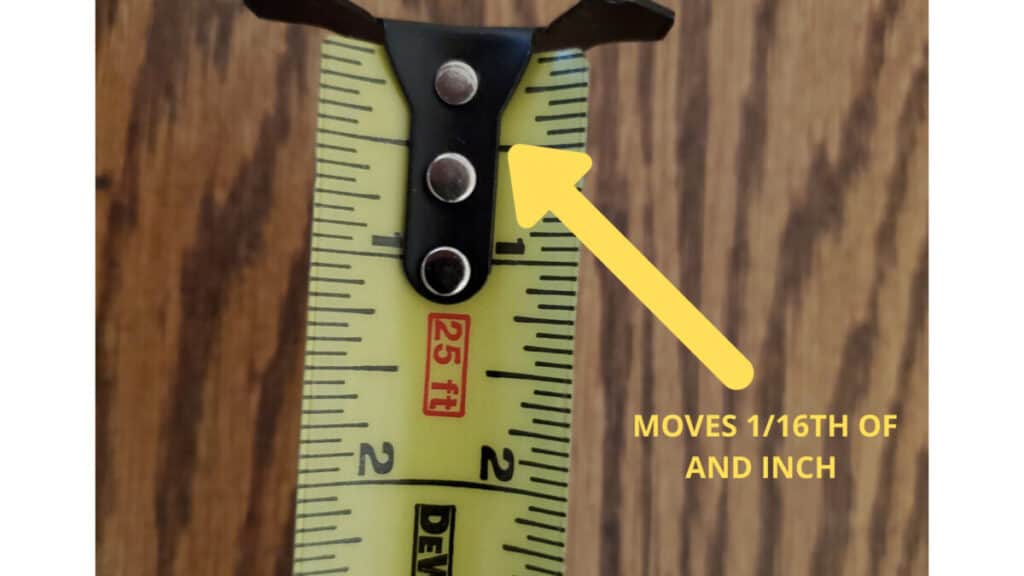
We all have seen the end of the tape measure and also seen how the end moves. To be honest, when I first saw this I thought it was broken because it moved.
Actually, it is intentional for it to move. When you measure and press the end of the tape measure against a surface it moves in 1/16th of an inch to ensure accuracy.
Then when you pull on it to measure it moves out 1/16th of an inch to provide an accurate measurement.
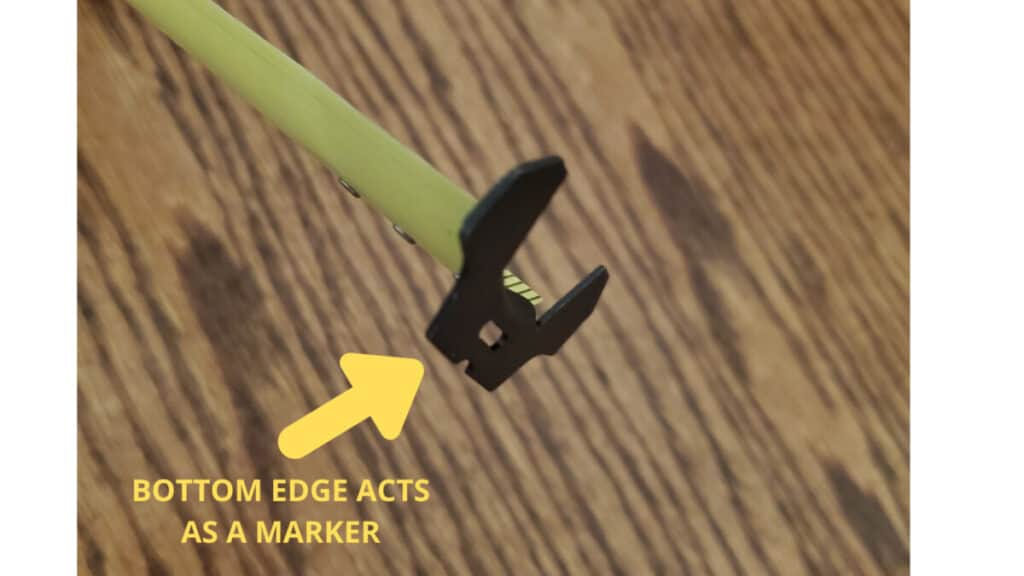
Using Tape Measure End As A Marker
We have all gone to measure something and don’t have a pencil or marker to mark our cut. But don’t want to lose our position on the tape measure.
If that is the case you can use the bottom edge of the end of the tape measure as a marker. It won’t place an ink mark but will mark the wood for you so you can see your measurement.
This has saved me many times and it works very well, especially in those moments when you forget your pencil or marker.
Red Block For 16 Inch Increments (Framing)
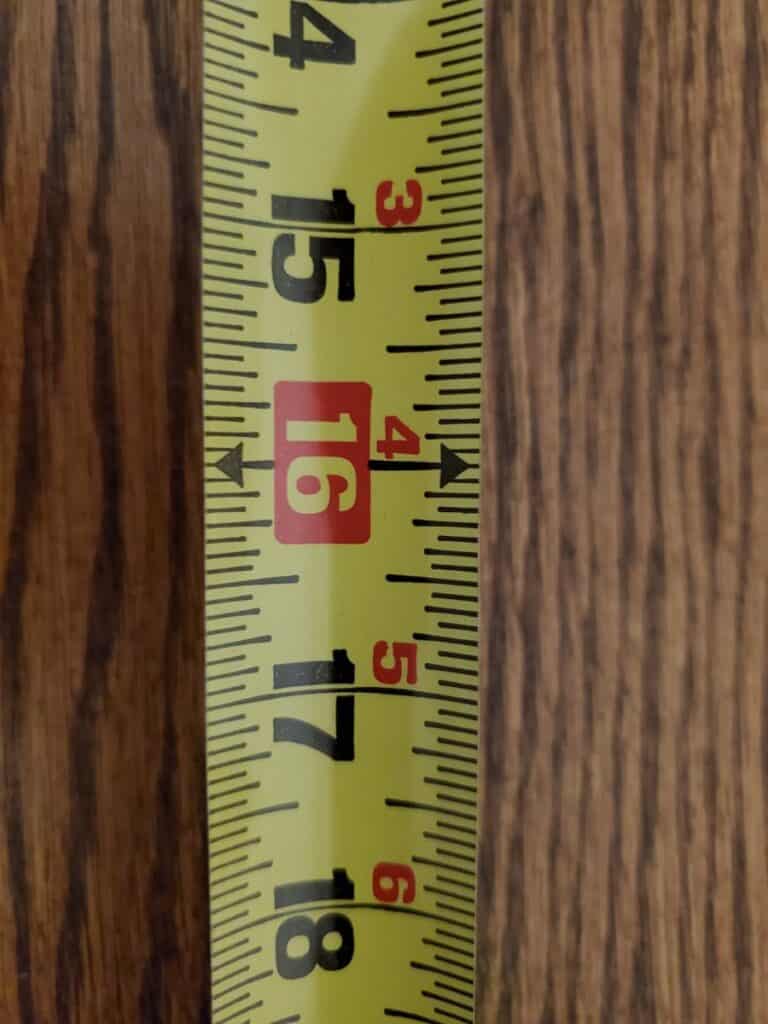
Looking at the tape measure we always see markers in red. Some of them make sense and some of them don’t. We typically see the measurement increments of 16, 32, etc. on the tape measure.
These red markers in increments of 16 are used mostly by construction workers to mark off stud placement. As they create walls for the building they are working on, this feature really helps by laying out the tape measure on the ground with the bottom and top plats of the wall for marking out stud placement.
This marker really helps with time and makes it easier for them to get the studs placed correctly and accurately. This is another great feature of the typical tape measure.
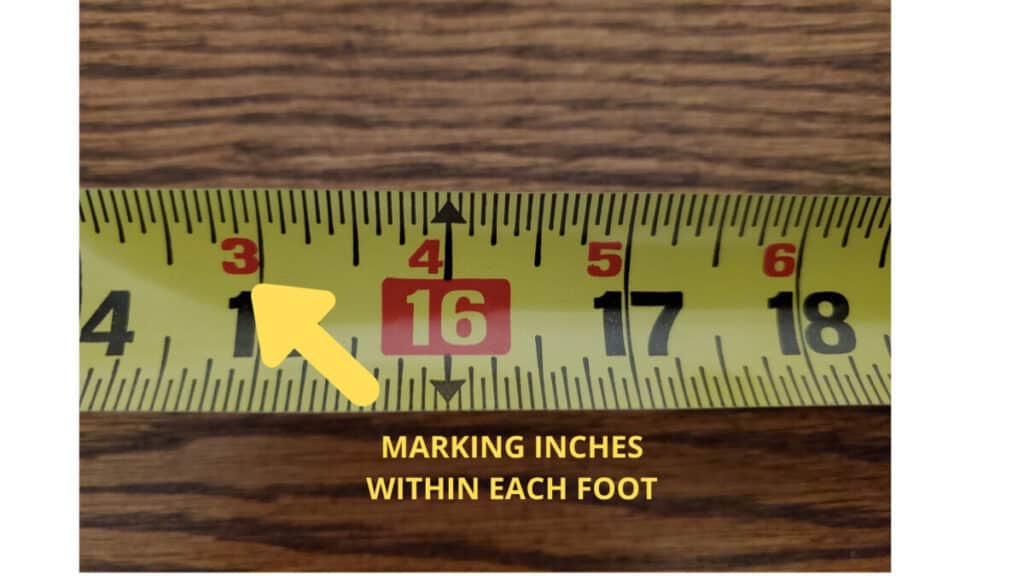
Inch Marks Within The Foot Marker
Another mark that is typically in the color of red is the inch marker within each foot marked with a black block or arrow.
This really helps to make quick measurements with your tape measure at a glance. Especially if you are working with longer lengths of wood material.
Not all of your tape measures have this feature. But if you are looking to get a new one this is a great feature and will definitely save you time with quick measurements.
Each of these features will really enhance your tape measuring capabilities and also save you lots of time. The majority of your tape manufacturers include a lot of these features and some include more. If you are in the market for a new tape measure or just want to get a new tape measure with these features take a look below at our recommendation.
Recommended Tape Measure For Woodworking And Your Wood Shop
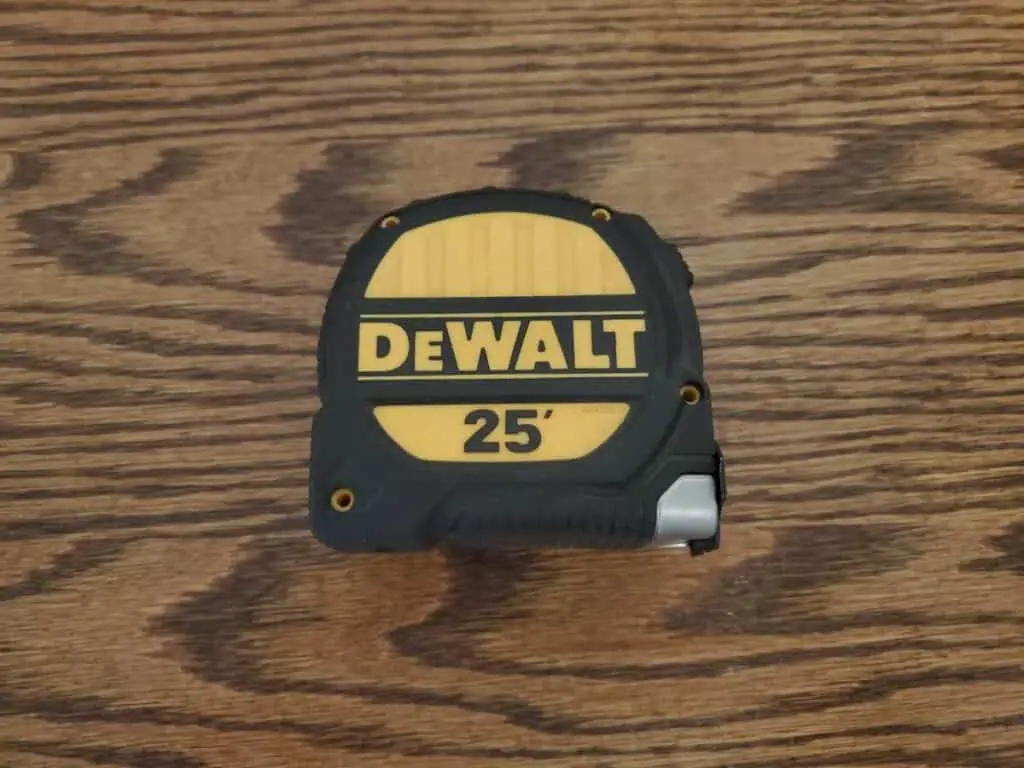
DEWALT DWHT33975L 25′ Metal Impact Polyester Coated 1-1/4″ Tape Rule
- Reinforced Housing and Metal Impact Plate for Blade Hook protection and longer life
- 13′ Blade standout to Increase user reach
- 3M Heavy Duty Thermoplastic Coating to maximize Blade Life and to help reduce Blade Breakages
- Mylar Polyester Coaching for Long Blade Life
Highly recommend this tape measure as it has served me very well and includes all of the features I mentioned above. If you are wanting to purchase this tape measure you can get it from Amazon here.
Common Questions About Tape Measure Marks
How To Read A Measuring Tape In Inches
When you look at a tape measure that uses the Imperial system it comes with the capability of measuring in inches. The ease of use of measuring in inches is marked by bold numbers that allow you to easily identify where an inch is.
Typically when you look at a tape measure each mark for an inch is labeled with a bold number. They also typically have a line that crosses the entire tape from top to bottom. They can be in either red or black. To accurately measure an inch you will want to utilize the long line next to the number and not the number itself.
For the 1/2 half-inch measurement, you will want to use the large mark between the two-inch markers. It is centered directly between them making it extremely easy to use.
For the 1/4 inch measurement, you will want to use the next smaller marks. There will be two marks which you will use in conjunction with the half for four quarters.
Additionally, as you use the inch numbers reflected on the tape measure you will notice typically a black or red box around every 12 inches. This reflects the measurement of a foot. Each foot will be marked starting with 1 foot and then 2 and so on. Utilize this marking for referencing your measurement of a foot. This makes it very easy to use and also see. Note this may be different and vary between different makers of the tape measure you purchase.
What Is The Black Diamond On Measuring Tape
This is a question that is asked quite a bit – What Is The Black Diamond On Measuring Tape. There are many marks on the tape measure and one of them is the black diamond. This is a specialty mark used to match the spacing for I-beam timbers (a substitute for solid material floor joists).
The Black Diamond On Measuring Tape is marked every 19 3/16 inches and is used for spacing these engineered floor joists when there is new construction.
Why Is 16 Inches Marked On A Tape Measure
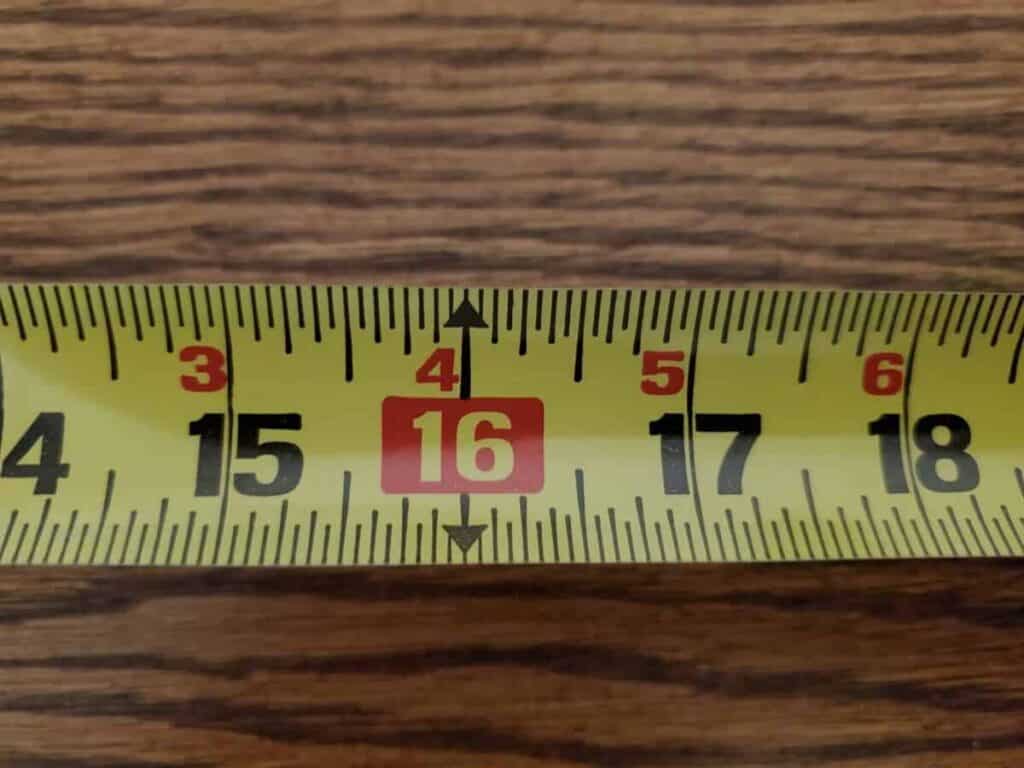
When you look at the many marks on your tape measure you will notice a red box around the number 16. The red box around the 16 is used in the construction of studs on a wall. Actually, the red box is marked on the tape measure every 16 inches, (16, 32, etc.) which assists in the construction of the studs in a wall.
The key here is to notice that you would stretch the tape measure out and then use the marks with 16 inches on the center and layout your studs. It is a great tool and makes it extremely easy to place the studs saving you time and effort.