Wood sign cracks are unattractive and frustrating. You spend a lot of time and effort on your wood sign, designing and creating, to have a wood sign crack form which basically destroys your effort. Whether a crack is there in the beginning, during, or after your wood sign creation, I wanted to explore how to repair and maintain your wood sign to give you confidence it will be fixed.
There are several methods to prevent and fix wood sign cracks of various sizes. Wood putty is the most popular way to fix wood sign cracks. I prefer the use of glue and sawdust to create a more invisible appearance. For larger cracks, an epoxy resin is a great solution.
What are Wood Sign Cracks
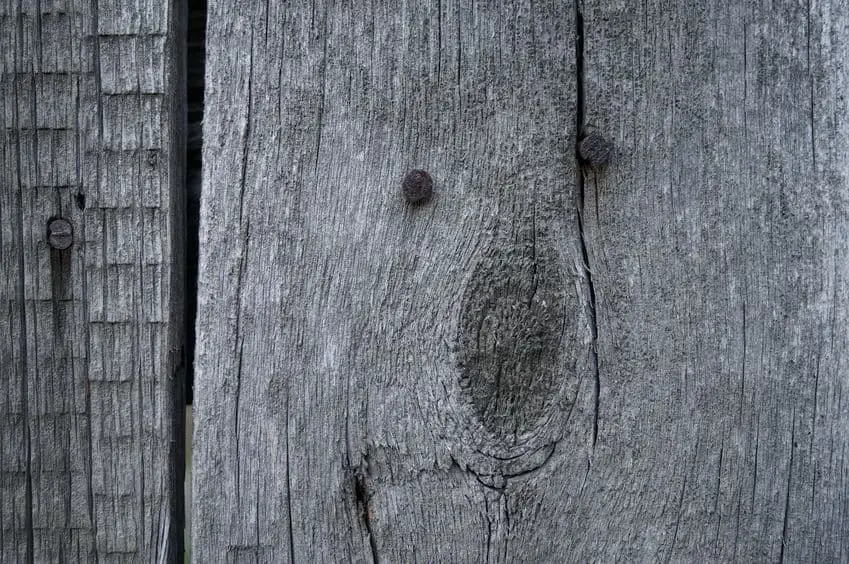
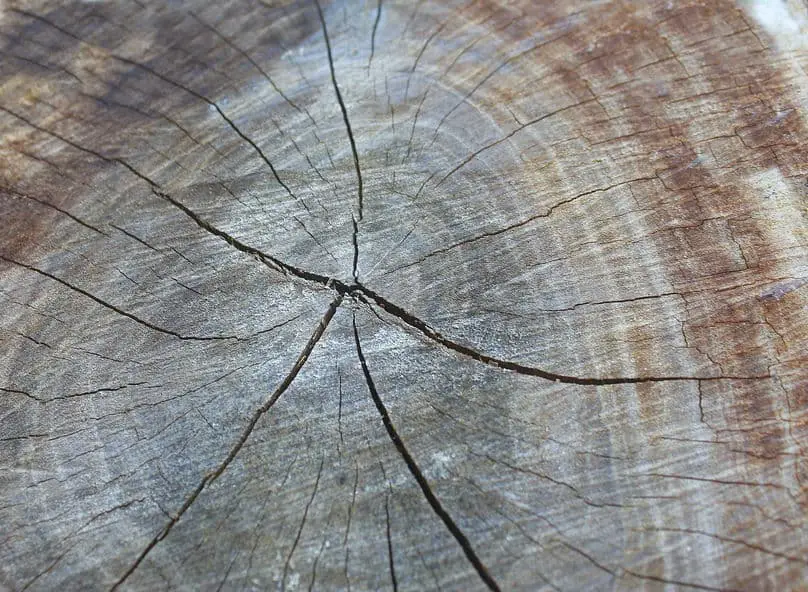
Cracks that form in wood signs are fractures and spaces which are between the grain of the wood which changes the appearance of the face of the wood sign. Some of these cracks are small and some of them are very big. They start very small and continue along the grain sometimes from one end of the wood to the other.
The wood for your wood sign will continue to crack if you don’t stabilize it. Cracks in the wood sign weaken the board taking away the strength along the grain and creating a possible break of the wood sign along the crack. Either by bumping or dropping the wood sign it can split the sign destroying your creation.
How to Identify Wood Sign Cracks
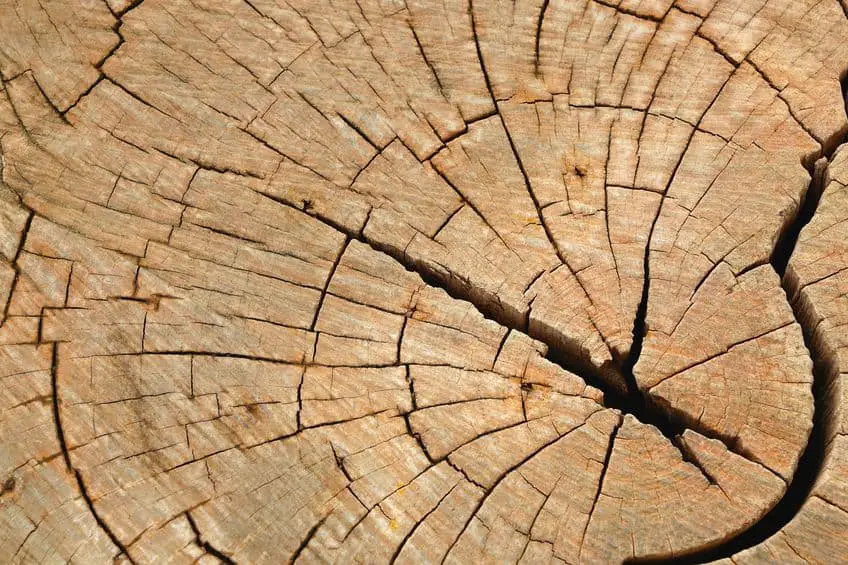
Cracks and splits are known as “Checks”. Some of them can be seen and some of them can not be seen. The checks are created by the consistent shrinking as it dries. Wood typically dries more along with the growth rings than it does across the growth rings. The drying is what causes the checks to be created.
There are different types of cracks and splits. Wood is an organic material and cracks and splitting is normal.
- Shakes – Shakes are separation of grains lengthwise in the wood. Some of the shakes a will go half way through the wood and others will be a “Through Shake” which will traverse the complete length of the wood. Shakes are natural when the tree is growing. It is thought to be caused by bacterium which enters the tree from the roots and not the stem of the tree.
- Checks – Checks are normal separations which happen in wood around the rings of growth. They occur when the force of the drying exceeds the strength of the wood to absorb the force. Most of the force is developed in the outer wood surrounding the still moist core.
- End Checks – End Checks are crack and splits which occur at the end of the wood board. The reason end checks occur is because the edges of the wood board dries quicker than the internal parts of the wood board. This quick drying causes stress which the end of the board cannot handle causing the end checks.
- Splits – Splits are gaps to an adjoining surface due to force ripping wood cells apart. It is believed that splits are mostly caused by a drying process such as drying Kilns.
- Roller Splits – Roller Splits are caused by warped or cupped wood rolling through flattening machines causing a split where the wood is being forced against the shape it has mostly dried.
- End Splits – End Splits are caused by natural stresses by the tree when growing not by a drying affect such as drying Kilns.
Why do Wood Sign Cracks Happen
It is almost impossible to predict where and when a wood sign would crack or split, some are visible and some are internal and not visible. Wood for wood signs is always moving and shrinking due to the amount of moisture and humidity which causes the wood to swell, warp or shrink.
What Conditions Cause Wood Sign Cracks
The cause of wood sign cracks is from several different situations. Although totally impossible to predict we do have known areas we can see which impact the wood for wood signs to crack.
Natural – Natural occurrences at the site of the wood such as bacteria, tree wounds, tree age, and chemical composition. Additionally, environmental aspects affect tree wood greatly. It should be considered as a cause for wood cracks and splitting.
Lumber Cutting – Machines that cut the lumber loosen the grain at the growth ring. Dull blades and pounding of the lumber when processed. Additionally, cracks and splits occur from a leveling machine if a piece of wood for your wood sign has a little or large warp, cup, or bow in it.
Drying – Operator or the machine drying the wood. Monitoring the moisture is key to this process. Depending on the amount of moisture in the wood when it is put in the Kiln it can take a long time to dry down to the average 6% of dryness you desire for best-case wood sign projects. These types of splits and cracks to wood can create internal honeycomb or end splits.
Conversely, you may want to have cracks in your wood sign which compliments the look you are going for, such as distressed, farmhouse, or rustic signs. There are ways, such as epoxy resin, in which you may want to keep the crack to add to the appeal of your wood sign.
Do Wood Sign Cracks Spread
If not treated with a good solution yes cracks for your wood signs will continue to spread. Especially if you have a high moisture environment or an environment with is extremely dry. The key to cracks spreading is to provide a good solution to stop the crack.
Whether or not you have an older sign or are creating a new sign there are several things you can do to stop a crack. However, beware of the cracks you don’t see internal to the wood sign. These are the hidden cracks that exist in the honeycombs.
Moisture Content In Wood Signs
How important is the moisture level in your wood sign? First, we need to understand what moisture in your wood for wood signs is. The impact of moisture in your wood sign determines the risk of cracking. You can measure the moisture of the wood you use for wood signs with a moisture meter.
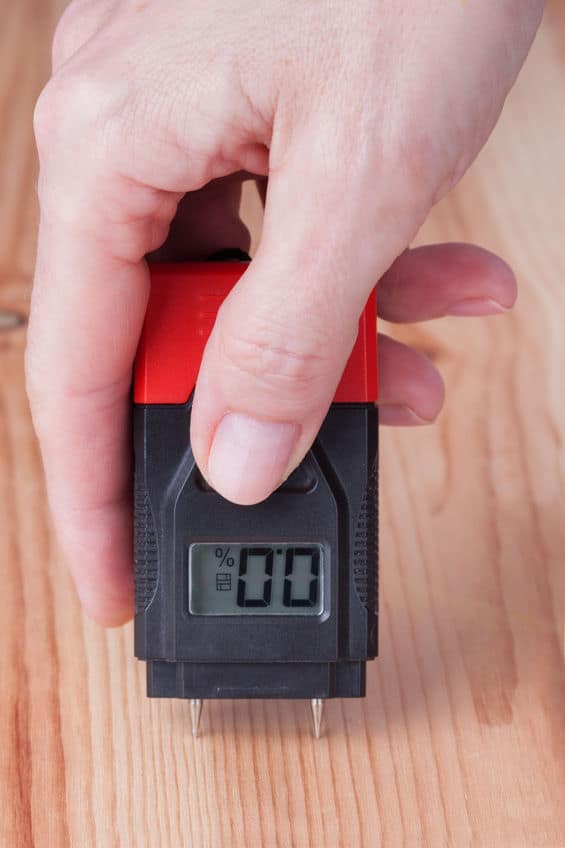
A moisture meter can be purchased at your local hardware store and typically has two prongs that you place against the wood which produces a measurement to gauge the amount of moisture.
- Measures wood sensitivity usually with 99.9% accuracy
- Switches between approximately 50 species of wood
- Typically has a large LCD to display the moisture level
It is said that wood is Hygroscopic, which means wood gains or loses water moisture in reference to its environment. This is important to know as the amount of moisture will impact the wood sign project you create. The higher the moisture level the more risk of your wood for your wood sign warping, cracking, or other problems.
Moisture Levels
| Humidity Level Environment | Typical Moisture Content Of Wood |
| 19%-25% | 5% |
| 26%-32% | 6% |
| 33%-39% | 7% |
| 40%-46% | 8% |
| 47%-52% | 9% |
It is important to know the best scenario for your wood sign is 6%. This is the optimal amount of moisture for creating wood signs. If you are able to achieve your goal of 6% your risk of warping, cracking, or other challenges decreases.
If you would like to see what products I’m using and purchase you can see my recommended products here – “Recommended Products“
Removing Moisture From Wood For Wood Signs
What are the options for removing moisture from wood? Below are a couple of options for you to consider.
Heat Kiln Drying – Heat Kiln Drying is typically done at the wood mills and is a very technical process. This technique requires experience. This experience allows them to reduce the moisture content of the wood for your wood signs.
Heat Kiln Drying is the process of separating the wood by placing small pieces of wood to separate each stacked piece of wood. It is placed into a large box where the air is circulated to reduce the moisture content of the wood.
Air Drying Kiln – An Air Drying Kiln is where wood is stacked the same as the Heat Kiln, however not placed into a box with heated air circulated, but placed outside to let naturally dry. The downside to this process is it sometimes takes months for this procedure. (On average wood dries about 1 inch per year)
It should be known that Kiln drying is not permanent. Since wood is Hygroscopic, it will take on the moisture level of its environment. So although your wood for your wood sign has been dried at the mill it can regain moisture during storage, transportation, and while you store them in your area prior to prepping for your wood sign.
Can You Prevent Repair Wood Sign Checking – Cracks
There are many methods I have found to prevent and repair checking – cracks in your wood for your wood sign. It really comes down to the application and purpose, more specifically the size of the crack. I will go over several techniques which may work for your prevention and repair.
Preventing Wood Checking – Cracks For Wood Signs
As mentioned above cracks or splits occur either by the natural, milling, or drying phases prior to you getting your wood for your wood sign. Unfortunately, you have little control over those processes unless you are Milling your own wood. What I wanted to concentrate on was how to prevent the wood cracks or splits after you receive your wood for your wood sign.
There are several popular methods I have discovered and will list them below.
- Painting The End Grains – It is thought that painting the end grains of your wood for your wood signs will help prevent cracking or splitting on the ends of the wood. Since the ends of the wood are the most vulnerable to cracking or splitting this is a known technique. You can use any form of Latex paint or commercial grade paint.
- Waxing The End Grain – Waxing the end grain of your wood is a trite and true method of sealing and preventing cracks or splitting of the ends of your wood for your wood sign. Using a parrafin wax, melt it in a pot on the stove till you have a liquid substance. Then take the end grain of the wood (Depending on the size) and dip into the pot to apply the parrafin wax. If the wood is to large you can pour over the ends, although the dipping process is more popular.
- Hybrid Wax and Sealer – An alternative to the traditional wax or painting is a product known as Anchorseal. It is a wonderful product which you can paint on the end grain of your wood for your wood sign and prevent cracks and splits. It applies with a paint brush and has a white color to it.
This product is also good for bowel or spoon products or any wood product which has exposed end grains of your wood to prevent cracks or splits.
Repairing Wood Cracks And Splits
Repairing wood cracks and splits on the wood for your wood signs can be challenging. It depends on the species of wood, size of the crack and split, time to repair, and your preference and confidence in your repair.
During my research, I have discovered many woodworkers have their preferences for specific repairs. I will show three types of repairs that work for the varying sizes of gaps of cracks and splits.
Epoxy Resin – The method of using Epoxy Resin is not a new approach to fixing cracks and splits in the wood for your wood signs. Epoxy Resin comes in two products the resin and the hardener which are mixed in a 1 to 1 part to put into the crack or split.
The benefits of epoxy resin are vast and this is a great solution for fixing cracks and splitting of your wood for your wood signs.
- Non-toxic
- No VOCs. No BPA. No fumes. Non-flammable
- UV and HALS non-yellowing protection
- Easy to use 1:1 mixing ratio
- High-gloss, self-leveling clear coat
- Can be painted with acrylic paint
- Color can be added to the epoxy resign itself for creative purposes
- Low Shrink
- Good Adhesion
- Penetrating
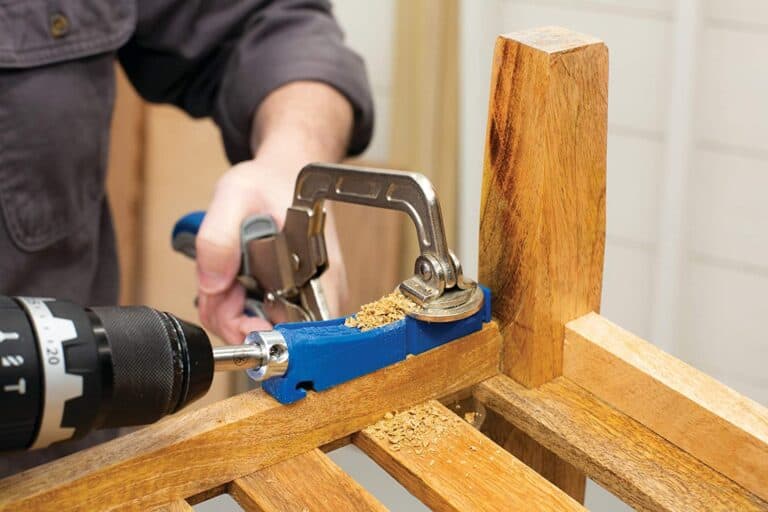
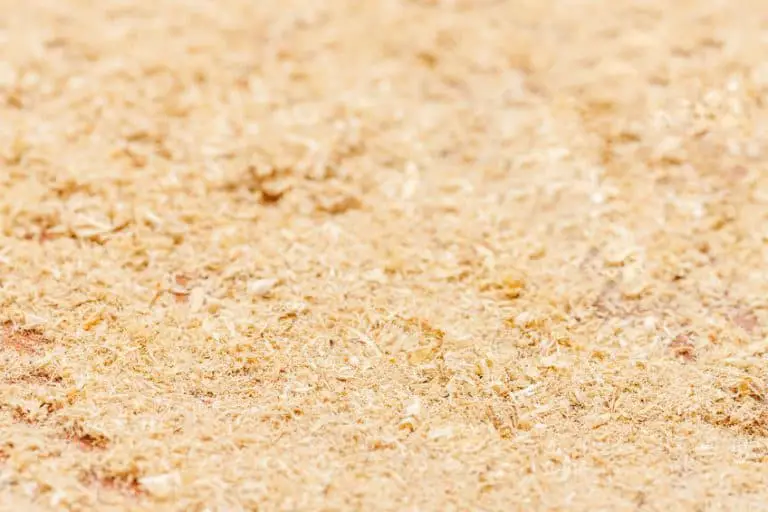
Wood Glue With Sawdust – Gluing with like sawdust and fixing wood cracks and splits is a very viable solution for repairing your wood board for your wood sign. The basics are choosing your wood glue and mixing like sawdust of the wood species into the glue and filling the crack or split.
This is a very flexible solution and does penetrate the wood very well. However, there is no guarantee that all the pockets will be filled which may or may not provide the best solution.
There are a lot of glue choices to use and I thought I would give you a video (below) that shows the different popular glues on the market and the outcome of the test performed.
Butterfly Bow tie Keys – If you have a greater gap in your crack or split in the wood for your wood sign you may want to use a Butterfly Bow Tie Key solution. Much like in cabinetry there are different types of joints and work very well. You can apply a similar technique to fixing cracks or splits.
- Find your crack or split, follow to about mid way of the gap.
- Design and cut out your Butterfly Bow Tie Key
- Cut out the mortise
- Fit your Butterfly Bow Tie Key
- Install the Butterfly Bow Tie Key
- Trim it flush
Butterfly Bow Tie Keys will keep the crack or split from persisting after your wood sign project is complete. An additional bonus to this technique is it can be a decorative piece as well. Putting a wood that would be a contrast to the base wood will add an extra eyeball catcher to your design so you can use this to your advantage of fixing a problem as well as creating a design.
After you have completed the Butterfly Bow Tie Key solution to fix the crack or split in your wood for your wood sign you will need to fix the open gap remaining. You can use one of the techniques mentioned above such as the epoxy resin or glue with sawdust.
If you like the information provided please ensure you Pin the below for this article to Pinterest and also follow me on Pinterest