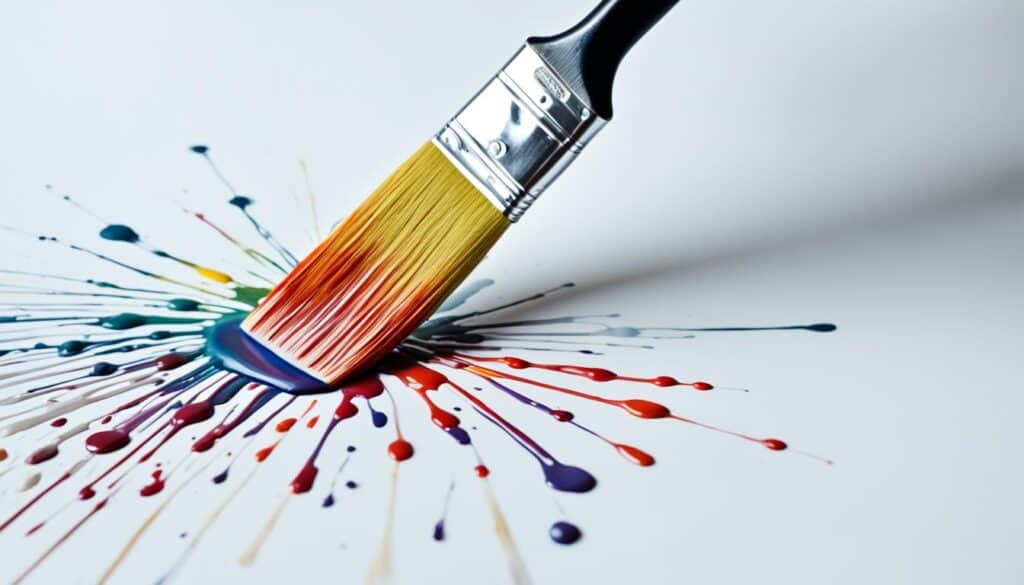
Ready to dive into your next DIY challenge? Think about the wild side of paint drip techniques. With your brush, are you set to explore beyond precise lines to something more free and artistic? Painting with drips isn’t just another method; it’s a way to express yourself. These flowing strokes of paint turn a plain surface into vibrant abstract art, full of life and creativity.
But to go from a DIY lover to an artist’s inspiration, you need to learn some basics. You’ll want a workspace that’s ready for creative messes, the right tools for your vision, and paint and canvas prepped for gravity’s whimsical dance. Our guide will reveal the secrets to mastering these techniques in DIY projects.
While paint drips might seem sporadic, the best outcomes marry randomness with technique and a deep knowledge of the art form. Whether it’s bright wall decorations or unique accent items, understanding paint drip techniques will make your projects stand out with a personal flair.
Key Takeaways
- Understanding the art of controlling paint drips creates original and expressive abstract artwork.
- Properly preparing your paint and canvas is essential for achieving the desired fluidity and effect in your pieces.
- Setting up a workspace designed for paint dripping can marry the concepts of cleanliness and creativity.
- Choosing the right tools can make the difference between simplistic drips and sophisticated art.
- Learning paint drip techniques adds a dynamic layer to your DIY projects, elevating them beyond the conventional.
Ready to embark on your next DIY challenge? Delve into the exciting realm of paint drip techniques. With your brush, transcend precise lines and embrace freedom and artistry. Painting with drips isn’t merely a method—it’s a form of self-expression. These flowing strokes transform ordinary surfaces into vibrant abstract masterpieces, bursting with creativity.
- Understanding the art of controlling paint drips creates original and expressive abstract artwork.
- Properly preparing your paint and canvas is essential for achieving desired fluidity and effect.
- Set up a workspace designed for paint dripping to marry cleanliness and creativity.
- Choose the right tools for the difference between simplistic drips and sophisticated art.
- Learning paint drip techniques elevates DIY projects beyond the conventional.
Getting Started with Paint Drip Art
Starting with paint drip art? You’ll need some preparations first. A good start leads to amazing results and makes the process fun. We’ll cover how to prepare your paint and canvas, set up your workspace, and choose the right paint drip tools.
The Basics of Preparing Your Paint and Canvas
Preparing paint and canvas is key. First, pick a canvas and apply a base layer to match your drip colors. Then, thin your acrylic paints to get the right drip consistency. The thickness of your paint affects how it drips, letting you experiment with different looks.
Setting Up Your Workspace for Mess-Free Creativity
Setting up a mess-free workspace is important. Cover your space with newspapers or cloth to protect it. Make sure it’s airy, and keep your tools within reach. This planning helps keep cleanup easy and stress-free.
Selecting the Right Tools for Effective Dripping
Choosing the right paint drip tools matters a lot. Use paintbrushes, droppers, or squeeze bottles to control your drips. You can also use palette knives to shape the paint. These tools help you create unique effects and textures in your art.
| Tool | Use | Effect on Paint Drip |
|---|---|---|
| Paintbrush | Applying and controlling drips | Precise, controlled flow |
| Squeeze Bottle | Creating consistent-sized drips | Uniform droplets, customizable size |
| Palette Knife | Spreading and texturing | Abstract patterns, smooth or textured layers |
Keeping these steps in mind will help you excel in paint dripping. Preparing your materials, setting up right, and using the best tools are all crucial. They all add a unique touch that will make your artwork stand out. Now, use this knowledge to create stunning paint drip pieces.
Essential Paint Drip Tools and Mediums
Starting a paint drip project means having the right tools and mediums. Knowing about paint drip tools is key for amazing drip effects. You need brushes, knives, and bottles to control the paint’s flow and texture.
The pouring medium lets colors blend while keeping them bright. It’s more than useful, it’s a game-changer for fluid, organic looks in fluid acrylics art.
Did you know household items like paper towels or plastic bags can add unique textures? Here’s a quick list of must-haves:
- Paintbrushes for detailed brushwork
- Squeeze bottles for precise paint application
- Palette knives for spread and texture
- Pouring medium for perfect paint flow
- Fluid acrylics, known for their strong colors and readiness to flow
But creating with paint dripping isn’t just about fancy materials. Artists often use everyday items, like plastic bags, for unique textures no brush can make. The idea is to be creative, using paint drip tools in new ways to create art that speaks to you.
Combining these tools with your talents lets you mix colors freely and express yourself. Whether you’re a beginner or experienced, using fluid acrylics and the right pouring medium can elevate your art from good to great.
Paint Drip Techniques to Transform Your DIY Projects
Diving into DIY projects opens up endless opportunities for creativity. Paint drip techniques can make your artworks stand out with dynamic textures and fluid patterns. Whether you’re adding a touch of abstract or aiming for a visual spectacle, here’s how to master the art of dripping, splatter like Jackson Pollock, and pour paint with style.
Creating Dynamic Textures with Controlled Dripping
To get dynamic textures, it’s all about controlled dripping. Adjusting paint thickness and how you apply it lets you create everything from subtle textures to bold patterns. These textures catch the eye and make any piece stand out.
Incorporating Splatter Effects à la Pollock
Embrace Jackson Pollock’s raw expression by adding splatter effects to your work. This method spreads paint in a vibrant, unexpected way, much like life’s surprises. By flicking, throwing, or dripping paint, you blend colors and shapes into a narrative of their own.
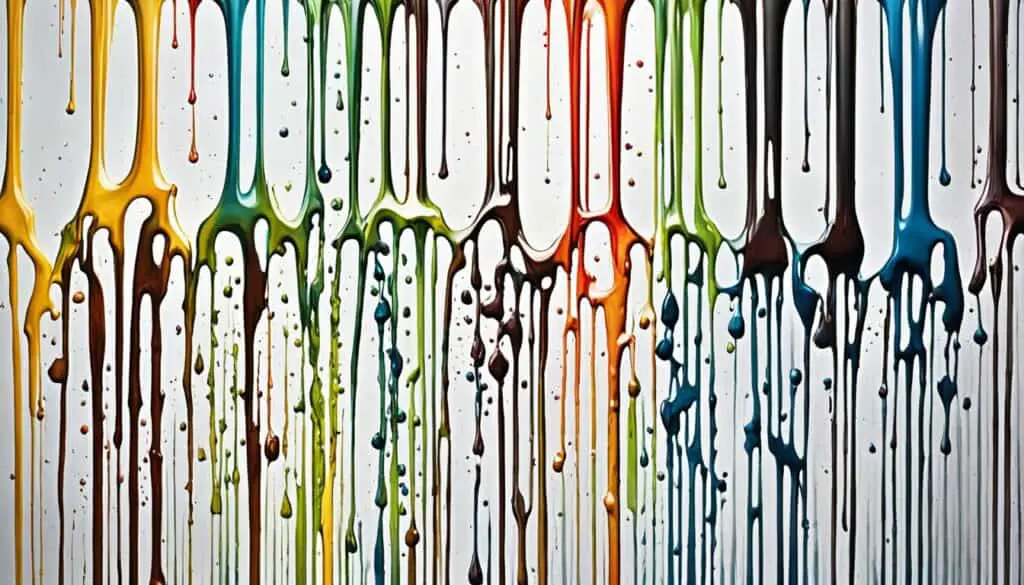
Experimenting with Pour Painting for Fluid Patterns
Pour painting mixes chaos and control beautifully. Pouring paint and tilting your canvas creates captivating fluid patterns. This blend of paints results in a colorful dance of shapes and hues, offering endless interpretations in its flow.
| Technique | Textures | Visual Impact | Suggested Projects |
|---|---|---|---|
| Controlled Dripping | Raised and pronounced | Depth and sophistication | Abstract wall art, furniture embellishment |
| Splatter Effects | Organic, complex layering | Energy and movement | Statement pieces, accent decor |
| Pour Painting | Smooth, fluid transitions | Harmonious chaos | Decorative plates, artistic coasters |
Top Paint Drip Colors and Combinations for Striking Effects
Mastering paint dripping involves choosing the right colors. The paint drip colors you pick are key to your art’s impact. Let’s explore which color combinations pair well and how they use color theory to create amazing color palettes.
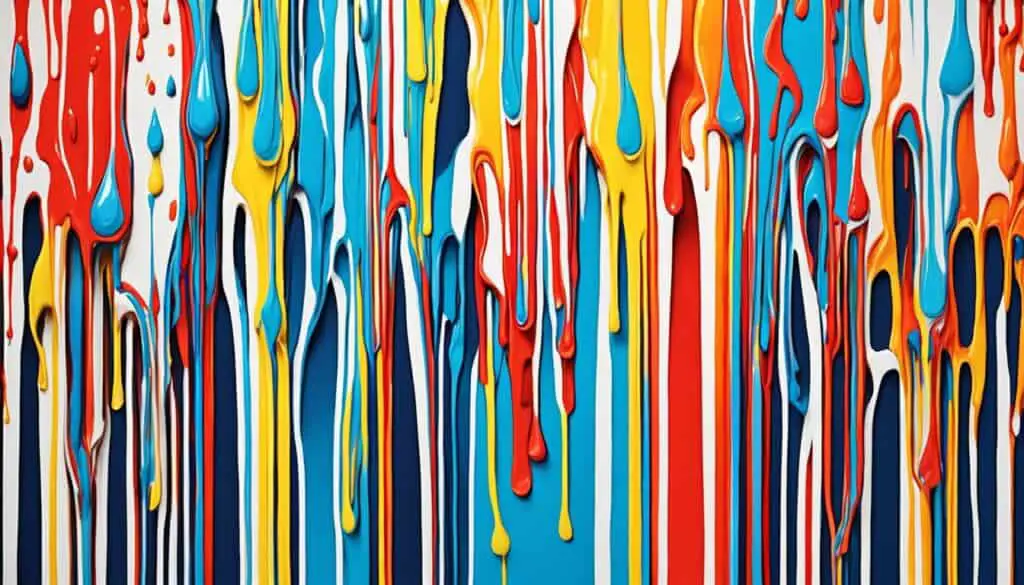
Contrasting and Complementary Color Palettes
Colors opposite each other on the color wheel are dynamic when paired. Complementary color palettes create vibrant looks that catch the eye. Imagine a stark blue drip on an orange backdrop, or purple over yellow for a touch of magic.
Exploring Themes with Seasonal and Vivid Hues
Seasonal colors match the viewer’s sense of time. Vivid hues bring fun and energy to art. Try mixing sunflower yellow with autumn orange for warmth or icy blue with white for a winter vibe. Color combinations tell your artwork’s story.
Tips for Creating Mood with Color Theory in Drip Art
Color theory is not just about combining pretty hues. It’s about adding emotion and story to your art. Blues can calm, while reds spark urgency. Choose paint drip colors that match the feeling you want to share.
| Effect | Color Combination | Mood or Emotion |
|---|---|---|
| Soothing | Soft green and pale blue | Calm, Relaxation |
| Invigorating | Bright orange and crisp white | Energy, Freshness |
| Dramatic | Deep purple and gold | Luxury, Sophistication |
| Romantic | Pink and soft lavender | Love, Compassion |
References for your review
- National Endowment for the Arts (NEA):
- Source: The NEA provides resources and guides for various art-related practices, including painting techniques.
- Link: NEA’s Art Works: Painting Techniques
- Harvard University Graduate School of Design:
- Source: Harvard GSD offers courses and research materials on art, design, and painting techniques.
- Link: Harvard GSD
- National Institute of Standards and Technology (NIST):
- Source: NIST provides research and standards for various industries, including painting and decorative techniques.
- Link: NIST’s Building and Fire Research Laboratory
Conclusion
Diving into paint drip techniques opens a rewarding path to sophisticate your DIY projects. It starts with knowing how to prepare paint and canvas. This sets the stage for creating standout art that shows your artistic goals. Having a well-organized workspace is key. It makes sure your art activities are fun, not messy or stressful.
Choosing the right tools and mediums is vital for the flow and look of your art. It boosts the quality of your work. You might want to recreate a wild splatter like Pollock or a carefully poured painting. The tools you pick are your partners in this artistic adventure.
The end of any art lesson is not complete without pushing you to try new things. As you get to know fluid acrylics, explore different colors and embrace drip art’s unexpectedness. Each drop and color adds to your canvas, telling a story or capturing a feeling.
Paint drip techniques take you into abstract art’s world, where rules are first learned then creatively twisted. On this journey, the creator’s touch and originality make your DIY projects truly special. Every project brings you closer to mastering this art form. It lets you create powerful images that show off your growing talent and creative voice. The ending is really a new beginning. It invites you to play, create, and inspire.
Related Articles and Inspirations
Dive into the world of paint drip inspiration to enhance your art. Explore different techniques through related articles. These methods will help you grow and improve your paint drip art. We have gathered resources to inspire and teach you about various artistic techniques that can spark your creativity.
Consider adding these practices to your art:
- Palette Knife Techniques: Add depth with texture and layers to your paint drips.
- Stenciling: Achieve precise, intricate designs in your work with stencils.
- Collage: Combine materials for a visually rich effect alongside your drips.
- Airbrushing: Use for smooth finishes or soft transitions in your art.
- Mixed Media Techniques: Mix art forms for new, exciting effects.
- Photo-to-Canvas Transfer: Personalize with photos, blending seamlessly with your drips.
These related articles are your guide to expanding your skills. They offer both theory and practice to refine your approach to paint-based art. Take your time exploring these resources. Let them inspire new ideas and techniques in your artwork.
To wrap up, expanding your knowledge makes your art more versatile and impactful. We urge you to explore the related articles. Let the varied styles, tips, and demos enhance your paint drip inspiration. They might lead you to your next great piece.
FAQ
Entering the vibrant world of paint dripping brings up many questions. This FAQ will help both newbies and those fixing mistakes. Let’s dive into the common questions that beginners usually ask.
What if your paint drips don’t go as planned? No worries, paint dripping is quite forgiving. If a section isn’t to your liking, let it dry. Then, add a new layer of paint to adjust the drip. Using a good paint drip tutorial can prevent many mistakes. Remember, trying different things teaches you a lot, both during the process and in the final artwork.
Want to know how to achieve special effects? It’s all about paint thickness, gravity, and how you hold your canvas. Here’s a tip: start small before you move to big projects. And don’t hesitate to blend different materials to get your paint just right. With patience and creativity, you will explore the many ways paint drip techniques can make your art unique.
FAQ
What is the paint drip technique?
It’s a cool kind of abstract art. You let paint drip or flow down on a canvas or surface. This makes unique, natural patterns.
What are the best paint drip tools for beginners?
Good tools for starters include paintbrushes and squeeze bottles. Also, palette knives and everyday items like paper towels or plastic bags can create cool textures.
How do I achieve specific effects with paint drip art?
To get cool effects, play with the paint’s thickness. Try different ways to pour it. You can also sprinkle or use stencils for more designs.
How do I fix mistakes in paint dripping?
Made a mistake? If the paint’s still wet, dab it with a paper towel or sponge. If it dried, scrape or sand it off. Then, just add new paint.
What are some tips for beginners in paint drip art?
Start with a little canvas to practice. Try your techniques on scrap paper or cardboard first. Mix and match different colors for fun.