Staining your wood sign can be challenging but the outcome is incredible. I know when I started my wood sign business I had my apprehensions about staining and frankly didn’t know much about it. Staining your wood sign can be intimidating but as I researched and tested, it really isn’t that difficult.
Staining your wood for your wood sign brings out the grain and the true wood appeal. There are many options for wood staining. They vary from your standard stains which we all know to now stains come in colors. Ensure your wood is sanded and clean from dust. Using a quality brush dip in your wood stain and brush with the grain from end to end.
Wood staining can create beautiful wood signs. Staining your wood provides many options from real colors to your generic stain colors. I wanted to provide you a complete guide to the basics of wood staining for your wood signs so you can see what is available, the techniques, and avoid some of the common problems with staining your wood signs.
Wood Staining The Basics – What Is Wood Stain
Wood stain is a finish which when applied to wood changes the color and look of the wood. It accents the wood either by adding color or bringing out the natural wood grains in the wood. It is intended to bring out the natural color of the wood. Although it is usually meant to add more of a decorative look to the wood.
Most wood stains are made to resemble natural wood colors, such as walnut, cherry, or oak. But not all wood will absorb stain the same way, where some wood takes wood stain very well others will not. The best way to ensure your wood accepts stain is to properly sand and clean (preparation) prior to using the wood stain. Apply several coats and allow typically 24 hours to dry.
Lastly, there are different types of wood stains. The main two categories are oil-based and water-based. Both are effective for applying to wood and gaining the appearance you desire. Mostly I have found it is a personal choice or an application choice. Water-based stains dry quicker, however, you need multiple coats, where oil-based ones seem to penetrate better but take longer to dry.
Different Options And Wood Staining Colors

As mentioned not all wood stains are the same. Besides the different colors you see, I’m sure you have done like me and go down to your local hardware store and see the huge selection of wood stains for wood staining.
I know I was overwhelmed, so I wanted to provide a guide on different types so you can make the best choice for your wood sign application.
| Stain | Benefit | Dry Time | Applicator Types |
| Oil Based | Good For Unfinished Wood | 1-2 hours | Brush, Foam Applicator |
| Varnish | Great For Finished Wood For Fixing | 24 hours | Brush, Foam Applicator |
| Water-Based | Easy Clean up, Good For Unfinished Wood | 3 hours | Cloth – Apply a little at a time |
| Gel | Thick Consistency – Good for hard areas for the stain to stay | 8-10 hours | Brush, Foam Applicator |
| Lacquer | Mixed With Lacquer Works Well | 15 Mins | Brush, Foam Applicator |
Wood Staining Techniques And Steps – DIY
Wood staining for your wood sign is pretty straightforward. However, there are details which in my research I found to be very important. I work mostly with pine and on occasion oak. It really depends on the project.
When I started my wood sign business I honestly will tell you that I didn’t know that much about wood staining. Much like a lot of novice folks I just slapped it on and wiped it off. I found if I wanted a quality product I needed to research what I was doing and do it correctly.
What are the techniques I needed to consider? I have described what stain is, different options of staining. The next step is to provide to you the techniques to properly apply wood stain to the wood for your wood signs.
Pre-Stain Wood Conditioner Or Not?
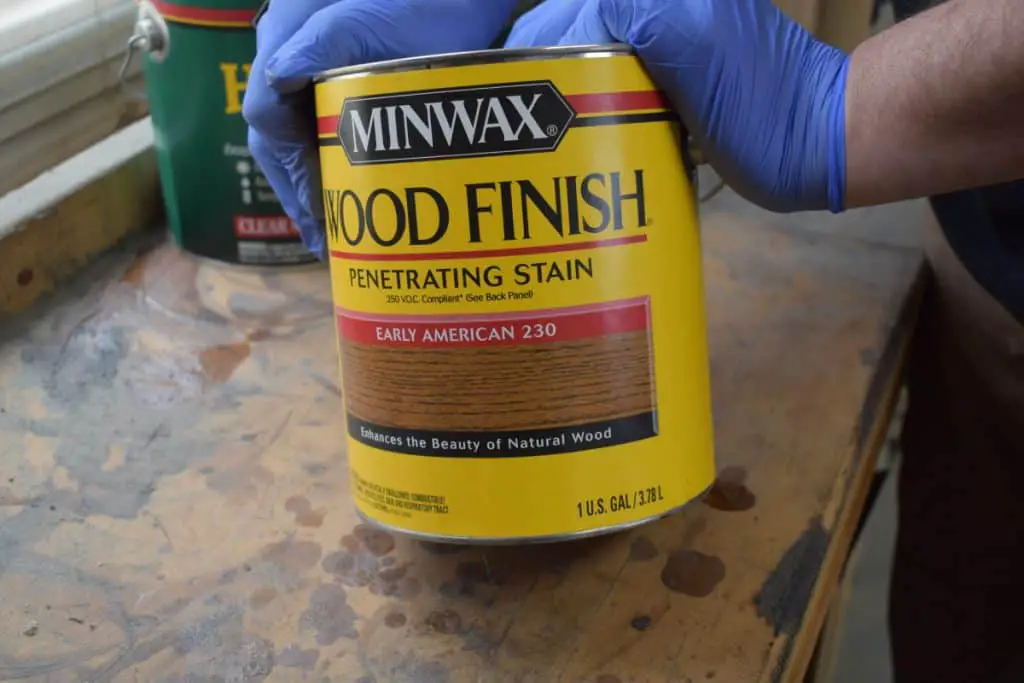
A pre-Stain conditioner according to Minwax prepares bare wood for staining. It helps the woodwork to promote a uniform acceptance of oil-based stains.
This is important to know if your wood for your wood signs is heavy with marks, knots, and blemishes. The stain will get into every nook and typically look darker and may make your staining job and appearance does not look the way you intended.
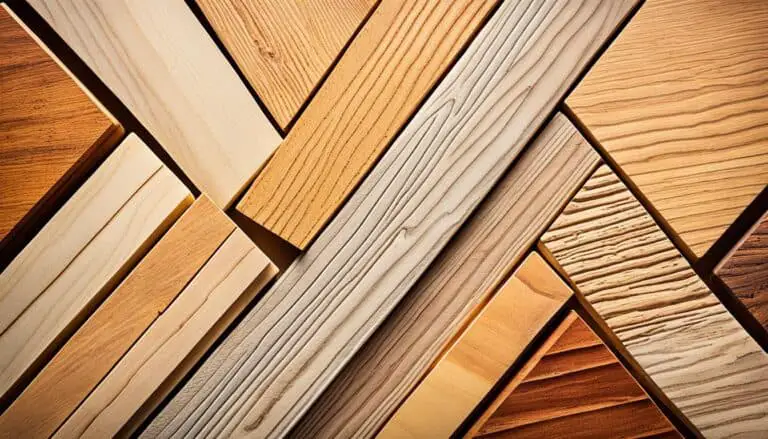
I found a great video explaining the basics of Pre-Stain wood conditioner. The results are great to look at, as the author explains the differences in three different types of wood.
I personally have tested this on the wood I used for my wood signs. However, I don’t implement the Pre-Stain wood conditioner in my day-to-day because most of my customers expect a rustic look.
Pre-Stain conditioner however is a great product if you wanted more of a finished cleaner look for your wood signs and I highly recommend it.
Proper Wood Staining – Wood Signs

When you start to stain your wood for your wood signs you have a vision. And sometimes when you have done all the work and get to the staining part the vision just is not what you have in front of you.
Let’s look at the proper way to stain wood for your wood signs. I will start with the tools you will need to be safe and get the job done.
- Gloves – Nitro gloves work very well for staining. These are the same gloves which are used by medical staff. They come in three different sizes, fit well and allow you to still grip things while protecting your hands from the Pre-Stain and Stain.
- Safety Glasses – Stain can be hazardous especially to the eyes if you accidentally splash stain into your eyes. A simple pair of safety glass bought at your local hardware will work great.
- Respirator – Some stains have fumes and can affecting your breathing. It is a good idea to wear a respirator.
- Brush/Foam Applicator – Either of these work very well and apply the wood stain evenly. It is all in the technique of how you apply the stain and the tool you use.
- Clean Cloth – A clean cloth you need to wipe off the dust from sanding or using to apply the stain.
- Sanding Block/Paper/Sander – You will want to use the sanding tool which matches the type of wood. For example if you wood is very ruff you may run the wood through a planer to start. Some folks think this is the answer for staining. You really want to get to the point of a really smooth surface. Use sand paper/block or a sander with a 120 grit and then progress to at least a 150 grit.
If you would like to know more about sanding your wood for wood signs you can read my post – “Sanding 101 – For Wood Signs“
Now we know the tools let’s look at the process and the techniques of staining your wood for your wood sign.
Using our safety equipment let’s look at the wood we are getting ready to stain. Assuming you have cut to size and are standing at your preparation station where do you start.
Preparation is key to getting a smooth and nice finish with your stain. Start with 120 grit sandpaper (Sandpaper, Block, or Sander) and gently sand the face, edges, and end grain of the wood you are wanting to stain. You will want to sand with the grain of the wood so you are working with the wood and not against the wood.
If you would like to see what products I’m using and purchase you can see my recommended products here – “Recommended Products“
Using a cloth, wipe the wood clean to remove all dust and debris. You can also use a vacuum cleaner to clean the dust off the wood. This ensures your wood for your wood sign is ready to accept the wood stain.
Assuming you have already picked your wood stain type and color we can begin to stain. Be sure to stir and mix the wood stain especially if the wood stain can have been sitting around for a while. This ensures you get the full effect of the wood stain and mixing all of the stain and whatever sinks to the bottom.
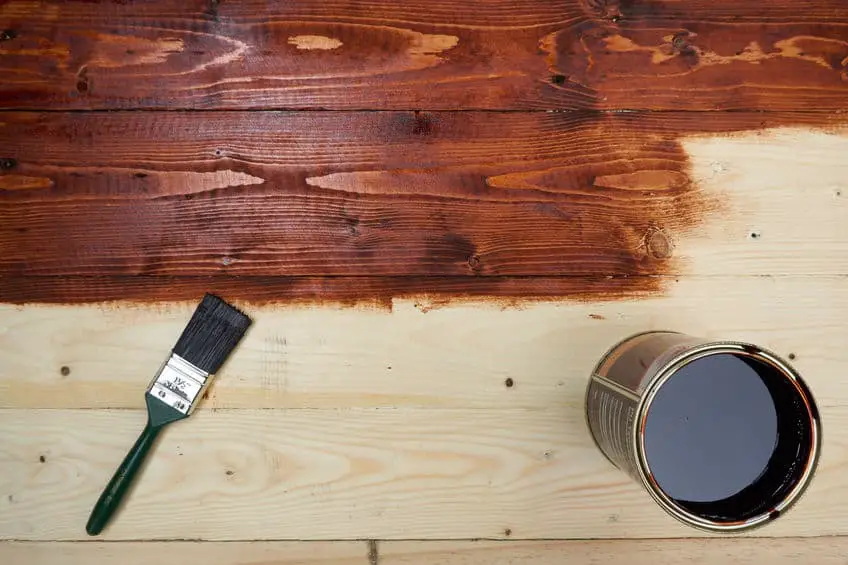
The next step is what I have found to be a personal choice, the technique of applying the wood stain. Some folks like to use a cloth, and some folks like to use a brush or foam applicator. I guess you go with what you feel works for you. I prefer the foam applicator. It puts on an even amount of stain and works well with the carved lettering on my wood signs.
Additionally, how you apply the stain seems to be a personal choice. In my research, some folks like to use a circular motion and some folks like to go with the grain of the wood. I have never had much luck in the circular motion as it sometimes leaves some blotches on the wood so I use the technique of going with the grain. To me, it ensures a more level and even application of the wood stain.
The amount of stain you apply generally is medium to somewhat thick. It really depends on the type of wood stain you use. If you are using a generic oil-based stain a medium amount works well. If you are applying a Gel wood stain, due to how thick the Gel wood stain is, it will apply thick. Either one is fine as typically the wood will only be able to accept so much stain and then it can’t accept any more.
Wood Staining Problems
Are there problems that can arise from staining your wood? The common problems with wood staining are a blotchy appearance, gritty surface, and scratches and blemishes appearing throughout your wood for your wood sign.
- Blotchy Appearance – A blotchy appearance on your stained wood is the result of imperfect marks, scratches and ruff areas such as around knots on the wood.
- Gritty Surface – A gritty surface is the result of your preparation. Did you clean the wood surface with a cloth or vacuum prior to applying the wood stain? Additionally, it is the result of the water based wood stain freezing and thawing.
- Scratches/Blemishes – Some wood will always, despite your best efforts, have scratches and blemishes. If these marks are good for the look you are going for, such as a rustic look, they will work well for you. Scratches also appear from sanding. Applying to much pressure when using your sand paper/block or sander.
If you would like to know more about Uneven Or Blotchy Finish and How To Fix And Prevent – See our Article – “Uneven or Blotchy Finish – Wood Sign Stain”
How To Fix Wood Stain Mistakes
Fixing wood stain mistakes can be daunting. The reason why is once you have applied the stain it has soaked into the wood pores and the depth of the stain in the wood pores can cause a problem with the fix.
A common thought would be to sand down the wood stain with a piece of sandpaper/block or sander. A concern about sanding down the stain is the thickness of the wood. You will need to sand quite a bit down to get rid of the wood stain. This may not work if you have to sand down too much.
If you are applying the same color of the stain on the wood for your wood sign you may be able to get away with just sanding down a little and repeat your preparation to stain your piece of wood again. The key to this technique is to ensure the stain you are sanding off is completely dry.
Using a planer to remove the stain is also another technique to remove the wood stain. It has the same concerns as mention above regarding the thickness of the wood.
Here are also a couple of alternatives.
- If your wood stain has lines and discolored there is a solution. Ensure you wipe off any excess wood stain. If the wood stain you are using is oil based and still damp use a sponge with a scratch side and mineral spirits. This will assist you in removing the lines and darker areas of the wood stain. The key is to ensure your wood stain is not completely dry.
- Your wood stain is blotchy and you are going to use the same stain type and color. Wipe off the excess and remove as much wood stain as possible. Use the method above of a sponge with a scratch side and mineral spirits to remove as much of the wood stain as possible.
Use the Pre-Stain conditioner and apply across piece of wood with a brush/sponge applicator or cloth. Apply evenly and let sit for 15 minutes. Don’t let the Pre-Stain conditioner completely dry and reapply your wood stain. You will notice a difference in the appearance of the wood for your wood sign.
Wood Staining Frequently Asked Questions – FAQ
- What happens if you don’t wipe off wood stain?
You should wipe off the excess wood stain because leaving excess on will extend the dry time, sometimes create blotches on the wood, not allow the sealer to dry that is applied on top of the stain. You need to ensure you wipe off any excess as you stain. - Is Wood Stain a Wood Protector?
No, wood stain just changes the pigment color of the wood. You will still need cover with a sealer such as polyurethane or lacquer. - How long does wood stain take to dry?
To be effective and ready for a sealer 24 to 48 hours. Of course it depends on the product. Ensure you consult the product information or table above for more information. - How many coats do I need to apply?
Typically 2 coats is needed for efficient coverage. Harder species of wood will only accept so much stain if you decide to do more and see pooling. - Sand between coats of wood stain?
You can sand between coats 1 and 2. A lot of your woodworkers will typically sand with 220 Grit between coats. This provides a smooth surface and open the pores of the wood to accept the second coat. - How long do I wait for wood stain to dry before applying second coat?
Typically you will need to wait about 2 hours between coats. It depends on the wood of course. More porous wood will absorb more quickly. - Is wood staining dangerous or hazardous?
Most of your wood stains are not dangerous if you follow the product guidelines for safety. A general rule is to stain in a well ventilated area, use gloves, glasses and a respirator when fumes are present to protect yourself. - Can weather and temperature affect storing wood stain? – Yes it can especially if it is a water based wood stain. You will want to store in an area which will stay above 32 degrees Fahrenheit. The reason is the freezing and thaw of the water based wood stain can affect the make up of the stain and when applied to your wood will degrade the effectiveness of the wood stain and sometimes create a gritty feel. Oil based stains are good to go for the most part as long as the can is sealed. The reason is because the oil based wood stain doesn’t contain any water.
If you like the information provided please ensure you Pin the below for this article to Pinterest and also follow me on Pinterest