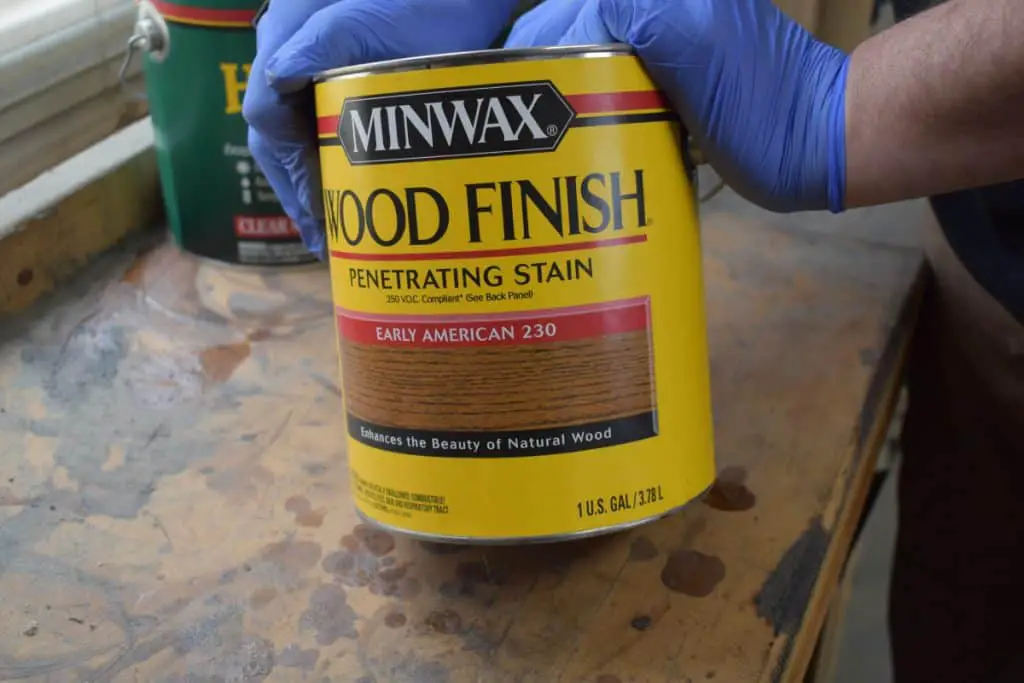
Staining your wood signs can be challenging. You do a lot of work to pick out the wood, carve, and sand. Now is the time to apply your chosen stain. You apply the stain and it has an uneven or blotchy finish. What do you do to prevent this and how can you fix the current uneven or blotchy stain finish you currently have.
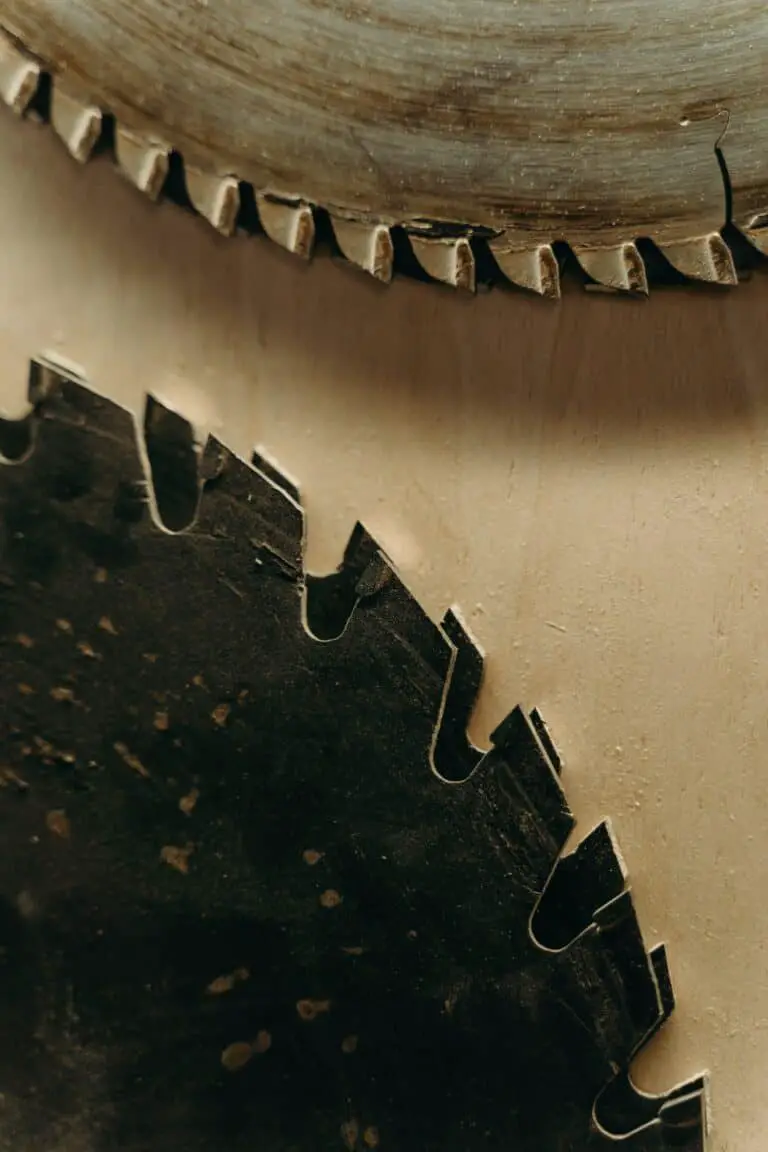
If you have an uneven or blotchy finish appearance on your wood signs, this occurs because of varying densities in the wood you are staining. Each species of wood absorbs stain differently. For the best results and even stain application wood species oak and walnut absorb stain evenly and the best.
Although frustrating at times stain is a wonderful way to protect and make your wood signs look great. To understand the problems with stain, such as the stain coming out as uneven or blotchy, we need to understand how wood stain works. This will help us understand why stains can come out uneven or blotchy.
How Does Stain Work With Wood

Believe it or not, wood stain is a type of paint. Wood stains contain pigments or dyes used as a color in most stains. The main contrast between the two is the solubility and size of the particles in the different types of stains.
I bring this up due to the importance of how these are able to get into the wood and provide the stain you’re looking for. The ability of these particles to penetrate the pores of the wood depends on the size of the pores on the different species of wood.
If the wood is very dense the stain will not penetrate as well due to the smaller pores and the stain particles will simply sit on the top of the wood. Conversely, if the pours are larger the stain will be able to penetrate the wood and create the color with the stain you desire.
Different Types Of Wood Stain
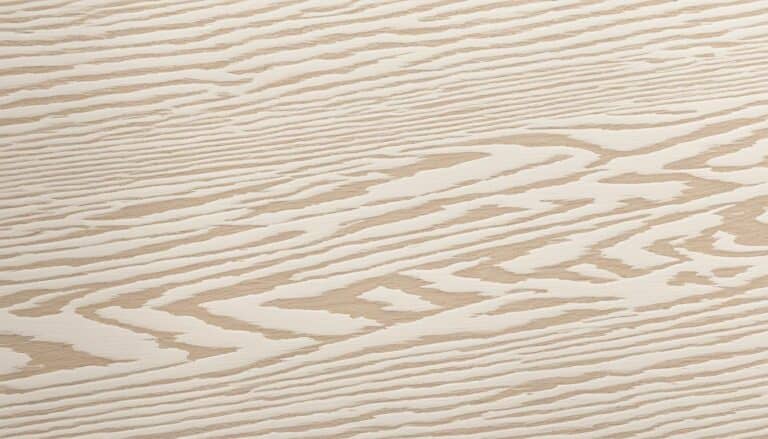
There are many types of wood stains that enhance the grains and color of different species of wood. The change and transformation of the color and appearance of the wood are why we use wood stain.
There are many different types of wood stain and to better understand why wood stain can be uneven and blotchy we need to also know what different types of wood stain there are.
Water-Based Stain
Water-Based Stains are popular due to them using a water-based finish as their binder. This makes them much easier to work with and clean up.
As with many types of wood stain’s water-based stains come in two types of tint bases. These include your typical clear and white tint base. The white tint base provides the ability to create 40 different stain colors. If you are familiar with the capability to match color with paint, the water-based white tint has the same capability.
| Pro’s | Con’s |
|---|---|
| Dries Quickly | Takes A Lot Of Time |
| Opposes Mildew | Low Penetration |
| Environmentally Friendly |
Oil-Based Wood Stain
This type of wood stain is the most common and most used. The reason it is the most used is due to its penetrating capability and the ability for it to bring out the most of the natural grain.
The oil-based wood stain has the ability to be tinted to 36 colors typically versus the water-based which is 40 different colors. It dries in about 2 hours and typically works with on the application.
The other advantage of oil-based wood stain is it doesn’t show overlapping. Interestingly enough when I was researching other types of stains this subject was not brought up too much.
Although there are exterior applications most of your oil-based wood stains on the market are for interior applications.
Lastly, of course, you will need to wipe away any excess stain when you apply, however you will not need to sand which is a bonus.
| Pro’s | Con’s |
|---|---|
| Even Finish | Slow Drying |
| Deep Penetration | Mold Capable |
| High Durability |
If you would like to see what products I’m using and purchase you can see my recommended products here – “Recommended Products“
Gel Wood Stain
Gel wood stain is a fairly new product for staining wood. It arrived on the scene in the late 20th century. Gel wood stain has thick pigments and comes in a jelly-type form.
What types of applications are good for using Gel wood stain. Vertical applications are the first one that comes to mind. Due to its thickness, a vertical wall is a good application for using the Gel wood stain.
The Gel wood stain has a low penetrating capability which is why it is preferred for wood staining. With different species of wood allowing different penetrating due to different sizes of wood pigments, Gel wood stains work very well for applying wood stain.
| Pro’s | Con’s |
|---|---|
| Even Finish | Slow Drying |
| Deep Penetration | Mold Capable |
| High Durability |
How To Apply Wood Stain – Can You Stain Over Stain?
During my research, I have noticed that wood staining is an art. What I mean is many people have different opinions on how to stain wood. The basics seem to be the same however, everyone has their own little hints here and there which they feel make it better.
During this section of the post, I want to give you the best information I can regarding uneven and blotchy staining. So I will provide the best information which will provide you the best experience and prevention of uneven and blotchy stains.
When I first started out I thought I knew how to stain the wood for my wood signs. In general, I did however miss a couple of very important steps which would have saved me a lot of time and effort.
Below I have provided an infographic for you to view and download if necessary to ensure you are properly staining your wood for your wood signs.
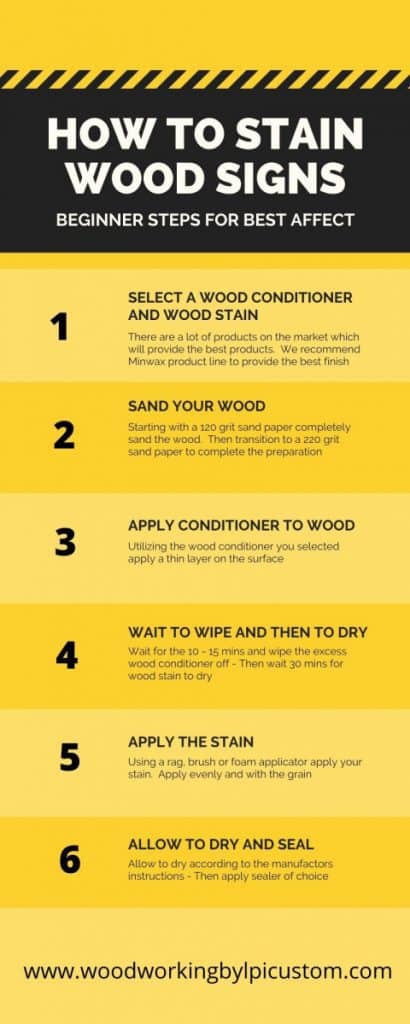
As you can see in the above chart there are the basics and what you need to do to stain wood for your wood signs. This is important to understand moving forward to discuss why wood staining can make your wood signs uneven and blotchy.
I have included this excellent video below to get a general and overall understanding of stains for your information.
Wood Staining Misunderstandings And Misconceptions

As we continue to push through uneven and blotchy finishes for wood staining your wood signs in your wood shop I wanted to discuss some of the
Let’s get into some of the wood staining misunderstandings and misconceptions. Stains do not protect your wood signs, they color them. Of all the information I have researched these were some of the biggest.
Protection – Stains do not provide protection and are a misconception. Wood Stains provide color only and enhance the appearance of the wood to bring out its natural grains. There are products out which claim to have protection capability mixed in with the ability to stain.
I would ensure you carefully read the manufactures instructions and test to ensure it provides the outcome you desire. Additionally, ensure the product you pick matches your project for exterior or interior applications.
Point Of No Return – Unlike paint which sits on the top of the surface, wood stain penetrates the wood and goes into the pigment of the wood. This is important to note if you start using wood stain and decide it wasn’t the color you wanted or is not providing the appearance you want.
Simply sanding may or may not remove wood stain depending on how deep the wood stain has penetrated the wood. This means you run the risk of continually sanding your wood project until it no longer serves the purpose you originally meant for it to serve.
Sanding Your Wood Project – This one point seems obvious but is it really. Of course when you sand you remove the thickness of the material and this may be problematic. Additionally, will you find as you sand you may make your wood uneven?
If you would like to know more information about wood sign sanding you need to look at our post – “Sanding 101 – For Wood Signs“
Lastly, if you work with unfinished wood material you find you will need to sand quite a bit to overcome the rough material. A planer of course can help you resolve this but you risk the amount of material removed affecting its thickness.
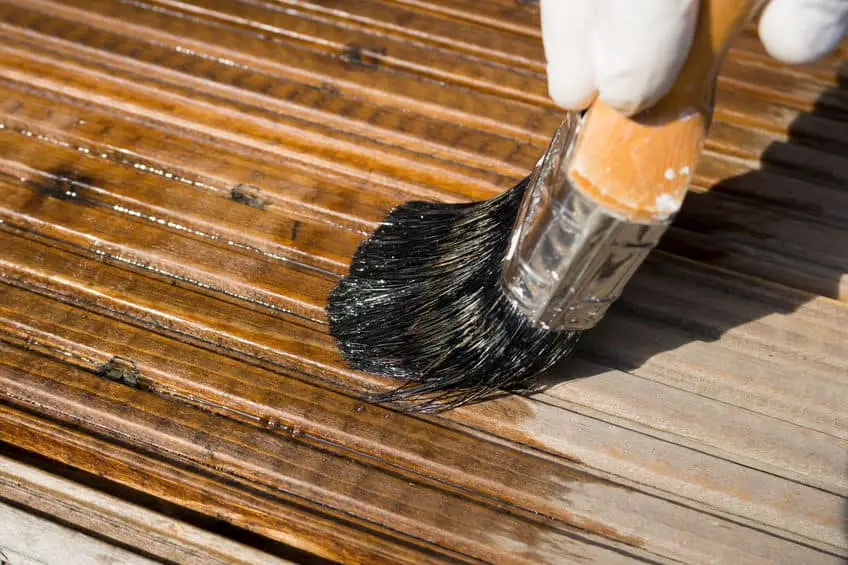
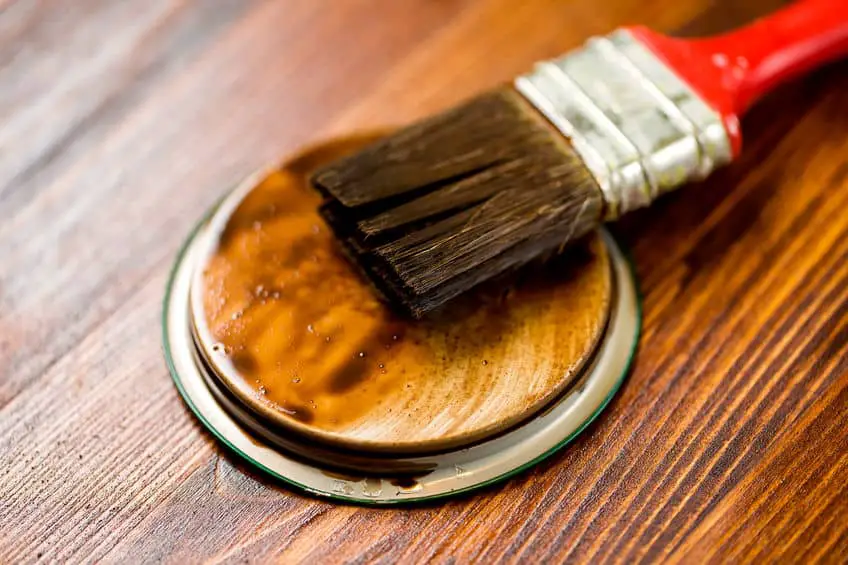
Wipe It Off – Some folks think you apply the stain and simply let it sit and wait for it to dry. This doesn’t work too well for wood stain and for wood signs or any wood project.
Wood is an organic product and will only absorb so much wood stain. After it has accepted as much as it can the rest of the wood stain will simply sit on top of the wood as a puddle.
It is important to wipe off any excess wood stain as you apply it to your wood material. This will not only allow the wood stain to dry quicker however also more evenly.
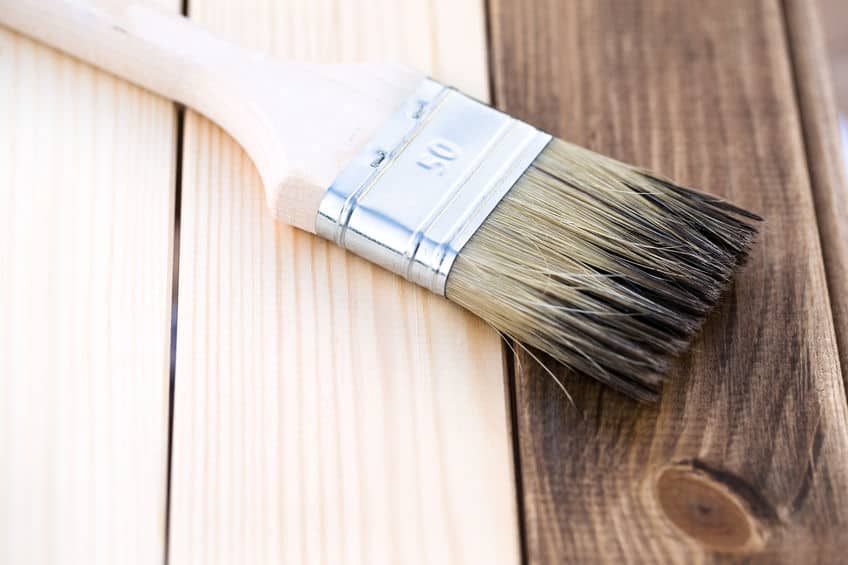
Applicator – Some folks have a particular applicator they use for applying wood stain. These applicators include rags, brushes, or foam applicators as these are the most common. It really doesn’t matter as to the applicator you use as they all provide the same effect.
Uneven or Blotchy Finish – Wood Sign Stain
Now we know what wood stain is, how it is applied and some of the wood staining misunderstandings and misconceptions let’s answer some of the big questions like why is wood stain uneven or blotchy sometimes on wood.
During this section, we will look closer at the effect of wood stain, the even or blotchy effect and will assume you have prepared the wood with sanding and cleaning the wood surface.
To understand why wood stains have the appearance of being blotchy we need to look real close at the wood itself. As mentioned above wood is an organic material and has pigments that will accept wood stain. Each pigment reflects the wood stain and the effect which gives it the appearance you want.
Uneven and blotchy wood stain occurs when certain areas of your piece of wood have different densities and the ability to absorb the wood stain you are applying. The outcome of this is an uneven and blotchy appearance. Different species of wood react differently to the wood stain.
This is important to know because as you use wood stain with these different species of wood you will notice a pattern. More dense wood such as oak or walnut absorbs more evenly. Whereas other woods such as pine, maple, poplar or birch have more spongy areas which soak up more wood stain unevenly compared to the more dense wood.
I have added the below video for your viewing to give you an excellent overview of wood staining.
How Do You Fix Uneven Or Blotchy Wood Stain On Wood Signs
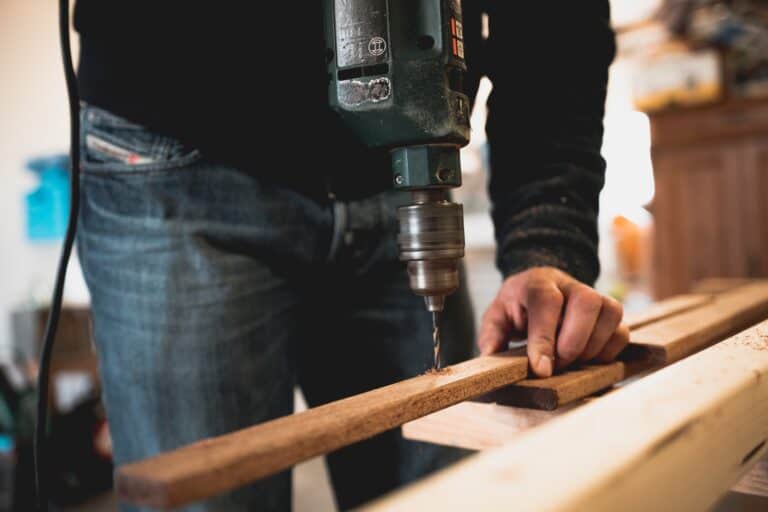
Let’s look at a few different scenarios here for how to fix uneven or blotchy wood stains on your wood projects or wood signs. The obvious answer upfront is to ensure you prepare your wood piece by ensuring it has been sanded very well and sawdust and debris removed.
Starting with your sander of choice (Orbital or Finishing Sander) use 120 Grit sandpaper and remove any blemishes which show up to the eye. Secondly, and this is not mentioned as much use your hand and run over the wood to feel the surface of the wood. This will point out areas that you may not be able to see.
Speaking of being able to see ensure your wood shop has the proper lighting so you can see. You need to look at our post – “Avoid Mistakes – The Best Wood Shop Lighting Ideas”
Then change your sandpaper to 220 Grit. Evenly go over your wood piece working out any final areas which need attention and additionally the whole piece.
Lastly, take a cloth and wipe over your wood piece. Thoroughly wipe to ensure any minor dust has been removed and contaminating your wood stain. Additionally, you can use a vacuum cleaner to remove the initial dust and then use your cloth to remove any final dust for preparing to accept wood stain.
Preparation is the key to your success here and you will greatly appreciate it in the long run as you will notice that your wood projects will accept the wood stain of your choice much better. Lastly, you will also notice your wood projects will not need as much attention in the wood staining process.
Avoid Uneven Or Blotchy Wood Finish – Preparation First
I wanted to provide the best case solution for uneven and blotchy wood finish prevention up-front. We all learn from our mistakes and want to shorten our time spent repairing our wood staining projects. If so, let’s understand how to prevent uneven or blotchy wood finishes every time.
After you sand (as mentioned above) and prepare your wood piece, which is very important, take the extra step and prepare your wood piece for your wood stain.
Using a “Washcoat” or “Wood Conditioner”, put an even coat on your wood piece after you sand and wipe away dust. This will ensure your wood stain will be accepted evenly every time.
What is a washcoat or wood conditioner you ask? Whether homemade or purchased in your local hardware they all work the same for the most part. The key to understanding them is to know what they are.
Solvent uses a small amount of varnish to the extra deep pigments areas of the wood which will show or stand out more when you apply wood stain.
The goal is to even out the surface of the wood and not have the deeper pigments which will show as darker when you apply your wood stain finish. Providing an even surface prior to applying your wood stain is the key to a successful wood stain job every time.
Utilizing a washcoat or wood conditioner will save you time, effort, and much frustration as produce your wood projects for your client.
The Downside Of Wood Conditioners
Due to the washcoat or wood conditioner application, the wood stain does not have as many pigments for the wood stain to go for the applying the color to the wood piece.
This will provide a lighter color of the wood stain versus not using the wash coat or wood conditioner. Always use a test wood piece prior to using it on the final production piece for your client to ensure you get the outcome and appearance you are looking for.
If you have applied to the final wood piece for the client and don’t care for the appearance you will need to completely sand off the wood stain and wood conditioner and start over.
For more information take a look at the below video which goes into detail on how to apply the washcoat or wood conditioner prior to you applying your wood stain.
Uneven Or Blotchy Wood Finish – After You Have Applied The Stain – Can You Fix
You have a wood project to which you have already applied your wood stain and totally forgot the washcoat or wood conditioner. Or you have made your best effort using the washcoat or wood conditioner mentioned above and still have an uneven or blotchy wood finish. What do you do?
You are not wanting to completely sand the wood piece and start over as you may be concerned about the thickness being affected or the wood piece surface being uneven. Can this problem be fixed? In most cases yes you can fix this problem and change the appearance of the wood piece.
Most folks think initially if you apply more wood stain this may solve the problem. In actuality, if you put more wood stain on your wood piece you are adding to the problem and this will not commonly work.
Another thought I have seen in my research is if I change my topcoat sealer and add on top. This was being done by lightly sanding with 220 Grit sandpaper and applying another type of topcoat sealer.
The concern with this is you run the risk of the topcoat sealer not being able to bond with the original topcoat sealer and also it will complicate the ability of the wood piece to be seen or provide a pleasant appearance.
Additionally, you may end up with a real gritty surface which you will need to sand again to resolve the topcoat sealer you applied after the fact. This is all too complicated and is not needed.
A simple solution is to closely look at the wood piece and evaluate the uneven or blotchy wood finish. Is it not to your liking and do you really want to change or modify it.
I know this seems strange but sometimes you can simply live with a little bit of uneven or blotchy wood finish as you may want more of a rustic look for your client.
If you need to hide those blotches in your wood stain here is a solution for you to consider. You can cover up the blotchy wood stain with a glaze.
Start off by applying a sealer coat of the same type of finish you will use for your final topcoat sealer. Let it dry and lightly roughen it with the direction of the grain with steel wood to provide scratches where the pigments in the glaze can catch.
Apply a very even coat of oil-based gel stain as your glaze. If you need a smaller amount of glaze to fix your blotching problem, simply wipe off the excess stain as you would at the start of the project as bare wood.
Allow to completely dry, very important, and apply two topcoats of glaze. The solution is you bring the rest of the wood piece a little darker to match the blotching on certain parts of the wood piece. This will even out the wood stain finish and create a more even appearance.
Can You Put Too Much Stain On Your Wood Sign

This is an interesting question and I wanted to put it in this post as it seems to have a simple answer but does it. The general answer is yes.
As you learn more about putting a wood stain finish on your wood project it becomes obvious to remove any excess wood stain. Let’s look at why you can potentially put too much wood stain and what is the outcome if you experience it. You may be surprised at the answer.
In my research, I have seen some folks ask this question. The answer is complicated but I will try to answer generically so it makes sense. It really depends on the wood stain, type, wood and also the top sealer you may use.
Usually, if you leave too much stain on your wood piece and allow it to dry it will cause a peeling effect. This peeling effect will be visible when you allow the topcoat sealer to dry. The reason for this is the topcoat sealer will not be able to bond to the wood and will bond to the excess pool of the wood stain.
This is not the best-case scenario and will create a mess when you look at the final product. The best method is to wipe the excess wood stain while you are straining to avoid any potential problems with your topcoat sealer.
Can You Stain Over Stain?
Can You Stain Over Stain – In general, yes you can. You can stain over stain if you are going to a darker stain with little to no concerns. As mentioned above, the stain is basically a paint that is absorbed by the wood you are applying to. So if you are going darker yes you can stain over stain after prepping the surface with light sanding to remove any coatings and create the best surface to accept a new stain.
However, if you are going to a lighter stain you will need to completely sand down the wood surface till it is clearly down to the wood surface and restart.