Bubbles in your wood sealer can be a mystery, but can also cause problems with your finish and end product. So I’m sure you have asked yourself the question why am I getting bubbles in my polyurethane? I wanted to look further into this subject and see why this occurs and how can I prevent it from happening. Let’s look at the sealer, the reason for bubbles, the impact of bubbles, and how to prevent them in the future.
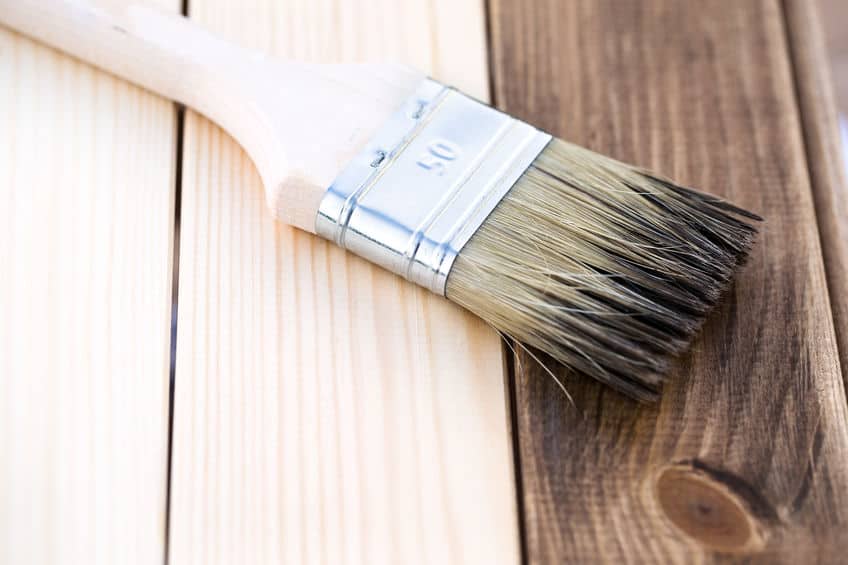
There are two main reasons you have bubbles in your wood sealer, using the wrong brush and not preparing your brush prior to use with the wood sealer. For oil-based sealer use a natural brush with animal hair and for water-based use a synthetic or nylon brush.
What Is Wood Sealer
The term “Sealer” according to my research has many meanings. I wanted to provide you the best explanation prior to going into the methods of preventing and fixing bubbles in your wood sealer.
According to Wikipedia – or more specifically wood sealer – “Sealant is a substance used to block the passage of fluids through the surface or joints or openings in materials.” A good example of these for wood include stain, shellac, paint, and oil.
There are various wood sealers on the market, and each has its own advantages. There are wood sealers that form a barrier around the surface of the wood so that it cannot be damaged by cleaning products for example. Another example is sealers which may also prevent the grain from rising, or they may add color or depth to the wood.
In several cases, the term “Sealer” simply refers to a type of finish that is being applied to the wood.
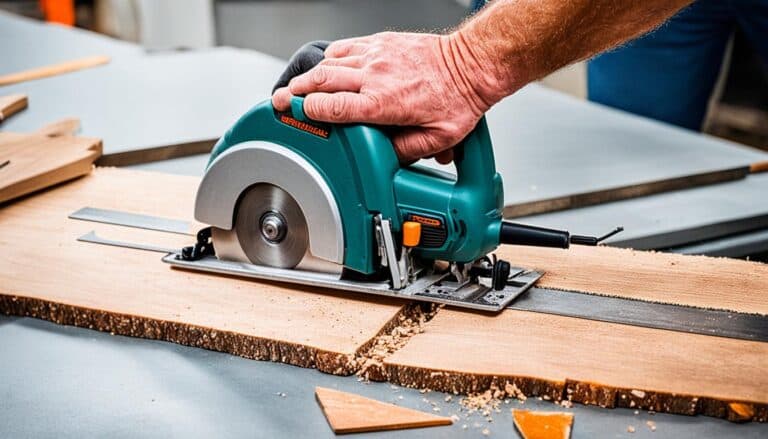
Methods Of Applying Wood Sealer
I thought it important to go a little into how to apply wood sealer. As with knowing what wood sealer is it is also important to know the various methods on how to apply as it really will help you understand why you may have bubbles in your wood sealer.
If you are interested in know how to seal your wood or wood signs you can see our article – “How Do You Seal Your Wood Signs” – here
How To Prevent Bubbles in Water Based Polyurethane
Much like other woodworking techniques applying polyurethane is all in the preparation. Preventing bubbles in your water-based polyurethane is all about the preparation as well. The key is to take your time and be patient with the application, drying time, and sanding between coats.
Preparation And Steps For Applying Polyurethane
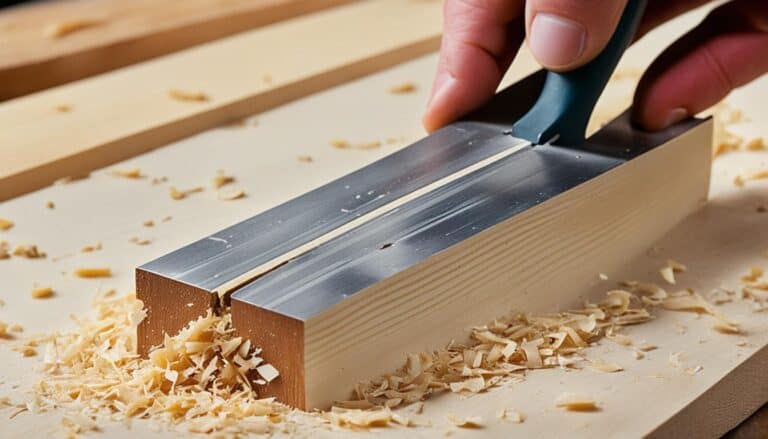
- Ensure you have a clean and smooth surface – Before applying your polyurethane you need to sand (to get the rough spots smooth) and clean your wood project surface. Depending on how rough your wood surface is use the proper sanding paper grit to get it to a smooth surface. (If you would like to know more about sanding see our article -(Sanding 101 here)
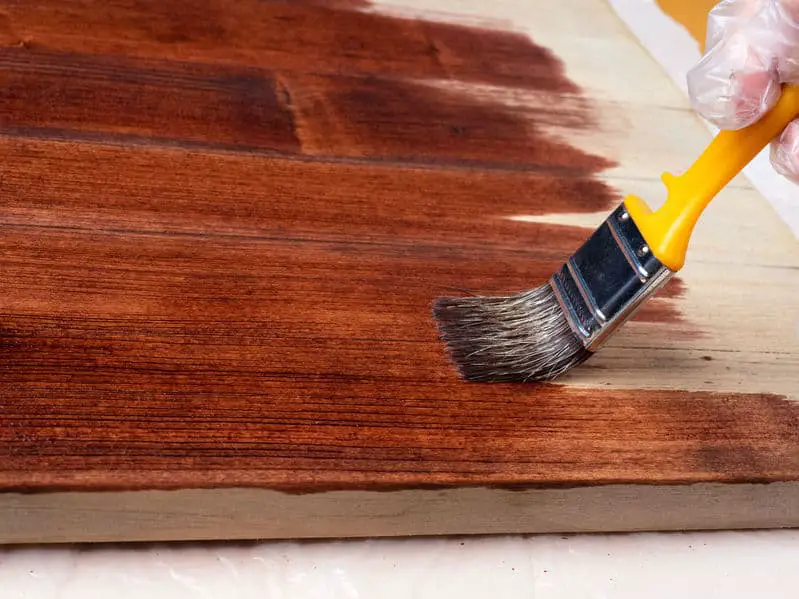
After you sand your wood material clean with a brush then a cloth to ensure the surface is clear of any dust or debris. This can be done with a cloth dipped in mineral spirits for use of oil-based polyurethane and denatured alcohol for water-based polyurethane. Let your wood material dry prior to applying your polyurethane. - Stir the polyurethane – Here is where the potential for bubbles can form. We all want to stir the can by “Shaking” the can. This is not a good idea for polyurethane as it puts bubbles in the polyurethane. If you want to stir use a wood stick and gently stir the polyurethane in the can so as not to put bubbles in the solution. This will ensure you don’t transfer the bubbles to your material.
- Applying Polyurethane – When applying your polyurethane you need to use thin coats. I know this seems to go against the theory that thicker coats are better, but believe me thin coats will provide you a much better appearance and seal.
Apply two or more if desired, coats of polyurethane using your natural hair for oil-based polyurethane or nylon brush for water-based polyurethane.
Between each coat allow to dry and sand with either steel wood or a 120 grit sand paper lightly, and I stress lightly. Clean with a cloth and apply your next coat.
The prevention of bubbles in your polyurethane sealer is patience and step-by-step processes which will provide you a beautiful finish that is lasting and durable. If you want to see the process more in action I have provided a video below to assist.
How To Get Bubbles Out Of Dried Polyurethane
There are times we make our best effort and followed all the prevention steps and still get bubbles in our polyurethane finish. Although this is frustrating there is a solution.
Your Polyurethane Finish Is Still Wet And Fresh
As you are applying the polyurethane you may notice that there may be some bubbles forming in the finish. This is a great time to remove them prior to the sealer drying.
Carefully use your brush to dab on the bubbles with the tip or corner of your brush or lightly brush along the surface of the polyurethane sealer and flatten out the bubbles. This may take a few tries and also you may need to perform a full brush across the length of the material to resolve.
Your Polyurethane Is Dry And Has Bubbles
You have looked and looked at the finish prior to letting it dry and return to find bubbles in your polyurethane finish. It does happen. To resolve this you will need to sand them to remove them and apply another light coat over them.
Sand Out Bubbles From Your Finish
- Using a 120 grit or a finer sandpaper to remove and sand the bubbles. If the bubbles are extensive, you may use a sander such as a palm or finish sander. The goal is to sand very lightly t remove the bubbles and not the entire finish.
- Next using a damp cloth, wipe away the sanding dust. Ensure you get the surface as clean as possible so you don’t have a rough surface when you apply the second coat.
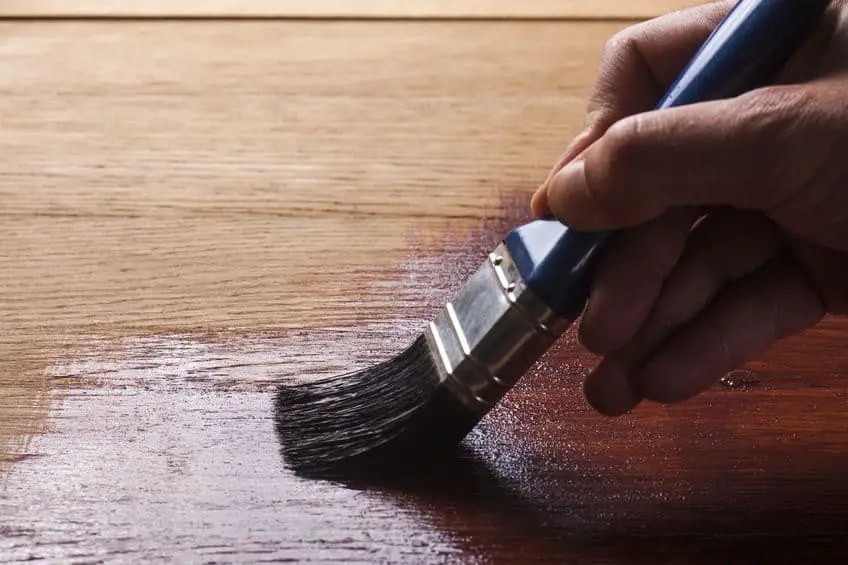
- Then apply a fresh coat of polyurethane, moving the brush slowly to avoid creating more bubbles. This coat should be a light coat to not create and uneven surface of polyurethane.
Please note: If you are moving the brush too quickly it will cause trapping of air between the bristles creating air bubbles that then get transferred to the surface.
Below I have included a video that goes into the removal of the dried bubbles very well.
How To Stop Air Bubbles In Varnish
If you are using a varnish to seal your woodworking project the process for stopping bubbles is very similar. What is varnish? Varnish is a very nice transparent resin, it is dissolved in liquid, which is then applied to wood and provides a durable, glossy surface much like your typical polyurethane. If you are wanting to use a varnish there are many different types.
Looking at traditional varnishes consist of resin, solvent, and drying oil. Although the specific types of them vary among manufacturers their purposes are universal. The process is while the resin hardens on the material surface, the drying oil penetrates deep into the wood before hardening.
As with polyurethane, the possibility of bubbles is there. The reasoning behind the bubbles is the same. They include the preparation of the wood material, not shaking the can with the varnish in it, and using the correct brush to apply to the material.
Additionally, the process for removal is the same as the generic polyurethane. If the varnish is still wet you can remove it by using your brush to tip in and fix the bubbles.
However, if it is has dried you will need to sand and apply a light coat to resolve it. As you apply your light coat ensure you are using a feathering technique.
A feathering technique is described by taking long strokes from edge to edge being careful not to overwork the varnish. The purpose is only to remove the bubbles and have a nice finish when done.
Can You Use A Torch To Get Bubbles Out Of Polyurethane
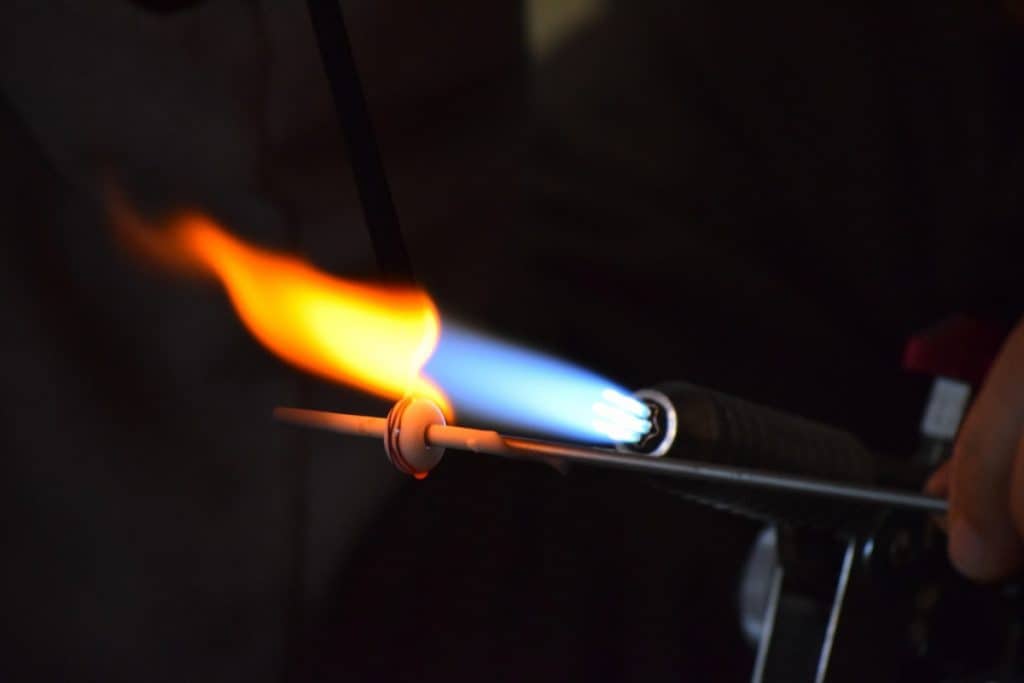
During my research on this topic, I noticed in several of the woodworking forums that some woodworkers use a torch to remove the bubbles in their polyurethane. Although this may be good when the polyurethane is still wet I’m not sure it will work when the polyurethane is dry.
In my woodworking shop I do use resin quite a bit to seal signs I offer to my clients, more specifically for outside or outdoor wood signs. The resin does protect the wood sign very well and will last a considerable amount of time longer than the polyurethane.
During the process of applying the resin, I have used a hairdryer or torch to remove the bubbles which may form during the application process. It is quite effective in removing bubbles from the resin.
Knowing it works on the resin I was surprised to see it does work for the polyurethane as well when you use the hairdryer or torch conservatively.
The key to this process is to apply the polyurethane and the number of coats you wish to use, typically two to three coats. Then wait a couple of minutes and revisit the polyurethane sealer you have applied.
If there are bubbles that have formed you can use the torch or hairdryer to remove them. Key things to remember when using this technique
- Polyurethane has to still be wet
- Hold torch or hair dryer about 4-6 inches away from the polyurethane. If you are to close you run the risk of moving too much of the sealer to resolve the bubbles
- Using a back and forth motion, wave the torch or hair dryer over the bubble and watch them melt away.
- You may still need to use your brush to touch up the spot where the bubble used to exist
This method is creative and does work with practice. However, I wouldn’t suggest you start by working on a client wood project but test it out a few times to get the feel for the technique prior to applying it to your client wood projects.
Conclusion
Bubbles and sealers such as polyurethane, varnish, or even shellac sealers all protect your woodworking projects and bring out the one thing about wood that we love, the natural grain and look of wood. That is the reason we use them, however, the process of applying isn’t always clear cut and comes sometimes with issues.
The one takeaway from this article is to know no matter what process you are using, whether it be tapping with your brush when the polyurethane is still wet, sanding and reapplying a new thin coat when the polyurethane is dry, or heating up with a torch or hairdryer there is a solution to all woodworking sealing projects.