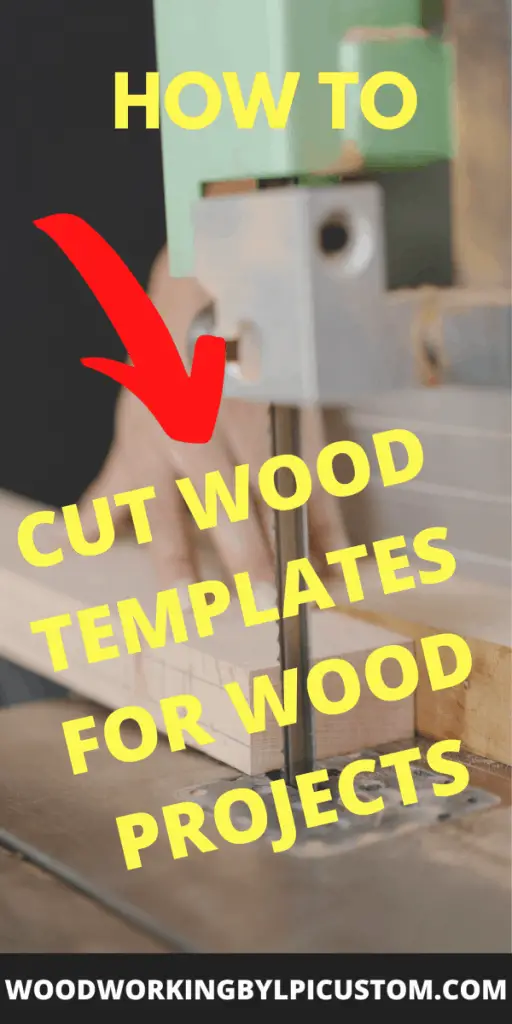
Router patterns and templates are the keys to success for wood signs you make multiple copies of. If the shape is consistent with your orders and you need to produce blank copies this method of creating and storing will cut your time and make your sales easier.
Having multiple blank patterns and templates of blank wood signs is a great benefit for saving time and money. Create the shape and then create it freehand or in Word or PowerPoint. Print out and then use an End Mill router bit to route out the sign or cut out along the shape with a Jig Saw.
If you are getting orders or are creating multiple wood signs for friends or family you will spend more time creating the wood sign shape from scratch. Creating one-time shapes is great and they become masterpieces. But let’s look at say 20 or 30 wood signs in a week. How do you keep ahead of those? And how do you keep the exact same shape and consistency between them?
Here I will provide you with the information I have researched, trial and error, and what works best for me. My hope is this will help you save some time and money in cutting your shaped signs with the router.
Purpose – Why Make Custom Router Patterns Templates
You took a lot of time to create your original wood sign shape to make it precisely what you want. Wood sign templates make them the same whether you’re making 10 or 50.
Cutting shaped signs and templates with the router is quick and efficient for producing a sign over and over or for a specialized wood sign project or product. It ensures the shape and size of the wood sign is exactly the same over and over.
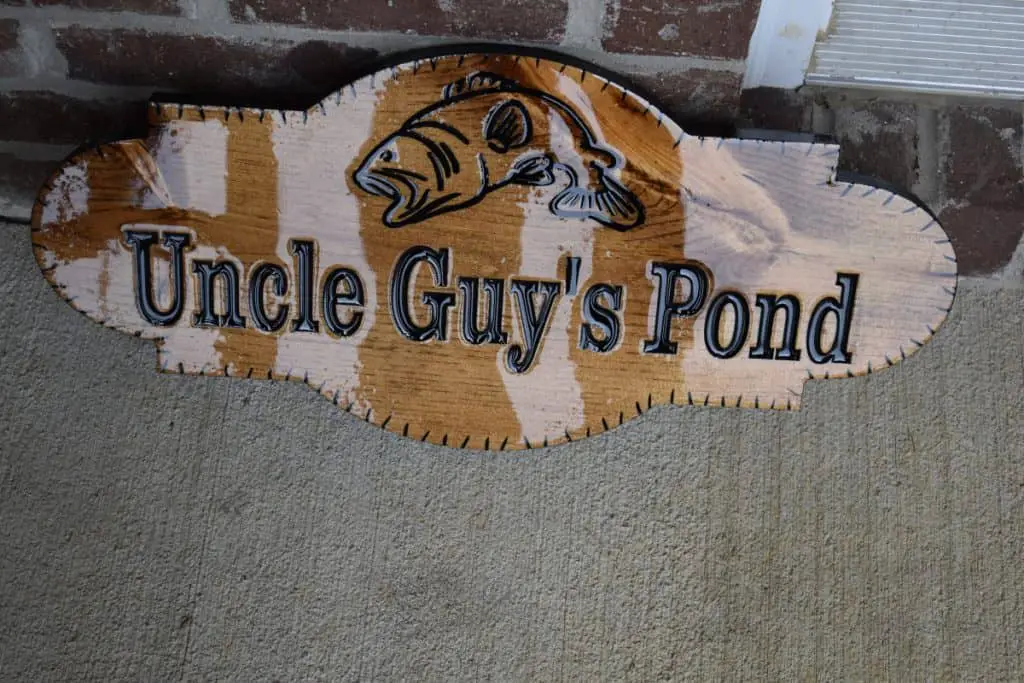
Routing wood sign Templates and patterns are not just for production numbers. It can also be for a wood sign which may have the same lettering for the same sign. For example, if you are routing letters for a last name or wedding wood sign some of the letters will be more than just one.
Staying consistent – Odd shapes, logos, and feature patterns are complicated. Cutting shaped signs with the router can be challenging. Template patterns and designs make it easier to repeat that pattern over and over again.
We have discussed shapes and lettering. What about straight lines? How to cut a straight line with a router? I am not one to use a router a wood sign with a straight edge without help. Templates and patterns also help with straight edges by providing the guide for you to use a router bit with a ball-bearing pilot.
If you would like to know more about router bits you can read my other post – “Router Bit Different Types Wood Signs – Helpful Guide“
Lastly, using a router with a template or pattern is a great advantage over using a jigsaw or band saw. The router provides a smooth edge and quick repeatable edge without it being rough. If the edge is rough you may sacrifice the shape and be inconsistent by having to sand down the edges.
Different Materials – Templates And Patterns
Most woodworkers start their templates with patterns draw and measured on a piece of paper or cardboard. Much like a welder would do for shaping a piece of metal to weld a woodworker does the same. Perfecting the original template design is crucial.
Creating arches or curves or intricate shapes will also help determine the material you use for your wood sign template. Some materials will not work with fine details or small curves and corners. Templates are meant for the outside shape and you want to have a material that will last to being used again and again and withstand constant use.
What material you use may be decided by how many of the templates or patterns for wood signs you make create. Or it also may be determined by the availability of the material in your area. Examples of the materials used are below.
| Material | Pros/Cons |
|---|---|
| MDF | Good for low volume/Will collect moisture over time |
| Plywood | Good for low volume/Will collect moisture over time |
| OSB | Good for low volume/Will easily fray and chip |
| HDPE | Good for high volume/Durable and lasting |
All of the above choices are great for using templates and patterns especially if you use a router to cut out the shapes. Some of the downsides to some of the products listed are they will bow and warp over time.
Additionally, they will become harder to work with over time meaning edges may get chipped or frayed causing your production template or pattern to not have the original shape you intended. You will want something which will stand up to constant use.
Recommended Material For Templates And Patterns
HDPE or High-density polyethylene is a high-density plastic that stands the test of time. Most of the woodworkers’ shops are susceptible to moisture. And moisture is not a woodworker’s friend. If you would like to know more information about the effects of wood sign warping and how to deal with it you can read my other post – “Straighten Unwarp Warped Wood For Wood Signs“
HDPE is used as another product on the market which you may have seen. HDPE is commonly used in the foodservice industry and for home use as cutting boards. It is white in appearance and cleans very easily. The flexibility of this product provides many advantages to being used as a wood sign router template or pattern. Additional benefits are below.
- Resistant to impact
- Non-Toxic
- Non-Staining
- Resists Chemicals
- Resists Organic Solvents
- Resists Electrolytic Attack
- Great Wear and Fatigue Resistance
I highly recommend the use of HDPE for your templates or patterns. It is durable and long-lasting. Also, it is easy to cut the original shape from your cardboard design with a band saw or jigsaw. Lastly, it is affordable and comes in different sheet sizes (such as rods and tubing for those odd-shaped templates or patterns) and thicknesses. This solution will provide you years of templates and patterns on a wood sign shape you will repeat for multiple copies.
Alternative Template And Pattern – Advanced With Resin
I have discussed the basic types of ways to create a template or pattern for your multiple sign creations. I wanted to introduce a new way which can be done with resin.
Resin is an epoxy that you mix with one part resin and one part hardener. It is an excellent application for use as a sealer to protect the wood sign from the weather elements. However, here I am suggesting use as a template.
The use of resin expands the creativity of shapes and sizes as well it is something you can make on your own without relying on the HDPE. The resin will be harder than the HDPE and you can color the resin. I have seen folks color with the name of the template or color coat to the template they want to use.
I have used resin many times and it is very easy to use. I’m amazed at how much flexibility is has as far as applications. This is definitely thinking out of the box but would benefit you greatly.
The below video is an example of how a resin is used as a freehand template to create a great sign. It doesn’t go into the details of making the resin, however, does a great job of showing you how the shape of the sign is created with resin.
Wood Sign Templates – Tools
We have the purpose and the material for cutting shaped signs. Now I need to tell you the tools which you will need. I will make my best effort and trying to keep the recommended tools to a cost-efficient level. However, a majority of the template preparation tools will be a little more on the advanced side of the house.
As mentioned above the advantage of using templates and patterns for wood signs is to have a shape that you can use more than once. If you are consistently working on new signs for family, friends, or customers you will need to give a little extra time to create the templates or patterns for the signs which sell the most.
Although the extra time seems costly at the moment it will benefit you in the long run.
The tools needed will be broken down into categories for easy understanding. I am a logical thinker so it makes it easier for me as well.
Basic Tools – Template And Pattern Cutting
Assuming you have already come up with your design for the shape of your wood sign you will need to get that shape onto the wood. There are several methods of transferring to the wood and I will discuss that in the next section – Methods Techniques – Creating Wood Sign Templates Shapes.
- Paper or Wax Paper – For gluing or transferring to the wood
- Spray glue – An aerosol can of spray glue works well
- Pencil or Marker – For marking the design to the Paper or Wax Paper
- Jig Saw – If you don’t have a router a jig saw works well
- Coping Saw – For cutting the shape of those small or intricate areas of cutting
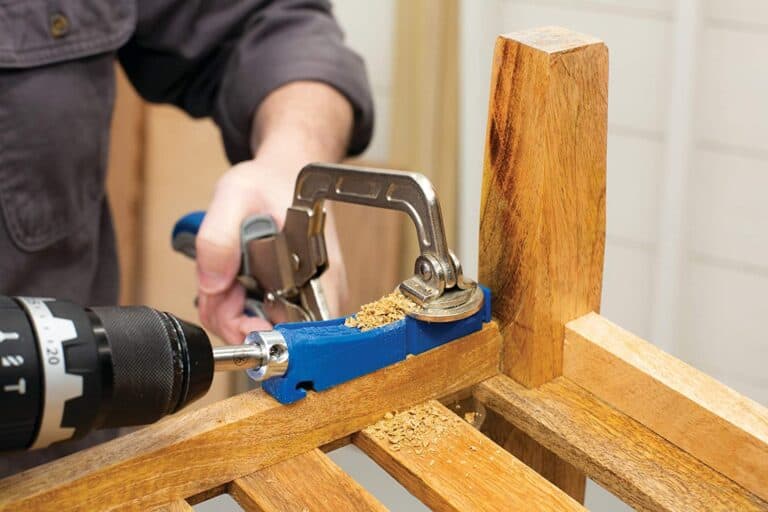
- Screws – For attaching the template or pattern to the material you want to cut out the template on.
- Drill – For drilling the guide holes for the screws
- Drill Bits – To be used with the drill to drill the guide holes
- Grips/Clamps – To hold the template and material down while cutting the shape of your templates
Advanced Tools – Template And Pattern Cutting
This list is for folks with more tools already on hand from other projects or where you may have more of a need to create and cut templates for your wood signs and in addition to the above list. If you have the below list, it will be much easier to create the templates or patterns initially as well as cutting the shapes and sizes for your family, friends, or customers’ wood signs.
- Router – To route the shapes free
- Router bits – To use with the router – specifically End Mill bit with up-cut flute (1/4″ or 1/2″ depending on the router you have or purchased.
- Routing table – If you want to carve the template with a routing table. Drawback to a routing table is the ability to plunge into the material if you need to for the design. Advantage is more stable and quick for outer edge templates or patterns.
- Band Saw – Band saws are very agile and able to cut the templates and patterns. They can also be used for the repeatable cutting of the templates you customers.
If you would like to see what products I’m using and purchase you can see my recommended products here – “Recommended Products“
Methods Techniques – Creating Wood Sign Templates Shapes
Let’s get started with the methods and techniques of cutting shapes of wood for wood sign templates and patterns. In my research I found several methods to create shapes for templates.
I was actually surprised at the different ways considering what I have been doing for years. Knowing not all techniques will work for you I wanted to give you options.
Let’s start with the basics of creating the pattern first. You may already have your pattern done. If not, then let’s take a look at a few options.
Creating The Pattern
- Freehand – Some folks are creative enough to freehand the lettering or image for your wood signs. It doesn’t need to be perfect, but the dimensions need to be accurate. If you have an idea in mind freehand you lettering and/or image on a piece of paper.
- Software – Using software like Word or Powerpoint is very common. If you are familiar with these programs you can creatively use them. Import an image and print. Additionally, one of the bonuses of using these is the font selection and ability to size the shape or lettering.
- Outsource – If you are not familiar with Word or Powerpoint you can outsource. This can be a relative, friend or at the local library. You can resourceful and get your pattern done.
Now you have a piece of paper with your image or lettering for your wood sign. This is a great start and now we need to get it on a piece of wood for your wood sign shape.
How To Attach Template To Wood for Wood Signs
Placing the image on the wood for cutting or routing your image to the wood for the pattern shape is fairly simple. There are several techniques you can do to get that image or lettering on your piece of wood.
- Glue/Adhere – This is the most recommended method for getting that paper on the piece of wood. There are several different types of glue. Of course there is super glue or regular craft glue. I don’t recommend them for this application as it tends to soak through the paper and distorts the image. I do recommend a spray version. If you go to your local craft store you can buy a spray glue which will be a thinner layer and hold the paper to the wood with less aggravation.
- Tape – Tape is also a very popular option. Painters blue tape works very well. I would recommend multiple pieces of tape perpendicular to the paper or if you want just tape along the edge. The down side this technique is doesn’t always hold the paper very well as you cut. If this is the method you want to use you may do a hybrid tape and small about of glue.
Methods And Techniques To Cutting Shapes
We have done all the preparation, know the tools and key ways to adhere the template or pattern to the wood. Now let’s look at how to cut the pattern.
As mentioned above cutting your template or pattern really depends on the tools you have and your comfort level. Cutting your pattern or template needs to be precise so all of your wood sign shapes made from the template or pattern are the same and match size. But I want you to know it is easier than you think.
- Hand Sawing With Coping Saw – I mention the coping saw because not all patterns and templates are not the same. Some of the patterns used are for just painting the pattern on the wood for carving with a router. If you are just wanting to create images or lettering a very thin material and a coping saw is a very good way to cut the pattern without damaging the template.
- Band Saw – A band saw is a great tool to cut the patterns and templates. It allows you cut thicker material and be precise with small moves. As well the band saw can cut the HDPE, as I recommended above, very well and easily. People really get creative with the band saw due to its flexibility.
- Routing With A Router – This is by far the most popular to cut patterns or templates if you have the router and bits to use. I use the router to cut templates due to its ease of use and flexibility to cutting patterns. As mentioned above you will need a router and an end mill bit. The router makes the process repeatable and doesn’t take a lot of time to complete.
If you like the information provided please ensure you Pin the below for this article to Pinterest and also follow me on Pinterest