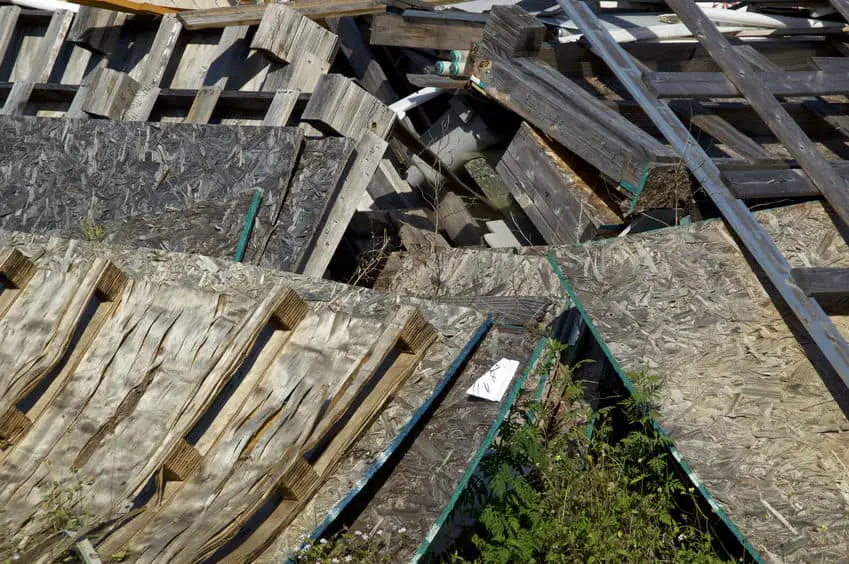
Generally fixing your warped wood for your wood signs is not difficult. If you work with wood you are familiar with warping. During my journey of learning to make wood signs, I have dealt with many different types of wood. Pallet, free and common wood is subject to warping due to mostly being outside.
Warping in your wood for your wood sign, in general, can be fixed fairly easily. Wood warps due to environment and moisture content. The easiest way to fix a general warp is to apply heat. This can be done with a little moisture and sunlight or even an iron. Apply heat to wood on the affected area then let dry slowly.
If you have been in woodworking for any amount of time you will come across warped wood. Unfortunately, it is inevitable and you will encounter warped wood in your wood sign creation.
When I started making wood signs I wanted to know how to identify and fix my warped wood. There are several options I researched for a small warped wood board for a wood sign and for the extreme warp.
Why Does Wood Warp
During this post, I didn’t want to specify a specific species of wood. All wood, being a natural material will warp given the right circumstances. I will address what warping is and how to fix your wood signs.
Reason Wood Warps
You go to the local hardware store or lumber yard for your wood sign and you scrutinize really well and make sure all of the wood is straight, with no warps and little to no knots. You are extremely happy, purchase the wood and take it back to your shop.
The next day you go out to your shop and notice a good percentage of your wood has warped. Why did it warp? What could I have done differently? How much money did I spend to get these pieces of wood to see I may not be able to even use?
The biggest reason wood for your wood sign warps is moisture. Wood gains and loses moisture depending on several factors. Some of the reasons are common sense and some of the reasons may surprise you.
- When wood is initially cut from the tree, it is full of moisture and the grains of the wood have absorbed moisture as the tree is growing
- Moisture weight in the wood you are purchasing will be more or less depending on where the board was taken from in the tree. The inside of the tree is more dry than the outside of the tree. If you are milling your own lumber then you can predict this, however most don’t have preview of the milling process
- The wood acclimates to the environment you put it in. Prior to using your wood for your wood sign you need to allow the wood to acclimate for a at lease seven to ten days. This is very important so the wood you are working with has a chance to adjust. If you utilize the wood to soon, it may change drastically from when you started your wood sign to completion of your wood sign.
- If your wood for your wood sign is laying on a bench for example, the side which is exposed will dry more than the side which is not. This also happens if the lumber is laying on top of other lumber. Keeping your wood stacked with stickers (Separators) to separate the wood. Stack evenly to allow the most air to circulate and keep the wood evenly flat as much as possible.
- Sanding one side of the wood and not sanding the other side will allow the grains in the wood to be more exposed and absorb more moisture on the sanded side and not the side which is not sanded
- Sealing one side of the wood for your wood sign will prevent moisture from coming into the wood and the exposed side will absorb moisture
These were the most common reasons why your wood for your wood sign may warp. The key is moisture and the environment the wood is in. Additionally, it is the key as to why wood splits and cracks. If you want to know more information on splits and cracks you can read our post – “Wood Sign Crack Split Prevention Spreading Repair“.
Types Of Wood Warp
- Bow – When the wood departs from being totally flat to a curve lengthwise on the wood.
- Kink – When the wood departs edgewise from being totally straight. These types of warps generally are towards the ends of the wood.
- Twist/Wind – When the wood creates a turn or twist end to end on the flat surface of the wood.
- Cup – When the wood departs from being totally flat on the surface to a curve on the flat surface of the wood.
- Crook – When the wood departs from being totally straight along the edge and length of the wood.
Prevention Of Wood Warping For Wood Signs
The prevention of wood warping is not as challenging as you may think. It really comes down to understanding why and how wood warps as mentioned above. Then taking that knowledge and applying techniques to minimize the moisture level in your wood. But first I wanted to provide a more detailed description of the moisture level in wood.
What Is Moisture Content In Your Wood For Wood Signs
Moisture and humidity are not friends for your wood signs. It makes your wood bow, swell and warp. This is done when the grains in your wood absorb moisture at different levels. Then when the wood has a chance to dry it dries it shrinks and changes at different levels which causes the wood to stress and warp.
Low moisture levels in your wood is a harmony which is the Equilibrium Moisture Content (EMC). When your wood acclimates to its local environment it reaches the EMC. This is the optimal scenario. It can take days, weeks, or in extreme scenarios months.
You want your moisture content to optimally be 6% or 8%. You can enhance the ability to reach that moisture content level by using a kiln process. If you want to know more about drying your wood to prevent splits or cracks, you can read our post – “Wood Sign Crack Split Prevention Spreading Repair“.
How To Prevent Wood Warping For Your Wood Sign
There are many ways you can try to prevent wood warping for your wood sign. Besides picking the more expensive wood for your wood sign with the perfect grain there are other ways to help prevent wood warping.
Stacking You Wood – As mentioned stacking your wood for your wood signs can be very beneficial. Avoid warping by stack with stickers (Separators). Stack on a flat surface, off the ground, and in the environment, you will be creating your wood sign. This allows air circulation for the best EMC.
Dried/Cured – Most of the wood you will purchase from the local hardware store and lumber yard is already dried and cured using a kiln. However, if you want to use a kiln yourself you can create a kiln that will accelerate the process of removing moisture from your wood. Beware though, the kiln process is not permanent, please ensure you acclimate to the local environment as well.
Seal – Sealing the ends of the wood will help with the warping of your wood for your wood signs. The end of the wood is most susceptible to moisture and if sealed with acrylic paint can help prevent warping. This is a simple solution and recommended especially if you’re storing your wood for periods of time.
If you would like to see what products I’m using and purchase you can see my recommended products here – “Recommended Products“
Straightening Fix Warped Basics To Get Flat
In my research, I found many different techniques which would straighten or flatten warp wood for your wood signs. Now we know what causes warped wood and some ways to prevent it what do we do if we already have some warped wood for our wood signs.
There are many opinions on this subject and they vary. My goal was to go through and pick a couple of the techniques which would apply to wood for wood signs.
Applying Air – The warping is typically caused by the amount of moisture on the space of the wood and warps in the opposite direction. A simple solution may be to use a fan and let the wood dry which may reduce or eliminate the warp. Beware to monitor the wood as too much drying on one side of the wood may cause it to warp in the opposite direction.
Laying the Sun – Take the warped wood and place it outside, not on the ground, and let the sunlight remove the moisture. This does work well I have done this several times. Be careful not to leave it out there too long as it may remove too much moisture and warp in the opposite direction.
Applying Heat – Taking a dampened cloth and placing it on the concave (Inside cup or warp) side of the wood. Using an old iron, move across the wood with the grain to apply a little heat at a time.
Monitor the wood during the time you are doing so and you will notice it will move back to a flattened state. This may not remove the total warp but will definitely work well to remove most of the warp.
A less technical technique is to use a hairdryer to apply heat to the board. Monitor the warp as you apply the heat applying to the wood and slowly watch the warp remove. Although this method is simple it can be quite effective if you are patient with removing the warp in your wood for your wood sign.
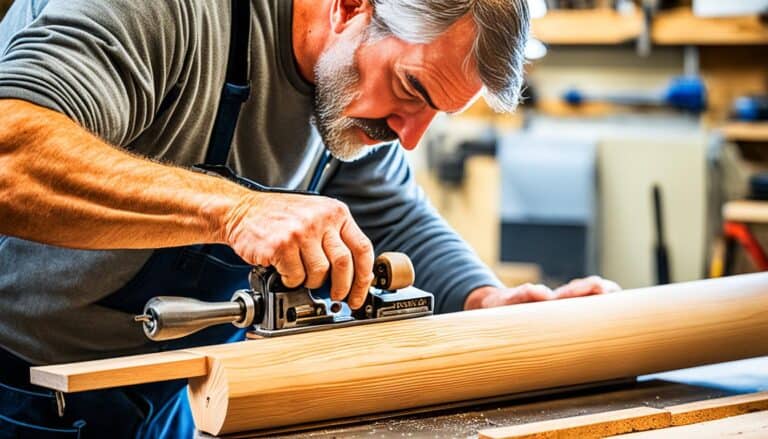
Plainer – If you have a little room in the dimension of the wood for your wood sign you can use a planer to level out the piece of wood. This technique I found to be the most obvious but also the most controversial.
However, if you do have an extra amount on the length and width of your wood you can place it on a level surface and slowly hand plane the extra material off. Once you have a close level piece of wood you can run the planer and level the piece of wood.
Advanced Techniques To Straightening Fixing Unwarping Wood For Wood Signs
Let’s look at more advanced techniques of fixing and straightening warped wood for your wood signs. These methods and techniques are for the more extreme warping scenarios.
If you have a beautiful piece of wood that you want to create a wood sign with and you see it has quite a warp to it do you continue with your wood sign project or not? Or you have invested a great deal of money to get a specific piece of wood for a specific client and it develops a warp how do you repair the warp.
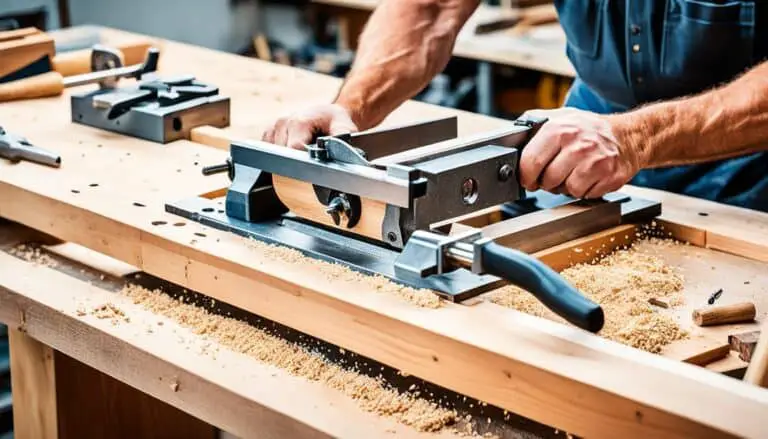
Cutting the Length – You have a warped piece of wood for your wood sign which has a cup in the center. Mark the cup where the warp is prevalent. Using a saw, preferably a band saw, and cut the length of the piece of wood.
Once it is cut you need to use a joiner or use a hand planer to level the cut side of the wood to allow for a clean edge. Using wood glue (And biscuits if needed) to glue the two pieces back together. Place on a flat surface and use wood clamps to hold together. Let dry completely and remove the excess glue with a sander.
Cutting the tension- Another technique to use for the extremely warped wood is to cut along the tension points. Although this technique is used mostly by wood furniture makers it can be used for your wood for wood signs. Take the wood and lay flat on a flat surface.
Using a pencil to identify the tension points on the wood. Once you identify the tension points use a circular saw to cut about three quarter the way down into the wood along the tension points of the wood. Several cuts may be needed to relieve the stress on the wood.
If the wood will not completely flatten, you can route out cross-cuts out with a router and a flat bit. Hold the wood down with wood clamps till on a flat surface or wood bench. Place spacers underneath if needed to make sure you are completely flat.
After you finish your routing it will create pockets for you to place small wood pieces in and glue to hold flat. Let completely dry and then flip over to see a totally flat piece of wood for your wood sign.
If you are concerned about the tension cuts and pockets you can use stainable wood glue. For the added touch add sawdust to the glue for a better effect.
Ensure you use “Stainable” wood glue. If you use regular yellow wood glue when you go to stain the wood it will give a yellow appearance where the glue was under the stain.
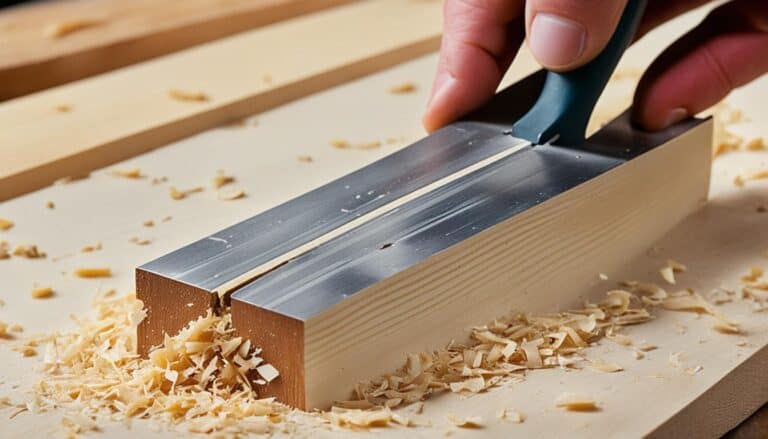
Spline Fix – This technique works with any species of wood to include solid wood and plywood. You identify the concave side and the stress on the piece of wood for your wood sign. Using a circular saw or preferably a table saw cut a full-length cut along the stress line of the wood piece.
The depth should be about three quarter’s the way through. Make a second or third cut if needed to relieve the stress and allow the wood for your wood sign to lay completely flat. Then using a similar or like type of wood rip a spline strip the size and length of the cut on the wood.
Use stainable wood glue into the cut. Let completely dry and sand smooth on both the flat surface and the edge. Finally, ensure you stain or seal with a polyurethane, sealer, or sanding sealer of your choice on both sides of the wood.
This is important to ensure the wood will stay flat and the moisture EMC level will remain at a good level. The spline fix is the most professional of the techniques and provides the most assurance that the wood for your wood sign will not cup or move back to its original warp.
I hope this information, identification, and techniques help you in your efforts to flatten your wood for your wood signs. Although most of the time a fan or a little heat works, I know more extreme and sound techniques are warranted to ensure your wood for your wood signs are a solid solution.
Ensure you prep both sides of your wood for your wood sign and seal both sides of your wood for your wood sign to ensure your customer and clients are completely satisfied with their wood sign. It is the key to success and being a professional in woodworking for creating wood signs.
f you like the information provided please ensure you Pin the below for this article to Pinterest and also follow me on Pinterest