Layout letters and templates help us put lettering and images on our wood signs. By using pre-cut lettering and images we can be consistent with the same size and font to use in any order and creativity we can think of on our wood signs.
Layout letters, images, and templates are cut-out forms of material traditionally thin plywood. These layout letters and images are placed strategically on a blank wood sign then painted with spray paint to create outlines for carving inset or outset giving you perfect letters and images every time.
If you are just starting out creating wood signs and don’t have the budget for a CNC yet (highly recommended), using layout letters is an excellent way to get started. There are many ways to make them, in different fonts which you will use over and over again. As you use them repeatedly they will get coated with paint and I will suggest a good way to clean them.
What Are Layout Letters And Images – Wood Signs
Layout letters and images are pre-cut templates and stencils which you lay on a blank wood sign and then paint over to create an outline for carving or painting. They are typically made of a durable type of material such as thin plywood, HDPE, plastic, or scrap wood you may have in the shop. They are the key to answering the questions of how you make the perfect letter, how do you make letters with signs and how do you do lettering.
Solid Or Mask Layout Lettering And Images
These are layout letters or images which are cut solid as the shape of the letter or image. The advantage of using solid lettering and images is you will be carving on the inside of the letter or image after you paint over them on the blank wood sign.
If you use thin wood layout letters or images they should be thin but not thin enough when you spray paint on them for the outline that they move, which is a downside to using them. Also, they should have clean edges and so when you do paint them the edges of the paint form are crisp.
Outline Layout Lettering And Images
They also come in pre-made cut-out lettering. These are the opposite of the pre-cut lettering and images mentioned above. These are where you paint the layout lettering or images on the inside of them as opposed to the outside edge. Although different there are some advantages to using these types versus using the outline (outside edge) ones mentioned above.
The flexibility of layout lettering and images are they are fairly cheap and easy to get or make. Additionally, they are limitless, meaning they are only limited by your imagination for creating and using them.
Lastly, they are repeatable. This means you can use them over and over to create a generic wood sign you make or sell over and over or one-time custom wood signs for a client or customer. All you need to do is an arrangement on a different species of wood, size of wood, or combine with different sizes of fonts to create a different appearance.
Different Types of Layout Letters And Stencils
There are many different types of layout letters and stencils you can use to put lettering or images on your wood sign. I will try to include the most popular and the ones I use for getting the best results.
Let’s look at some of the typical types of layout letters and images you can purchase. These can be purchased at your local craft store or purchased online.
Stencils And Masks
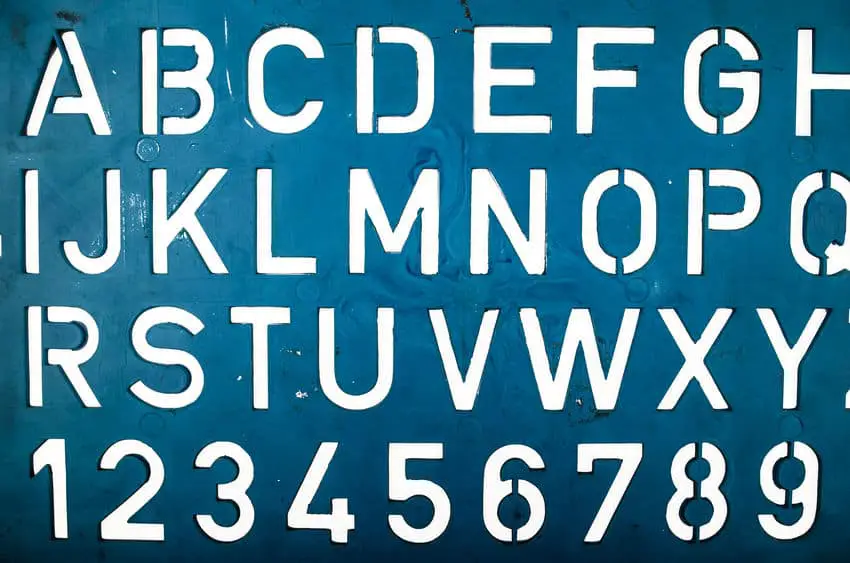
Stencils are very popular in the painted wood sign industry, however, we also use them extensively in the carved wood sign industry. They come in many shapes, sizes, fonts, and styles. Many folks purchase these on Etsy or at other resources such as at a craft store.
They can also be created with software and vinyl cutters such as a Cameo or Cricut and the limit is your imagination for the style and type. I have used them in the past and created them with a Cameo and vinyl.
Other standard stencils can be made from plastic, metal, and wood. This is great if you have a repeatable layout you need to make for a client or customer.
You can also create the stencils yourself with a little creativity and a word processing program such as Word or Powerpoint. We will get into the method in the next section.
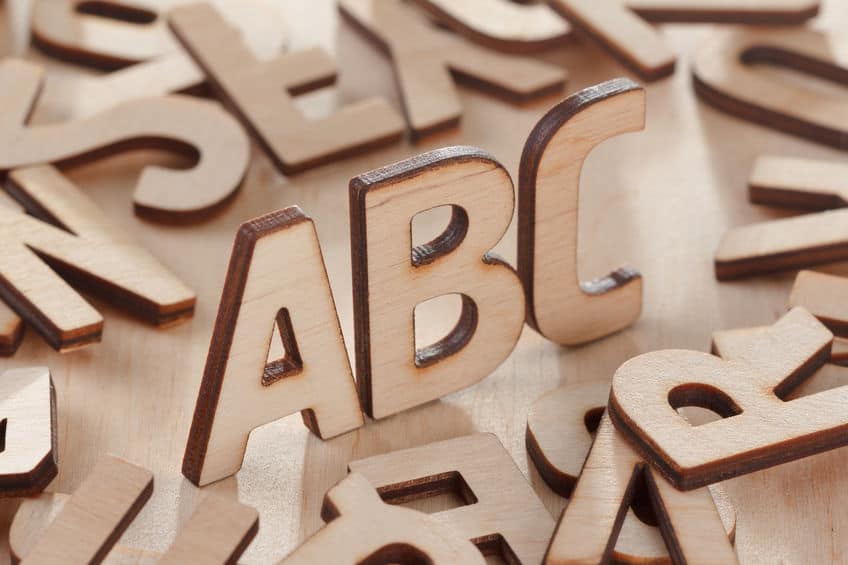
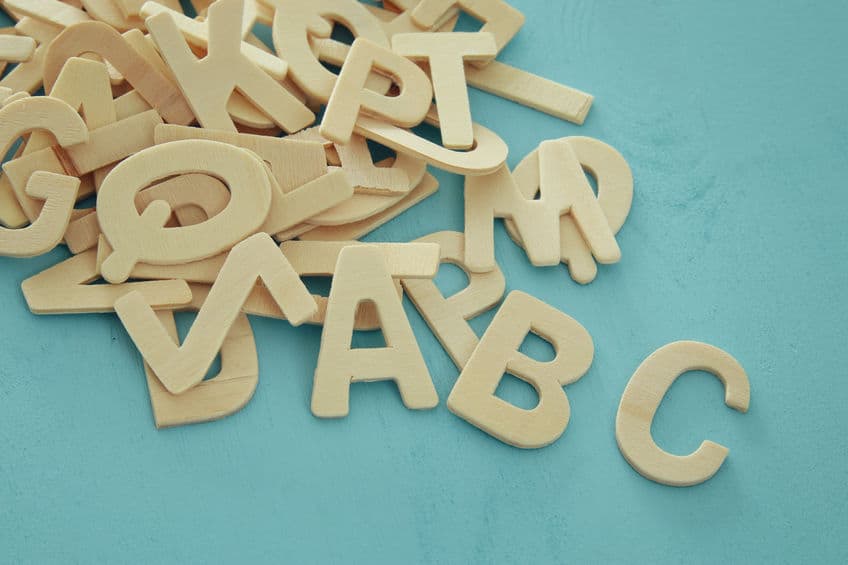
Layout Letters And Images – Masks

Layout lettering and image masks are the opposite of the typical stencil. It is the solid version of the lettering and images. I have used these extensively when I first started making custom wood-carved signs.
The flexibility of them is the same as the stencil where you can get them in many shapes, sizes, and fonts. The benefit to the layout letters and images is they are typically single letters or images. So for example each letter being individual can be arranged to spell any word, phrase, or name you would like.
It is not to say you can’t do this with a stencil, to me it seems easier to use the individual masks. The stencils are typically pre-made, a collage of stencils or you need to create them to create the custom wood routed sign you would like to carve.
The challenge with individual layout letters or image masks is measuring them for placement. Most folks and in the past myself included seem to be confused or is overwhelmed to accurately measure for spot-on placement between the lettering. I will get more into that as well.
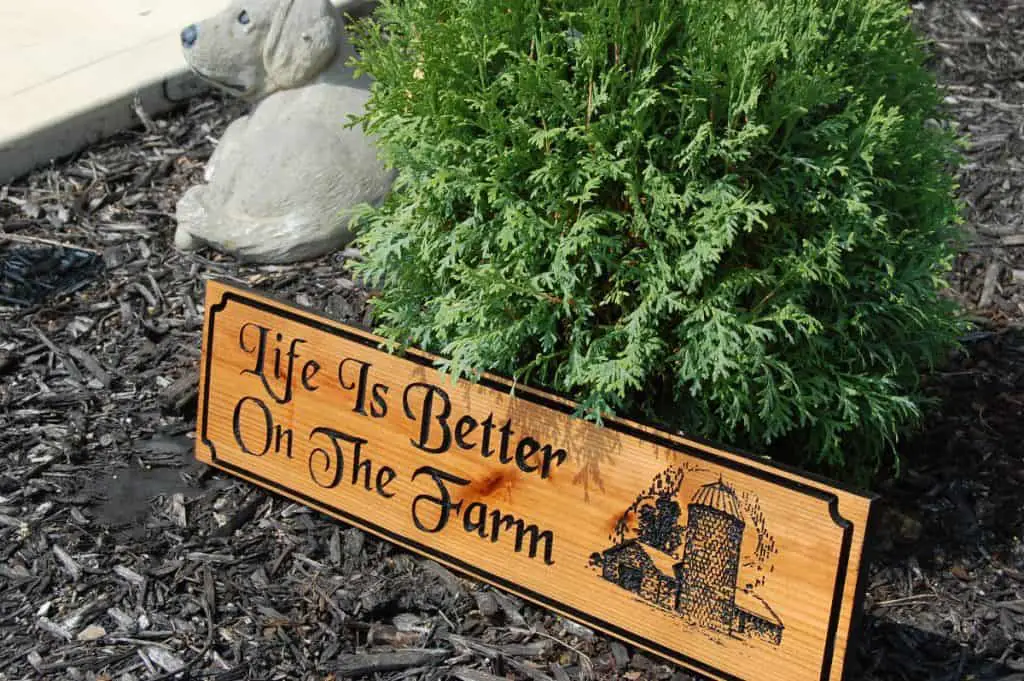
Full Letter Or Image Layout As A Wood Sign

The last type of layout I would like to suggest is using layouts to create the shape of the custom wood sign. For example, for a while, the big letters were very popular as a home decor wood piece. These letters would be hung on a wall or displayed in an open area as the beginning letter of the last name, school, team, or other representation.
To make multiple full letters with layouts you would use a layout to apply to the wood species of your chosen layout and cut them out. If you like to know about cutting out shaped templates you can read my other post – “Cutting Out Shaped Templates Design Patterns For Wood Signs“
How To Create Layout Lettering And Images
We have discussed what layout letters and images, stencils, and templates are. You can go out and buy them as mentioned from Etsy or other resources such as online or local craft stores. The downside to these can be they are generic or not going to fit the custom wood carved sign you are creating. You will need to create your own.
Don’t be overwhelmed by the thought of creating your own. It actually isn’t that difficult to do and doesn’t need the use of expensive equipment to make. As mentioned the limit of the layout is your imagination or your client’s imagination.
I want to provide a little bit of a disclaimer here. As you create the layouts for your custom wood signs please be knowledgeable about copyright and trademarks. If you use one of the well-known symbols or representations such as Disney or NFL you need to ensure you have a license to use them. If you have any doubts you can search here – “Search trademark database – USPTO“.
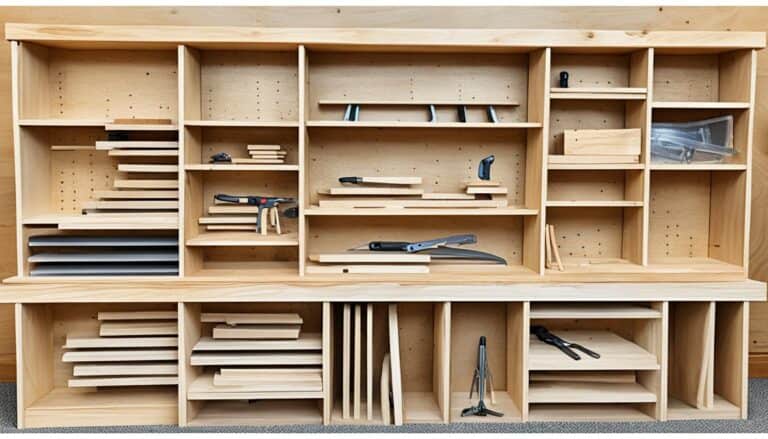
Material – What Material Do I Use For My Layouts Masks And Stencils
The materials used for the layouts, templates, and stencils depend on what you are using them for. If you are using them for Masks or Stencils you may need to use something a little more sturdy. Or if you are using it for a one-time custom wood sign you may get away with just using paper.
Below I provided a table for you to use in determining the material for your layouts, masks, and stencils.
| Material | Purpose | Method Of Cutting |
|---|---|---|
| Plywood | Paint Stencil/Masks | Jig Saw/Band Saw/Router |
| Cardboard | Paint Stencil/Masks | Scissors |
| Plastic | Paint Stencil/Masks | Scissors |
| HDPE | Shape Of Sign/Big Letters | Jig Saw/Band Saw/Router |
Creating You Own Layouts, Stencils And Templates
As mentioned above creating your layouts, stencils and templates is not really that difficult. Believe it or not, the hardest part is coming up with the design. Here I will share a method of how to make them.
If you have limited resources and want to pursue repeatable layouts you can use your computer and a word processing program. If you don’t have the availability to use a word processing program you can go to a family member, friend, or even the library as a suggestion.
This can be Word or PowerPoint to create the image. Select the font and adjust the size to the size of the blank wood for the wood sign. If you need assistance in selecting a font for your layout you can search on the internet for “stencil font free“. There are a lot of free fonts available to add to Word or PowerPoint.
How do you increase the size of the template if it exceeds the size provided by Word or PowerPoint? You can go to the internet and search for “Rapid Resizer“. You upload your file and it allows you to resize to pretty much any size. Prior to downloading it gives you a representation of how each piece of paper will look for taping together. Download and print on your printer tape together.
Now you need to adhere it to the blank material for your wood sign. Using glue (Preferably spray glue – You can get it at your local hardware store or craft store) place it on the blank material you want the shape cut out on and wipe it for a tight seal. It doesn’t need to be perfect but most of the lines or bubbles need to be wiped flat.
Now you have your layout, stencil, or template shape on the material for your wood sign layouts. How do you cut it out? That is the next step.
Cutting Out The Layout Shape On Your Material
Cutting out the layout letters, stencils, and templates depending on the material you use. As mentioned above there are several different materials you can use for the letters, stencils, and templates.
- Cardboard – If you are looking to use cardboard you can use scissors to cut out the shapes.
- Plywood/Generic Wood – You will need to use a jig saw, band saw or coping saw to cut the material for your layouts. This requires a little experience and I would put this experience level at medium
- Plastic – If you are looking to use plastic you can use scissors to cut out the shapes. This depends on the thickness of the plastic where you may need to use a coping saw.
- HDPE – This can be cut out by using a jig saw or band saw with a little bit of effort. However, the best way to cut this shape for outline shapes is a router.
If you would like to see what products I’m using and purchase you can see my recommended products here – “Recommended Products“
Methods For Using Layout And Stencil Lettering And Images
You have created your layouts and shapes for your wood sign projects. All of the work you have done is now ready to use. The big question is how do you use them on the blank wood for your custom wood sign.
Layout Letters Templates Stencils Wood Signs
If you used certain fonts with your layout templates and stencils you need to ensure you print out a copy of what layout lettering for example to reference so you ensure you get the lettering correct.
Measuring and placing your layout templates and stencils is an art. Sometimes you don’t need it to be perfect because the design is more rustic. However, sometimes you need them to be perfect. It all depends on design.
I have noticed there are several methods of measuring and placing lettering in the layout templates and stencils. When I got started in custom wood signs this was a mystery for me. I learned with practice that it is common sense.
Three things you need to do for measuring. Consider your design and look at the printed version for reference. First, you need to consider whether or not you will have an edge such as a coved edge or rustic edge. Secondly, using a ruler draw horizontal lines and place lettering always keep in mind the center of the placement of the lettering. Lastly, when you paint hold spray paint about 14-15 inches away from the lettering and use small bursts, not full spray paint methods.
I have included the below video to assist you in the basics of measuring, placing layout lettering, and painting the layout templates or stencils.
Next Level Layout Techniques For Templates And Stencils
We got the straight wood sign layout technique but what about a curve? The same basic method or technique applies starting with using a ruler and a center measurement.
You will need to consider the distance to the edge of the curved wood and then draw a line along the edge being consistent. In the video I provided below he uses his finger as a guide.
However, you can also use a screw into the workbench and center the curved wood above. Once you mark the distance from the edge, clamp down with a grip or clamp the wood for the wood sign, and then with a string tie it around the screw with the length a little beyond the mark you made on the wood for the wood sign.
Using your pencil you can match the mark for the center and drawback and forth for your alignment line and use it to place your lettering.
Cleaning Your Layout Lettering And Image Templates And Stencils
An interesting question I have been asked numerous times is how to remove the build-up of paint on the layout templates and stencils. Over time the paint or ink you use will build up and make them coated with paint or ink and the edges will not be as sharp.
There are several ways you can remove the paint or ink from your layout templates or stencils.
- Rubbing Alcohol – This is the most common approach. Using a rag soak the rag with the rubbing alcohol and rub the layout templates or stencils until levels of paint or ink start to remove.
- Mineral Spirits – This is also a well know approach. Using a rag soak the rag with the mineral spirits and rub the layout templates or stencils until levels of paint or ink start to remove.
Please note any fumes which may be present during your cleaning process and take measures to use an appropriate mask.
Lastly, if the paint or ink will not remove easily you can you a more abrasive scrubbing brush to help remove it.