Attempting to glue boards together without warping is extremely challenging. I have experienced the frustration with letting your wood boards dry, removing the clamps, and seeing them all uneven and warping. What is the solution to gluing boards together without warping?
Gluing boards together without warping is not as bad as it seems. Things to consider in the process before you apply glue. Ensure you dry-fit first, clamp the edges of the seams, and use a flat surface. Then if you need to adjust you already know what to anticipate prior to applying glue.
After researching many techniques, forum questions, and responses I have compiled a great list of considerations for how to glue boards together without warping. Additionally, I will include a great deal of information that will save you loads of time in gluing your wood boards. If you do glue boards together I wanted this to be your one-stop-shop for all your information.
What Is the Best Glue For Gluing Boards Together
There are many types of wood glue on the market today. It can be very confusing with all the different types which you see when you go to your local hardware store. Which one is the best?
It really depends on what you will be gluing and things like whether it will be outdoor or indoor for example. There are specific glues that are intentionally made for the exterior and also state they are able to be used in water. This will become more important later in the article when we discuss warping and how to fix it.
Different Types Of Wood Glue
As mentioned above it can be very confusing the number of products which are offered on the market. To assist see the below lists.
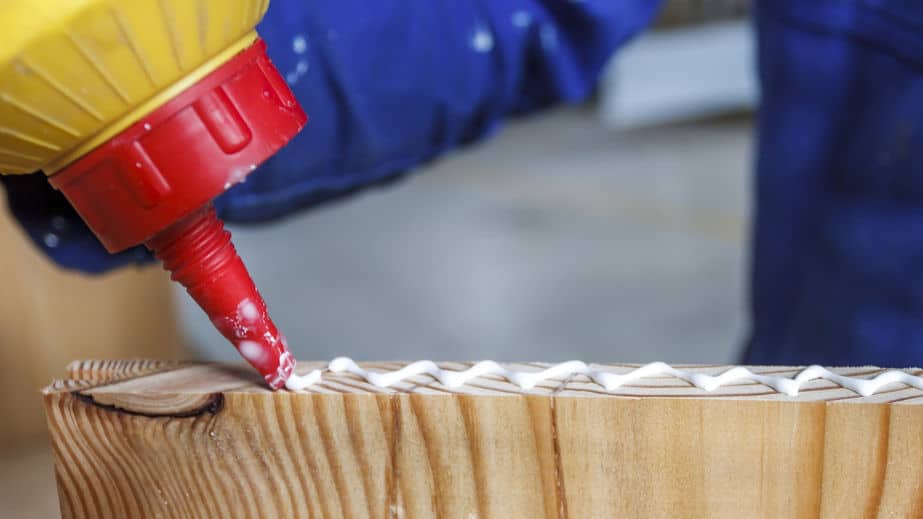
Polyvinyl Acetate (PVA) – Most of your wood glue is Polyvinyl Acetate (PVA wood glue). They are referred to as carpenter’s glue typically and are formulated to penetrate the wood fibers to make the glued joint stronger than the wood itself. A downside of PVA is if any of the glue is left as residual it will impact the finish of your wood project.
Yellow Glue – This is the typical woodworker’s glue you see on the market and is also typically used for outdoor projects. Beware though it is not typically used for total submersion in water. A great example of this type of glue is Titebond II.
Liquid Hide Glue – Mostly used to repair woodworking projects. It is a great wood glue however has a long curing time of typically 30 minutes. A great benefit of liquid hide glue is if any residual is leftover it will not impact your wood project.
White And Yellow Interior Glue – Probond is an example of this type of glue. It is the most common type of glue you will see in most woodworker’s shops.
Polyurethane Glue – This is fairly new on the market and a great example of this would be Gorilla Glue. The benefit to this type of glue is it can be used for those applications which need to be completely waterproof. The cure time is slightly shorter at 15 minutes versus the Liquid Hide Glue.
If you would like a more in-depth breakdown of wood glue’s you can look at this article – ” Methods To Release Loosen Wood Glue – Helpful Guide”
Let’s look at some variables on wood glue and how they stack up to each other. This will help you in your decision on what is the best glue for your wood project or sign application.
During my research, I wanted to be able to tell you how strong each of these glues is as well as the variables of cost.
| Glue | Average Tensile Strength (lbs) |
|---|---|
| Titebond III | 4780 |
| Elmers Wood | 4623 |
| Titebond II | 3703 |
| Elmers Max | 3630 |
| Gorilla | 2645 |
| Titebond Original | 2537 |
| Elmer’s Craft Glue | 2173 |
| Flex Glue | 652 |
As you can see in the chart above the Tensile strength of all of the tested wood glues. Titebond III is the winner with 4780 lbs of tensile strength and the greatest amount of holding power. Please note these tests were done with no water submission applied to the test. Additionally, each piece of wood tested was given approximately 24 hours of drying time.
Let’s do a cost and drying time comparison of each of the wood glues as well to see the affordability of your wood glue products.
| Glue | Cost | Drying Time (Full Strength) |
|---|---|---|
| Titebond III | $6.99 | 24 Hours |
| Elmers Wood | $4.87 | 24 Hours |
| Titebond II | $5.47 | 24 Hours |
| Elmers Max | $6.37 | 24 Hours |
| Gorilla | $3.29 | 24 Hours |
| Titebond Original | $3.97 | 24 Hours |
| Elmer’s Craft Glue | $4.84 | 24 Hours |
| Flex Glue | $12.99 | 24- 48 Hours |
As you can see from the chart above all of the glues for the most part are cost-effective with roughly all of them including 6 ounces of glue. The only two none specific wood glues are Elmer’s Craft Glue and Flex Glue with the Flex Glue being the most expensive at $12.99.
Let’s now look at information regarding average shear strength. The tester from Project Farm (Youtube) tests 2×4’s glued perpendicular.
| Glue | Average Shear Strength (lbs) |
|---|---|
| Elmers | 2053 |
| Titebond III | 1872 |
| Titebond II | 1688 |
| Gorilla | 1583 |
| Elmer’s Wood | 1505 |
| Elmer’s Craft | 1402 |
| Titebond Original | 1398 |
| Flex Glue | 778 |
Submerse Glue In Water
The reason we would submerge wood in water is to manipulate the shape of the wood. This technique is used frequently to create wood projects with bends and curves. It also will benefit you in gluing boards together without warping, allowing you to manipulate the curve of the wood to get the straightest bond.
Knowing how your wood glue will perform when wet is beneficial. Although glue sometimes states that glue will work when wet it doesn’t necessarily show in the testing.
| Glue | Wet Tensile Strength |
|---|---|
| Titebond III | 1230 |
| Elmers Max | 1050 |
| Titebond II | 540 |
| Gorilla | 535 |
| Flex Glue | 185 |
| Elmers Wood | 20 |
| Elmer’s Craft | 15 |
| Titebond Original | 0 |
This is important information to know for – How To Glue Boards Together Without Warping. If the wood you are using has a lot of warping and you really want to use that piece you will need to get it wet to manipulate it.
Knowing your glue and its capability is key to knowing what glue to choose. As mentioned at the start what glue do you choose? I think the above tests and information provides the best information for you to choose the best glue product for your wood project.
If you would like to see what products I’m using and purchase you can see my recommended products here – “Recommended Products“
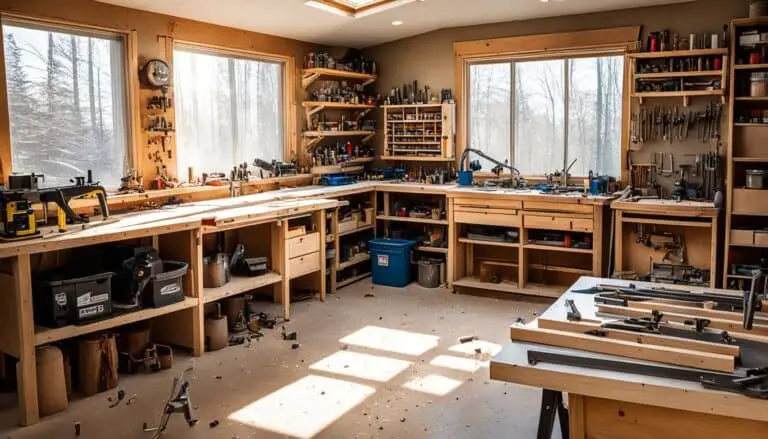
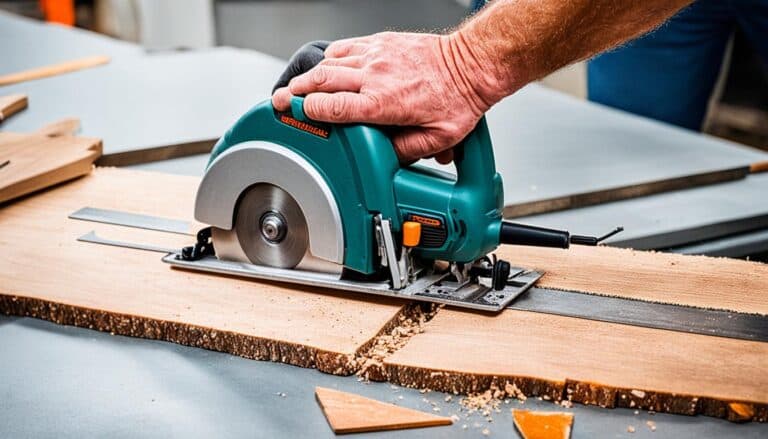
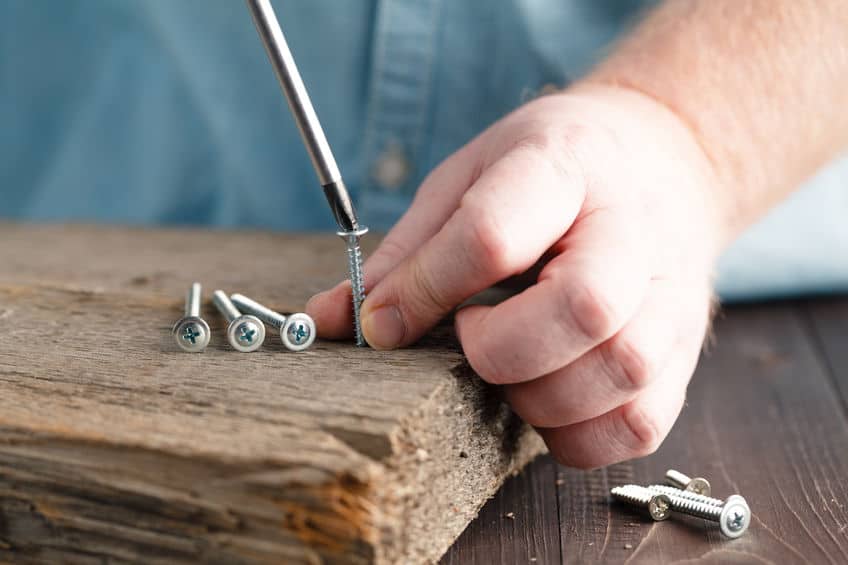
What Tools Do I Need To Glue Boards Together
We have discussed glue and the different types you can use for different applications in your woodworking project. It is important to know what tools you need and what is the best application for gluing your boards together.
What Are The Best Clamps For Woodworking
There are many different types of clamps for woodworking. It can be confusing as to which works best for you. Do you use a grip, clamp, or corner clamp? Here I’m going to describe them to help you get the best experience in gluing wood boards together.
Clutch Style – This is a common clamp but also very misunderstood. It works by moving the jaw along a rail. The clamp is held by friction using metal plates. The major concern with them is they can be limited in the amount of pressure you can apply (which is important for gluing boards).
Quick Grips – These types of clamps are great. If you have a scenario where you are only able to use one hand to grip the wood this is the best type of clamp. It uses a trigger type of handle and also uses friction to hold the clamp on the rail just as the Clutch Style. Quick Grips are very light and easy to use, they are preferred for quick woodworking applications.
Now that we have described the most common type of woodworking clamps let’s look at more specific types specialized to woodworking.
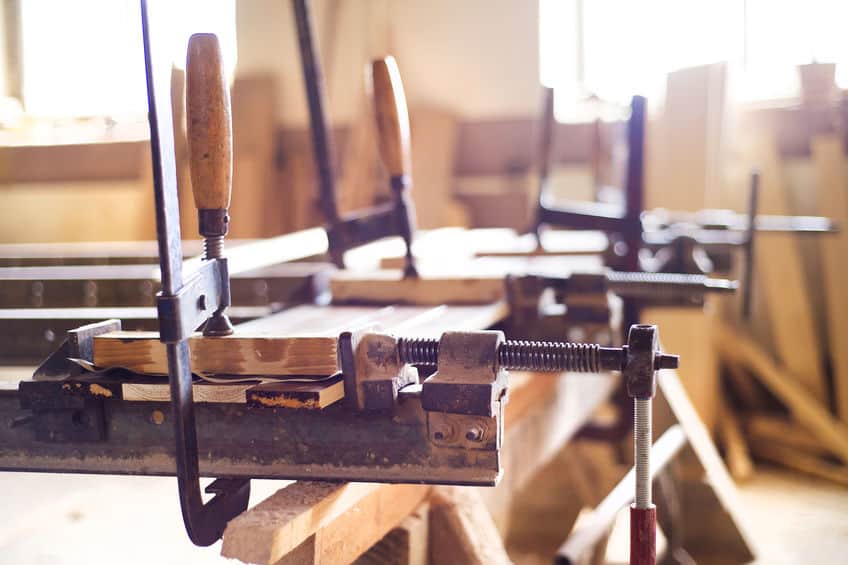
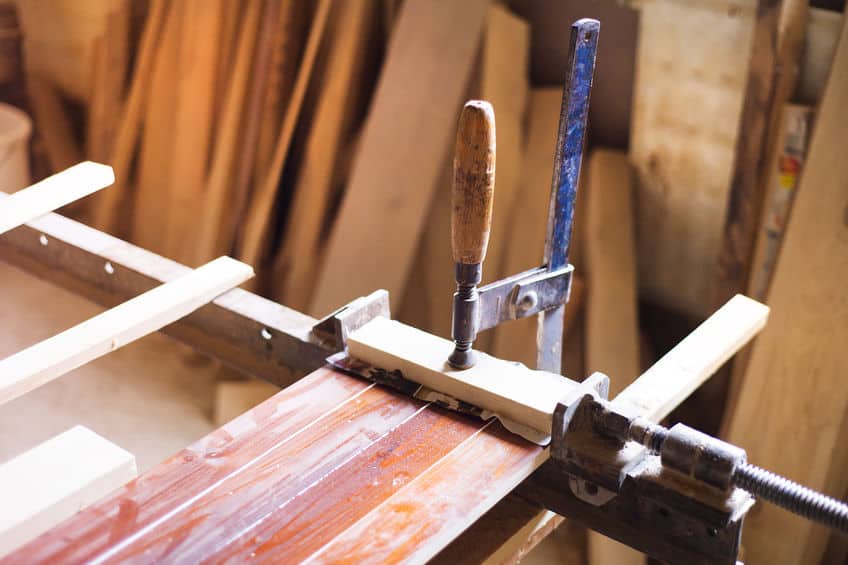
Pipe Clamps – The best type of clamp for gluing wood boards together. Most of your woodworkers use these to glue boards together with great success due to the toughness of the clamp and the ability to use use the max force. The are clamps mounted on pipes (typically 3/4 of an inch in thickness) and the pipes are threaded. Great flexibility, adjustable, and as mentioned great for gluing wood boards together.
Parallel-Jaw Bar – The key to this type of clamp is it has jaws that are designed to stay parallel when the clamps are tightened. This can solve lots of problems when you are gluing wood boards, especially warped boards. The specific reason they were developed is to address and maintain right angles.
F-Style – These are very much like the C- Clamps, however have much more capacity to be used on wider wood projects. If you have a larger wood project this will greatly benefit you with the same ability to use force and grip and use them for wider wood projects.
Spring Clamps – These are like you grip clamps. They are agile and allow you to clamp quickly. They don’t have quite the force a Pipe or Parallel-Jaw clamp would have but are still a great addition to your wood shop for quick wood project applications.
Band Clamps – These are not seen as much in the woodworking wood shops. However, if you use a lot of natural wood which has not been to the mill with odd or rounded shapes this is the clamp for you. It has the ability to acclimate to round, box, and multi-sided shapes of wood allowing great flexibility.
For your reference, I have included below a great video explaining the most common types of wood clamps.
Need To Know Items – How To Glue Boards Together
There are many things about gluing boards together that are simple. However, there are other things which frustrate you. I wanted to include these because they really help when you are working with gluing boards together.
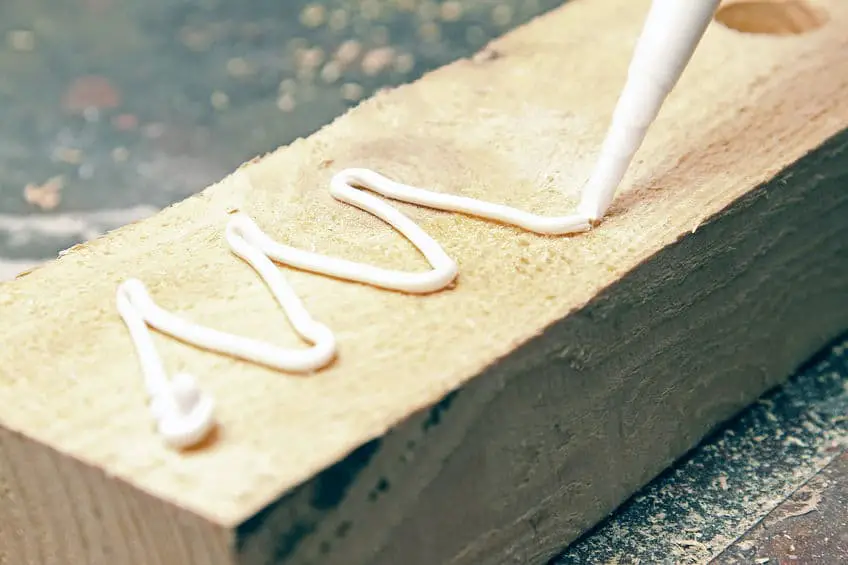
Watch Your Glue Time – We take a lot of time to perfectly align the boards to make sure they look right and align to the wood project you are creating. This is good to make the most of your effort in gluing the boards together. However, ensure you don’t glue upfront prior to placement of the wood boards. Once you start applying the glue to your wood board the timer has started on your glue. Matching and getting your clamps in place and performing a dry run is key to the process.
Matching The Numbers – You are putting together a complex wood project and will be eventually gluing several pieces together. The question is do you remember how it goes together when you start applying glue. As mentioned above glue has a clock attached when the glue starts to set up. The key is marking your wood boards with a numbering system to match when you are ready to start gluing. Starting with “1” then marking the piece joining to it “1” makes it extremely easy to follow your original planned wood project when applying glue.
Wiping Away Glue (Raise The Grain) – We want to wipe away any excess glue with a damp cloth when gluing boards together or gluing a joint. It can be challenging to make sure we get rid of all the glue so it doesn’t show up on our final project. The concern is the raising of the grain with the damp cloth. A great way of preventing this to to wipe the wood to be glued with a damp cloth letting your wood dry and then join and apply glue. This way the wood is already raised and will save your effort of wiping and final sanding.
Unable To Grip The Handles – As with many tools we use in our woodshop we sometimes have the trouble of being able to grip the handles and safely grip them to torque down the wood boards for gluing. It happens to the best of us especially using gloves sometimes which do not have the ability to grip things for protection. There is a simple solution. You know the adhesive tape you use for the steps on a staircase or the ones you may use in the bottom of the tube for gripping. Take a small piece and wrap it around the handles of your clamps for the best and safest way to grip the handle of your clamps.
Protect Your Clamps – As you glue your wood boards together and start to clamp you know a lot of the glue will be spilled. This of course can spill over on your clamps. So what is the easiest way to protect them? You can use tape (painter’s tape for example) and line the clamps before you insert your boards for clamping. Another way is to use wax paper and layout across the clamps before you start to clamp your wood boards.
Common Mistakes And Misconceptions For Gluing Boards Together
As with a lot of woodworking techniques, there are many common mistakes and misconceptions for gluing boards together. It seems easy to just place them together, put glue on, and clamp. It does take a little more than that so let’s look at a few great techniques which will help you.
Dry-Fit – It does take a little extra time but dry-fitting your wood boards prior to gluing really helps you understand many things. First of all, it allows you to look at the number of clamps you will need to ensure you have them close by when you apply your glue. This is important due to the glue time mentioned above.
Secondly, it allows you to see the grain and how it will appear when the wood project is finished. Also looking at the grain gives you the best placement and how the wood boards will fit. Wood is an organic product and will move so it allows you to better deal with the changes which will be coming.
Lastly, it allows you to create your cauls which will assist you in dealing with minor bows. The smaller the seams which need to be sanded down the better.
Flat Surface – Some woodworkers have the ability to work with the wood boards and glue them together while vertical. Although this works it is not recommended due to the glue which will be squeezed will run across the surface of the wood board when you go to clamp them.
Secondly, a horizontal flat surface is a good idea because if you are on a surface that isn’t flat that, for the most part, will be transferred your wood boards which you are clamping. This will cause a big problem and also cause a lot of sanding. A lot of sanding will provide the chance of an uneven surface.
Clamp Pressure – This is one of the biggest misconceptions for beginner or starter woodworkers. A lot of pressure from your clamps is not better. When gluing boards together you only need to put a few turns of pressure. The basic thing is to let the glue work. Of course, you need to ensure a fluent seam between the boards and no gaps along with consistent glue seeping from the glued edges.
Lastly and most importantly the more pressure from your clamps the boards will want to bind upward. This will cause a hump in your glued boards. The better you adjust the pressure evenly and less pressure the better.
Drying Time – We are all kids with toys when we are in our wood shops. However, we need to ensure we give the glue the proper amount of time to dry. I would suggest a minimum of 30 mins prior to moving or placing somewhere else in your woodshop if you need to move. Then let the glue sit for at least 24 hours (as mentioned above in the glue section) for total bonding.
There are a lot of ways that are described to glue your wood boards together. And there are a lot of bad ways out there also. I have put a great video below which explains some of the misconceptions and mistakes very well.
How Do You Glue Warped Boards Together?
There are many ways to glue warped boards together. But first I thought it would be good to know information on how to straighten the wood boards as well to assist you in your efforts in gluing warped boards together.
Why Does Wood Warp
The biggest question that I always get from folks I talk to is why does wood warp and how can I prevent it. I always mentioned that wood is an organic material and product which changes to the environment that it is in.
When you purchase your lumber either from a local mill or from a local lumber store (already milled) you will need to allow your lumber to acclimate to your woodshop environment. A good starting time frame is a week whereas a couple of weeks is better.
The reason is your wood shop has different environment settings from the mill or the store you bought them from, for example, different humidity and moisture. This heavily impacts the wood and will cause it to warp or change depending on the way the grain is running through the wood you have purchased.
The understanding of why wood warps are quite a discussion so I have provided the below video to help explain in more detail.
How to repair the warped wood is not as difficult as you may think. Although there are those pieces of wood material which can be daunting you are able to correct them for the most part.
If you would like to know more information on how to straighten up warped wood you can visit our article – “Straighten Unwarp Warped Wood For Wood Signs“
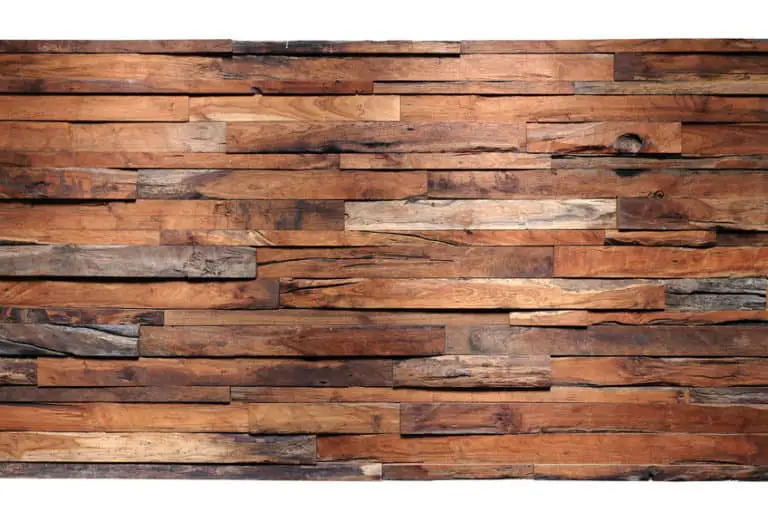
Flattening your wood prior to gluing them is the key to having the flattest surface after you glue you, wood boards, together. This creates the perfect situation where you can perform the minimal amount of sanding to create that flat surface you want.
If you have wood that is already warped before you start to glue there are several techniques you can do. Most of them involve getting a straight edge and then working with the wood after they are glued.
Other techniques involve the use of biscuits and other glued joining techniques. I like the simple and patient way of joining wood boards with simple edge sanding and making the wood flat as you go.
Below is a great way of joining wood boards that are warped.
How To Flatten Glued Up Boards
We have looked at how to flatten the boards prior to gluing, now let’s look at after the gluing. The art of gluing wood boards typically edge gluing will have its faults despite your best efforts. This is common and not a big problem as long as you have done your due diligence upfront.
Sanding, plainer, or joiner is the best solution for flattening out your glued wood boards. This is always a solution that you can do especially if you have an extreme bow to the glued board.
The video below is an excellent method for straightening a warped wood project which has already been glued.
As you can see in the video working with warped wood which has been glued can be straightened with minimal effort by sawing, sanding, and gluing back together. It is possible.
If you have a little more extreme levels or need to really attack the warp or uneven glued wood you can use a belt sander and flatten it. Although most woodworkers will want to use a planer or joiner to bring down the warp. The downside is the thickness or width you will lose when you do this.
When looking at glue boards together always leave that extra length or width so you adjust as needed. It will benefit you in the long run.