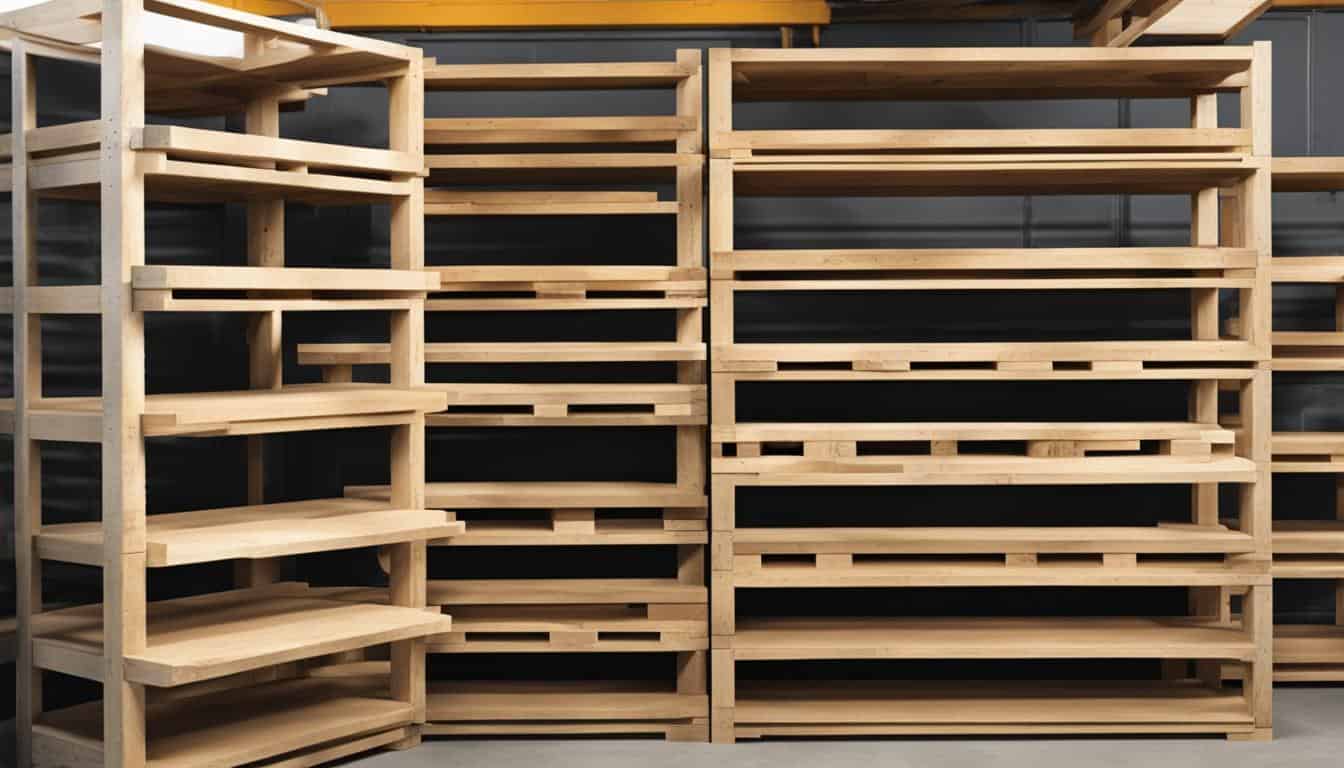
Are you tired of your lumber collection taking up valuable space in your garage or workshop? Do you struggle to keep your wood materials organized and accessible? Look no further, because we have the perfect solution for you. In this article, we will show you how to build your own DIY lumber rack using basic 2x4s and wood screws. Say goodbye to clutter and hello to a well-organized space that maximizes efficiency and convenience.
So, are you ready to take control of your lumber storage and create a functional solution that suits your needs? Let’s dive in and discover just how easy it is to build your very own lumber rack.
Key Takeaways:
- Learn how to build a DIY lumber rack using simple materials
- Maximize space by organizing your lumber collection effectively
- Customize the design to fit your specific needs
- Ensure the strength and stability of your lumber rack
- Take advantage of the cost-effectiveness of a DIY project
Tools and Materials Needed
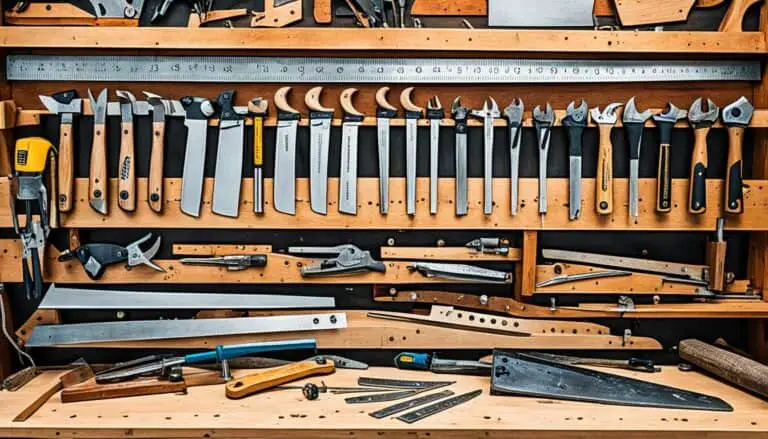
Creating your own DIY lumber rack requires a few essential tools and materials. By gathering the following items, you’ll be well-prepared to tackle this project:
Tools:
- Saw (such as a miter, circular, or jig saw)
- Drill/driver
- Level
- Stud finder
- Measuring tape
Materials:
- 2x4x8 boards
- 4″ wood screws
These tools and materials are crucial for ensuring a successful and sturdy construction of your DIY lumber rack. Now let’s move on to the next section where we’ll guide you through the process of cutting the backer boards and rungs.
Cutting the Backer Boards and Rungs
Now that you have gathered all the necessary materials for your DIY lumber rack, it’s time to start cutting the backer boards and rungs. Follow these steps to ensure a sturdy and functional design.
Cutting the Backer Boards
Begin by cutting the backer boards to the desired height for your lumber rack. Take into consideration the ceiling height in your space to ensure a proper fit. For example, if you have 8-foot ceilings, cut the boards slightly shorter than the measurement from floor to ceiling.
Here’s a breakdown of the cutting process:
- Measure the distance from the floor to the ceiling.
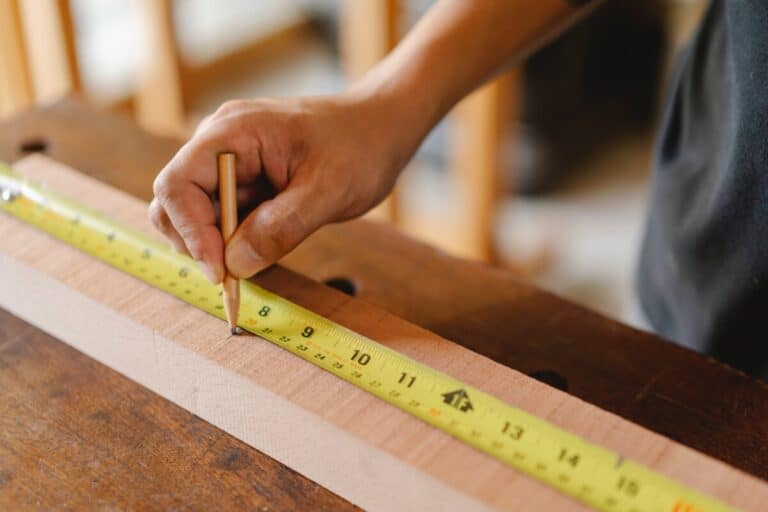
- Mark this measurement on each of the backer boards.
- Using a saw, carefully cut the boards to the desired height.
Remember to measure twice and cut once to ensure accuracy in your cuts.
Cutting the Rungs
Next, you’ll need to cut the rungs that will support your lumber. These rungs will be attached to the backer boards at evenly spaced intervals, providing stability and organization.
Here’s how to cut the rungs:
- Measure and mark twenty 14-inch long pieces on your 2×4 boards.
- Using a saw, carefully cut along the marked lines to create each rung.
Be sure to take your time and make precise cuts to ensure the rungs fit securely into the backer boards.
Once you have finished cutting the backer boards and rungs, you’re ready to move on to the next step in building your DIY lumber rack.
Installing the Rungs on the Backer Boards
Now that you have your backer boards and rungs prepared, it’s time to install the rungs onto the backer boards. This step is crucial for creating a sturdy and functional DIY lumber rack.
Follow the simple steps below to securely attach the rungs:
- Start by using a spacer block to install the first rung on the backer board. Position the spacer block 14″ from the bottom of the board.
- Pre-drill holes through the back side of the backer board, ensuring the holes align with the rungs.
- Drive wood screws through the pre-drilled holes, firmly securing the rungs to the backer board. Make sure the screws are long enough to penetrate both the rung and the backer board, providing a solid connection.
- Repeat this process for all four backer boards, ensuring that the rungs are evenly spaced and securely attached.
Properly installing the rungs is essential to the overall stability and strength of your DIY lumber rack. Double-check the alignment and tightness of each rung to ensure a secure construction.
By following these steps, you are well on your way to creating a reliable and functional storage solution for your lumber collection. In the next section, we will cover how to attach the lumber rack to the wall, providing additional stability and ensuring safety in your workspace.
Attaching the Lumber Rack to the Wall
Now that you have constructed the lumber rack, it’s time to securely attach it to the wall. Follow these steps to ensure stability and maximize storage space.
Locating Wall Studs
Begin by using a stud finder to locate the wall studs where you want to install your lumber rack. Wall studs provide the necessary support and strength to hold the weight of the rack and the lumber. Mark the locations of the studs using a pencil or tape.
Spanning Across Multiple Studs
For optimal stability and weight distribution, it is recommended to span the lumber rack across several wall studs. This will help prevent the rack from sagging or becoming unstable over time. Measure the length of your rack and align it with the marked stud locations.
Securing the Rack
Before attaching the lumber rack to the wall, use a level to ensure that the backer boards are straight. This will ensure a visually appealing and functional rack. Once aligned, secure the backer boards to the wall studs using 4″ wood screws. Be sure to attach the rack directly to the studs for maximum strength and stability.
By attaching the lumber rack securely to the wall, you can confidently store your wood materials without worrying about potential accidents or damage. Now, your DIY lumber rack is ready to safely hold and organize your lumber collection.
| Tools Needed | Materials Needed |
|---|---|
|
|
Testing the Weight Capacity
While it is difficult to determine the exact weight capacity of the lumber rack, this design has been successfully used multiple times without any reported failure. To ensure the rack’s strength, it is essential to test its weight capacity and monitor for any signs of weakness. Gradually adding weight will help assess the rack’s load-bearing capabilities and ensure it meets your storage needs.
“Properly testing the weight capacity of your DIY lumber rack is crucial to avoid any accidents or structural failures. By following simple steps, you can have confidence in the strength and stability of your rack.”
To perform a weight capacity test, follow these guidelines:
- Begin by starting with lighter loads and gradually increase the weight over time.
- Spread the weight evenly across the rack to simulate real-life usage.
- Monitor the rack for any signs of sagging, bowing, or stress on the backer boards and rungs.
- If there are any indications of weakness, such as excessive bending or creaking sounds, stop the test and reinforce the rack as necessary.
It is important to note that overloading the rack beyond its intended weight capacity can compromise its structural integrity and increase the risk of failure. To prevent accidents, always err on the side of caution and avoid exceeding the recommended weight limits.
Regularly inspecting your DIY lumber rack and performing weight capacity tests ensures its continued strength and safety. By adhering to these precautionary measures, you can trust that your rack will securely hold and organize your lumber collection.
Benefits of a DIY Lumber Rack
Building your own lumber rack offers several benefits. It provides a cost-effective storage solution for your wood materials, helps to keep your workspace organized, and maximizes the use of available wall space. Additionally, a DIY lumber rack can be customized to fit your specific needs and can easily be modified or expanded as your collection grows.
Cost-Effective Storage Solution
When you build your own lumber rack, you can save money compared to purchasing pre-made storage solutions. By using basic materials such as 2x4s and wood screws, you can create a sturdy rack without breaking the bank. DIY lumber racks also allow you to maximize the use of available space, ensuring that every inch of your garage or workshop is utilized efficiently.
Organized Workspace
A homemade lumber rack helps to keep your workspace neat and organized. By having a dedicated storage system for your wood materials, you can easily locate the specific pieces you need for your projects. This saves you time and eliminates the frustration of searching through piles of lumber. With a DIY lumber rack, your workspace can be clutter-free, allowing for better focus and increased productivity.
Customization and Flexibility
One of the key advantages of building your own lumber rack is the ability to customize it to fit your specific needs. Take into consideration the dimensions of your space, the types of wood you commonly use, and the weight capacity required. You can adjust the size, height, and number of rungs to accommodate your collection of lumber. In addition, a DIY lumber rack can easily be modified or expanded as your woodworking needs evolve over time.
Building your own lumber rack not only saves you money but also offers the freedom to design a storage solution that perfectly suits your woodworking needs. Enjoy the satisfaction of creating something functional and efficient with your own two hands.
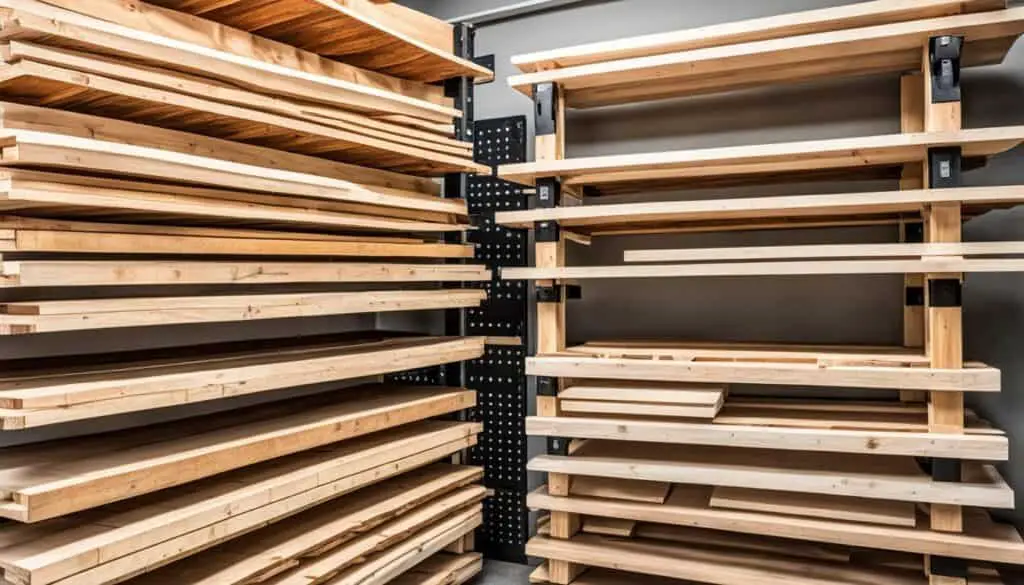
Alternative Designs and Modifications
If you’re looking to customize your DIY lumber rack or explore different design options, there are several alternative designs and modifications you can consider. By making small adjustments to the original design, you can create a lumber rack that perfectly suits your specific needs and space constraints.
Adding Additional Rungs
One modification you can make is to add more rungs to your lumber rack. This allows you to increase the storage capacity and accommodate a larger quantity of wood materials. By spacing the additional rungs evenly along the backer boards, you can create multiple tiers for organizing different types or sizes of lumber. This modification is especially useful if you have a large collection of wood or frequently work on multiple projects simultaneously.
Adding more rungs to your lumber rack provides additional storage capacity and enhances organization.
Adjusting the Rack Height
If you have taller ceilings or need to store longer pieces of lumber, you can modify the height of the rack to accommodate your specific requirements. By extending the backer boards and rungs, you create a taller storage space that can accommodate longer boards without compromising stability. This modification is beneficial for those who work with longer pieces of lumber or have limited horizontal storage space.
Modifying the height of your lumber rack allows you to store longer pieces of wood effectively.
Keep in mind that when making modifications to your DIY lumber rack, it’s important to maintain the overall stability and integrity of the structure. Ensure that any additional components are securely attached and properly aligned to prevent any potential hazards or accidents.
| Modification | Description |
|---|---|
| Adding Additional Rungs | Increases storage capacity and provides multiple tiers for organizing wood materials. |
| Adjusting the Rack Height | Accommodates longer pieces of lumber and maximizes vertical storage space. |
By exploring these alternative designs and modifications, you can create a DIY lumber rack that perfectly suits your specific needs and enhances the efficiency of your workspace. Remember to adapt the design to ensure stability and safety while maximizing your storage capacity.
Organizational Tips for Your Lumber Rack
To make the most of your DIY lumber rack, organization is key. By implementing effective organization strategies, you can maximize your storage space and improve overall workflow. Here are some valuable tips to help you organize your lumber:
1. Categorize by Size, Type, or Project
Group your wood materials based on their size, type, or associated project. This approach allows for easy identification and retrieval when working on specific tasks. Whether you sort by board length, wood species, or ongoing projects, categorizing your lumber will save you time and effort in the long run.
2. Label with Tags or Color-Coded Labels
Utilize labels or color-coded tags to further distinguish between different categories of lumber. Attach these labels to the ends or sides of your boards, making it simple to identify specific types or sizes at a glance. This labeling system ensures quick and accurate selection of materials, leading to a more efficient workflow.
Pro Tip: Consider using a color-coding system where each color represents a distinct type or size of lumber. This method can provide an instant visual reference, streamlining your lumber organization process.
3. Store Upright Whenever Possible
Whenever feasible, store your lumber upright rather than stacking it horizontally. This vertical arrangement minimizes the risk of warping or damage. Use dividers or compartments within your lumber rack to keep the boards standing upright. Not only does this method preserve the quality of your lumber, but it also optimizes the use of space within your storage area.
4. Prioritize Accessibility
Arrange your lumber in a way that prioritizes easy access to frequently used materials. Place commonly used boards or sizes at a convenient height or in a designated section of your rack. This approach ensures that you can quickly grab what you need without searching through the entire inventory, enhancing efficiency during projects.
5. Regularly Review and Reorganize
Periodically assess your lumber collection, reviewing the types, sizes, and quantities of materials you have. Take the opportunity to reorganize your rack as needed, adjusting categories or making space for new additions. Regularly reviewing and reorganizing your lumber rack maintains an orderly storage system and prevents clutter from accumulating.
| Tips for Lumber Organization | Benefits |
|---|---|
| Categorize by size, type, or project | Easy identification and retrieval |
| Label with tags or color-coded labels | Quick and accurate material selection |
| Store upright whenever possible | Minimizes warping and optimizes storage space |
| Prioritize accessibility | Efficient workflow during projects |
| Regularly review and reorganize | Maintains an orderly storage system |
Repurposing Scrap Wood for Storage
If you have leftover scrap wood from other projects, don’t let it go to waste! Instead, repurpose it to create additional storage solutions that will help you stay organized in your garage or workspace. Repurposing scrap wood is not only environmentally friendly but also a cost-effective way to maximize the functionality of your space.
Here are some DIY ideas to repurpose scrap wood for storage:
1. DIY Garage Storage Rack
One of the easiest and most practical projects you can undertake is building a DIY garage storage rack. This rack can be customized to fit your specific storage needs and dimensions. By repurposing your scrap wood, you’ll be able to create shelves or compartments to neatly store tools, gardening supplies, or other items you want to keep within reach.
2. Homemade Wood Rack
If you have long pieces of scrap wood, consider building a homemade wood rack. This can be used for storing longer pieces of lumber, pipes, or even skis and snowboards. By repurposing scrap wood into a wood rack, you’ll be able to keep these items off the ground and organized, making them easily accessible whenever you need them.
3. Smaller Shelves and Storage Bins
Another creative way to repurpose scrap wood is by building smaller shelves and storage bins. These can be mounted to the walls or placed on existing furniture to create additional storage space for smaller items like screws, nails, paintbrushes, or craft supplies. By repurposing scrap wood, you’ll be able to declutter your workspace and keep everything neatly organized.
4. Pegboard Panels for Tool Organization
If you have a collection of hand tools or small accessories, consider repurposing scrap wood to create pegboard panels. These panels can be hung on the wall and used to organize and display your tools. By creating designated spaces for each tool, you’ll be able to find what you need quickly and efficiently.
Repurposing scrap wood not only helps reduce waste but also allows you to customize storage solutions to fit your specific needs. Get creative and make the most out of your leftover materials!
Maintenance and Upkeep of Your Lumber Rack
To ensure the longevity of your DIY lumber rack, it’s important to perform regular maintenance and take proactive measures to preserve its structural integrity. By following these simple guidelines, you can prolong the lifespan of your rack and keep it in optimal condition.
1. Periodic Inspections
- Inspect your lumber rack regularly for any signs of damage, such as loose screws, cracked boards, or warping.
- Make sure all connections are secure and tighten any loose screws or bolts.
- If you notice any damage or structural issues, it’s crucial to address them promptly to prevent further deterioration and potential safety hazards.
2. Repairs and Replacements
If you encounter any damage or issues during your inspections, make the necessary repairs as soon as possible. This may involve replacing broken or damaged boards, reinforcing weak connections, or realigning any misaligned components. By addressing these repairs promptly, you can prevent the problem from worsening and ensure the continued stability of your lumber rack.
3. Protective Finishes and Sealants
Consider applying a protective finish or sealant to your wood storage rack to enhance its durability and resistance to moisture. There are various options available, including clear sealants, stains, or paints. Be sure to choose a product that is suitable for the type of wood you used for your rack.
4. Regular Cleaning
Keep your lumber rack clean and free from debris, dust, and wood shavings. Regularly vacuum or sweep around the rack to prevent accumulation of sawdust, which can attract insects or cause potential fire hazards.
5. Preventing Moisture Damage
Moisture can be detrimental to the structural integrity of your lumber rack and lead to mold growth or wood rot. Here are a few tips to prevent moisture damage:
- Avoid placing your lumber rack in areas prone to water leaks or excessive humidity.
- Ensure proper ventilation in your storage space to minimize moisture buildup.
- If your rack is located in a particularly damp environment, consider using a dehumidifier to control the humidity levels.
By implementing these maintenance practices, you can extend the lifespan of your DIY lumber rack and ensure that it remains a sturdy and reliable storage solution for your wood materials.
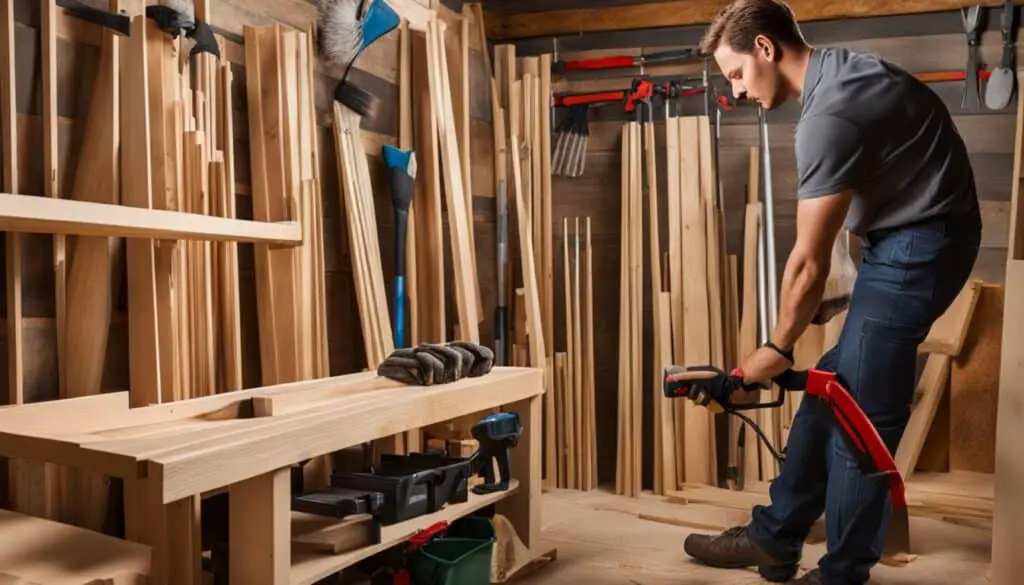
“Regular maintenance and timely repairs are key to preserving the functionality and durability of your lumber rack.”
Inspiration for Lumber Organization Ideas
Looking for creative wood storage solutions to enhance your lumber organization? Explore online for inspiring ideas that can optimize your space and streamline your workflow. Discover various options, such as:
- Wall-mounted brackets
- Sliding storage systems
- Automated lumber retrieval systems
By exploring these innovative ideas, you can find unique ways to store and organize your lumber effectively. Let your creativity flow and adapt these solutions to suit your specific needs and available space.
Need a visual representation? Take a look at this image for some inspiration:
Safety Precautions when Handling Lumber
When it comes to handling and storing lumber, safety should always be a top priority. By taking the necessary precautions, you can ensure a safe working environment and minimize the risk of accidents or injuries. Here are some important safety tips to keep in mind:
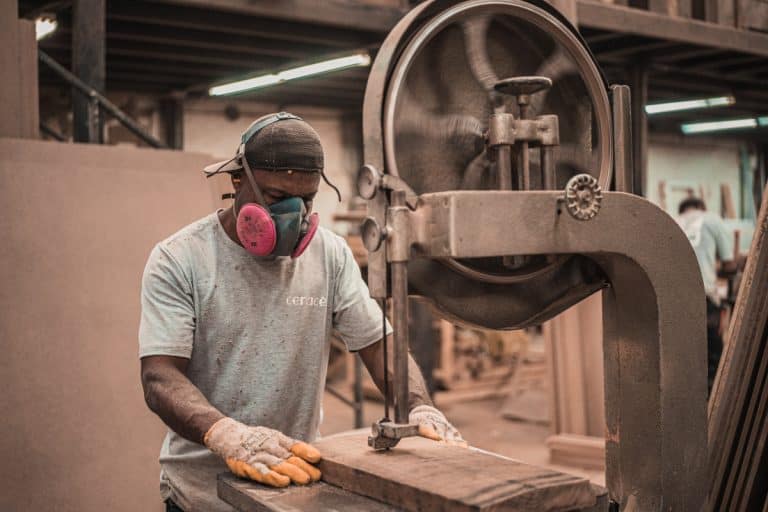
- Always wear appropriate safety gear, such as protective eyewear and gloves, when working with wood materials. This will help protect you from splinters, flying debris, and other potential hazards.
- Use proper lifting techniques when dealing with heavy boards. Lift with your legs, not your back, to avoid strain or injury. If a board is too heavy to lift on your own, ask for assistance or use lifting equipment.
- Keep your lumber rack securely attached and organized. Ensure that it is properly anchored to the wall or floor to prevent any accidental tipping or falling of the lumber.
By following these safety precautions, you can create a safer working environment and reduce the risk of accidents or injuries. Remember, prioritizing safety is key to a successful and enjoyable woodworking experience.
DIY Tips and Tricks for Building Projects
Building your own DIY lumber rack is just the beginning of your journey into the world of DIY projects. As you embark on this exciting endeavor, there are several tips and tricks that can help you along the way. Learning from experienced builders and following best practices will ensure the success of your construction project. Here are some valuable insights to guide you:
1. Research and Plan
Before starting any building project, it’s essential to conduct thorough research and plan your project meticulously. Look for online resources, books, or video tutorials that provide step-by-step instructions and insights into the specific type of project you are undertaking. Taking the time to understand the process and gather necessary information will set you up for success.
2. Measure Twice, Cut Once
Accuracy is crucial when it comes to DIY construction. Always double-check your measurements before making any cuts. Invest in a quality measuring tape and a reliable square to ensure precise cuts and a professional finish.
3. Use the Right Tools
Having the right tools for the job makes all the difference in DIY projects. Invest in quality tools that match the task at hand. A well-equipped toolbox that includes a variety of saws, drills, screwdrivers, levels, and clamps will enable you to tackle a wide range of projects with ease.
4. Safety First
Prioritize safety throughout your DIY journey. Always wear appropriate safety gear, such as safety goggles, gloves, and a dust mask, to protect yourself from potential hazards. Follow manufacturer instructions for tools and equipment, and exercise caution when handling sharp objects or working with power tools.
5. Learn from Mistakes
Mistakes are an inevitable part of any DIY project. Don’t get discouraged if something doesn’t go according to plan. Embrace the learning opportunity and use it to improve your skills. Analyze what went wrong, adjust your approach, and move forward with confidence.
6. Get Creative with Materials
Exploring different material options can add a unique touch to your DIY projects. Consider repurposing or upcycling materials to create environmentally friendly and cost-effective solutions. Salvage yards, thrift stores, and online marketplaces can be treasure troves for finding interesting and budget-friendly materials.
7. Seek Inspiration
When embarking on a DIY project, inspiration can come from unexpected places. Browse design magazines, follow social media accounts of skilled DIYers, and attend local workshops to discover new techniques and trends. Open your mind to various styles and ideas that resonate with your personal taste.
“The secret of getting ahead is getting started.” – Mark Twain
By embracing these DIY tips and tricks, you can enhance your skills, tackle new challenges, and transform your living space. Successful DIY projects will not only bring a sense of satisfaction but also empower you to take on even more ambitious construction endeavors.
| Tips | Description |
|---|---|
| Research and Plan | Thoroughly research the project and plan accordingly to avoid mistakes. |
| Measure Twice, Cut Once | Ensure accurate measurements for precise cuts and professional results. |
| Use the Right Tools | Invest in quality tools that match the task at hand for optimal results. |
| Safety First | Prioritize safety by wearing appropriate protective gear and following safety guidelines. |
| Learn from Mistakes | View mistakes as learning opportunities and adapt your approach accordingly. |
| Get Creative with Materials | Explore different material options to add uniqueness and sustainability to your projects. |
| Seek Inspiration | Continually seek inspiration from various sources to enhance your skills and stay updated on trends. |
Maximizing Space Efficiency in Your Garage
When it comes to organizing your garage, maximizing space efficiency is key. In addition to building a DIY lumber rack as discussed earlier, there are other storage solutions you can consider to fully optimize your garage space. By prioritizing organization and making smart storage choices, you can create a functional and efficient workspace.
Overhead Storage Racks
One effective way to maximize space in your garage is by utilizing overhead storage racks. These racks are typically mounted to the ceiling and provide a convenient place to store items that are not frequently used. By lifting storage off the floor and utilizing the vertical space, you can free up valuable floor space for other purposes. Overhead storage racks are perfect for items like seasonal decorations, camping gear, or bulky items that would otherwise take up precious floor space.
Wall-Mounted Cabinets
Another option for maximizing garage space is to install wall-mounted cabinets. These cabinets can be securely attached to the walls, providing ample storage for tools, supplies, and other belongings. By utilizing vertical wall space, you can keep your garage floor clear and create a more organized environment. Wall-mounted cabinets also offer the advantage of keeping items easily accessible and visible, making it easier to find what you need when you need it.
Pegboard Systems
A popular and versatile option for garage organization is the use of pegboard systems. These systems consist of a perforated board that can be mounted to the wall, with hooks and accessories that allow for customizable storage. Pegboards are perfect for hanging tools, gardening equipment, and other smaller items, keeping them within reach and neatly organized. The flexibility and adaptability of pegboard systems make them an excellent choice for maximizing garage space.
Pro Tip: Combining different storage solutions, such as overhead storage racks, wall-mounted cabinets, and pegboard systems, can create a multi-functional and highly efficient garage workspace. Customize your storage options based on your specific needs and the available space in your garage.
By implementing these garage storage solutions, including the DIY lumber rack and other recommended options, you can truly maximize space efficiency in your garage. The key is to prioritize organization, utilize vertical space, and make smart storage choices. With a well-organized and efficient garage, you’ll have more room for projects, improved accessibility to your tools and belongings, and a clutter-free environment that promotes productivity and enjoyment.
| Pros | Cons |
|---|---|
| Utilizes vertical space, freeing up floor space | May require professional installation for some storage solutions |
| Keeps items organized and easily accessible | Initial investment cost for storage systems |
| Allows for customization and adaptability | Requires regular maintenance and organization to avoid clutter |
| Increase overall garage efficiency and productivity | Potential limited weight capacity depending on storage solution |
Conclusion
Building your own DIY lumber rack is a practical and affordable solution for storing and organizing your wood materials. By following the step-by-step instructions provided in this article, you can easily construct a functional and space-saving storage system.
A DIY lumber rack allows you to maximize the use of available wall space, helping you create a more efficient and organized workspace. With just a few basic tools and materials, such as 2×4 boards and wood screws, you can customize the rack to fit your specific needs and easily expand it as your lumber collection grows.
Not only does building your own lumber rack provide a cost-effective storage solution, but it also allows you to take pride in your DIY project. By utilizing your creativity and woodworking skills, you can create a well-organized workspace that enhances your productivity and enjoyment of woodworking.
So, why wait? Start building your own DIY lumber rack today and experience the benefits of maximizing your storage space while keeping your wood materials easily accessible and well-organized.
FAQ
What tools and materials do I need to build a DIY lumber rack?
To build a DIY lumber rack, you will need a saw (such as a miter, circular, or jig saw), a drill/driver, a level, a stud finder, and a measuring tape. The materials required include 2x4x8 boards and 4″ wood screws.
How do I cut the backer boards and rungs for the lumber rack?
Start by cutting the backer boards to the desired height, considering the ceiling height in your space. For 8-foot ceilings, cut the boards slightly shorter than the measurement from floor to ceiling. Next, cut twenty 14″ long pieces as rungs for the rack.
How do I install the rungs on the backer boards?
Use a spacer block to install the first rung on the backer board, 14″ from the bottom. Pre-drill holes and drive wood screws through the back side of the backer board to secure the rungs. Repeat this process for all four backer boards, ensuring the rungs are evenly spaced and securely attached.
How do I attach the lumber rack to the wall?
Use a stud finder to locate the wall studs where you want to install your lumber rack. Span the rack across several studs to ensure stability. Use a level to make sure the backer boards are straight, then secure them to the wall studs using 4″ wood screws.
How do I test the weight capacity of the lumber rack?
While it is difficult to determine the exact weight capacity of the lumber rack, this design has been successfully used multiple times without any reported failure. To ensure the rack’s strength, test it by adding weight gradually and monitoring for any signs of weakness. Avoid overloading the rack.
What are the benefits of building a DIY lumber rack?
Building your own lumber rack provides a cost-effective storage solution, helps to keep your workspace organized, and maximizes the use of available wall space. It can also be customized and easily modified or expanded as your lumber collection grows.
Can I modify the design of the lumber rack?
Yes, you can modify the design of the lumber rack to suit your specific needs. This might include adding additional rungs for increased storage capacity or adjusting the height to accommodate taller ceilings.
How should I organize my lumber on the rack?
Consider organizing your lumber by size, type, or project. Use labels or color-coded tags to identify different categories of lumber. Keeping your materials organized will make it easier to locate what you need and maintain a tidy workspace.
What can I do with leftover scrap wood?
You can repurpose scrap wood to create additional storage solutions. Build smaller shelves, storage bins, or even pegboard panels to hang tools and accessories. Repurposing scrap wood helps reduce waste and maximize the functionality of your workspace.
How do I maintain and upkeep my lumber rack?
Periodically inspect the lumber rack for any signs of damage, such as loose screws or cracked boards. Make any necessary repairs promptly. Consider applying a protective finish or sealant to the wood to prevent moisture damage and extend the rack’s lifespan.
Where can I find inspiration for other lumber organization ideas?
Browse online for creative wood storage solutions. You may find innovative ideas such as wall-mounted brackets, sliding storage systems, or even automated lumber retrieval systems. Exploring different options can help you optimize your space and streamline your workflow.
What safety precautions should I take when handling lumber?
Always wear appropriate safety gear, such as protective eyewear and gloves, when working with wood materials. Lift heavy boards with proper lifting techniques to avoid strain or injury. Keep the lumber rack securely attached and organized to minimize the risk of accidents or falls.
Are there any DIY tips and tricks for building projects?
Research and learn from experienced builders to discover tips and tricks for your DIY projects. Seek out advice to make the construction process easier and always follow best practices for safety and accuracy.
How can I maximize space efficiency in my garage?
In addition to building a DIY lumber rack, consider other storage solutions such as overhead storage racks, wall-mounted cabinets, or pegboard systems to fully optimize your garage space. Prioritize organization and smart storage choices to create a functional and efficient workspace.
What are some advantages of building a DIY lumber rack?
Building your own DIY lumber rack is an affordable way to store and organize your wood materials. It allows for customization to fit your specific needs and can easily be modified or expanded as your collection grows.


