An in-depth look at DIY Barn Wood Signs and how to make them authentic. In my research, for my barn wood sign project, I discovered several ways to create DIY barn wood signs and will go into the details here.
DIY Barn wood signs have several variations and can be made to look in many different ways. The key to DIY Barn wood signs is the rustic appearance created by applying painted stencil lettering or carved lettering on reclaimed wood without finishing to a clean smooth finish.
What Is A Barn Wood Sign?
Barn wood sign is quite a general description for many different types of wood signs. Below are some of the terms used to describe Barn wood signs:
- Rustic
- Pallet
- Farmhouse
- Reclaimed
- Primitive
- Vintage
- Weathered
These are some of the terms which can describe a barn wood sign and are used pretty much across the board when describing barn wood signs. My research has concluded this niche of wood signs is described by various terms depending on the location you are in. Much like different parts of the United States refers to soda or pop depending on where you are located. So for the purpose of this post, I will go with the term barn wood sign.
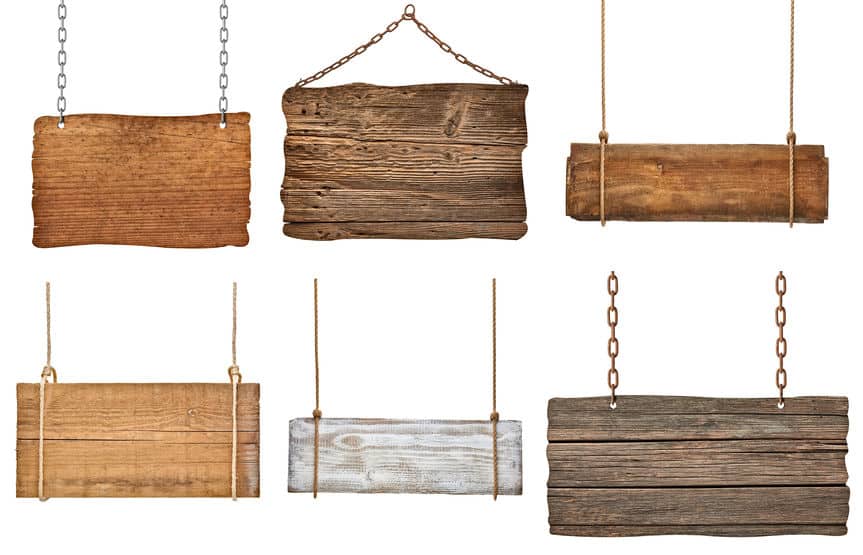
Barn wood signs are signs created with a rustic look with no finish or clean appearance. Reclaimed or weathered wood is commonly used to provide the nostalgic “Old” appearance. Commonly the lettering’s or images are painted by way of the stencil, hand painted, carved, or screened. This provides the older look which appeals to yourself or the customer.
What Wood Do I Use For Barn Wood Signs
There are many types of wood you can use for your barn wood sign. It really depends on the look you are going for and where you will be displaying the barn wood sign. I researched several different types of wood for my barn wood sign and found some great solutions.
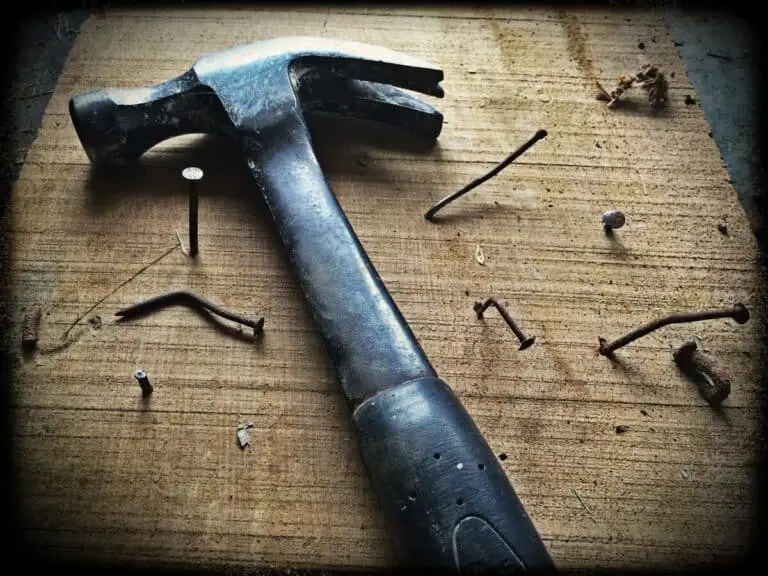
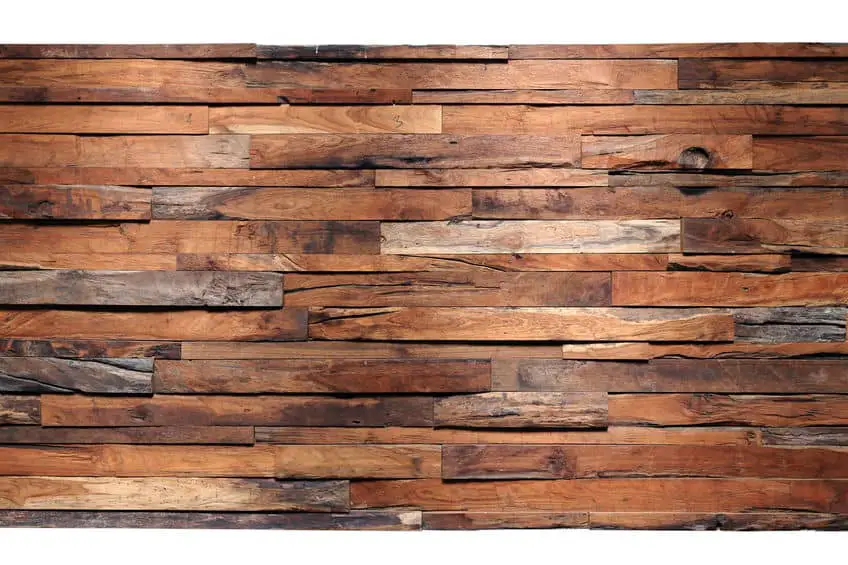
Pallet Wood – Pallet wood is cheap, sometimes free, and comes typically in pine or oak. Pallet wood is a great solution for your barn wood sign due to the fact it is already distressed. Additionally most times it has already sat out in the weather so it is a great platform to start.
Pallet wood is fairly simple to find. For example, when you are driving around on errands or home from work look at a lot of the businesses and peak at the side or the back of the buildings as you drive. Most times you will find pallets sitting out there. Generally, if you go into the business and ask they are anxious to get rid of them. Don’t take any pallets from businesses unless you ask first!
You can also find pallets on Craigslist and Facebook Market. There is typically a small fee for them or free just come pick them up. I chose to ask some local businesses and got a lot for free.
Reclaimed Wood – Reclaimed wood is wood that was purposed for another project and has aged. It is generally pine, cedar, oak, or redwood. Typically you would want to use reclaimed wood which has been sitting outside to give the rustic aged look for your barn wood sign.
You can get reclaimed wood by way of Craigslist or the Facebook market. These are good sources. However, you can also get from anybody who is tearing down a shed or structure on their property.
Planks – You can get planks from the sources mentioned above fairly cheaply. They are typically 6 inches wide by 4 to 6 feet long. These are ideal for putting together and making your barn wood sign. Planks can come in a variety of species of wood such as pine, cedar, redwood, or oak.
If you have exhausted all avenues for the free approach you can go to your local hardware store and purchase them or search for a local mill and inquire them about planks, scrap, or dollar boards. Although you may pay a few dollars for them they can be an extremely good source if you build a relationship with the mill owner.
If you would like to see what products I’m using and purchase you can see my recommended products here – “Recommended Products“
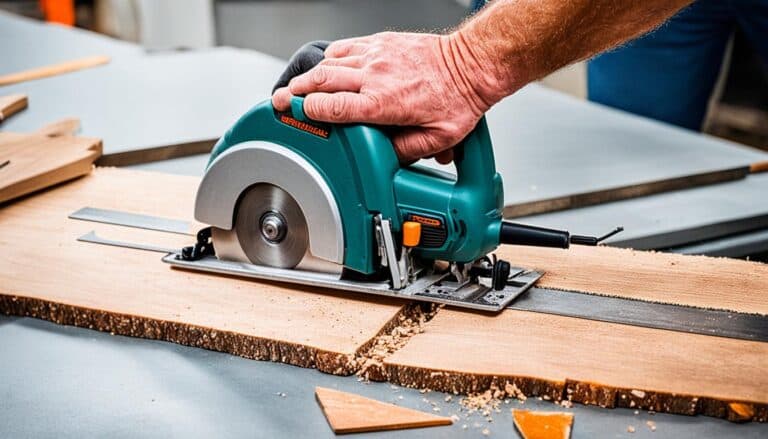
Method – How To Create Barn Wood Signs
There are many ways to create your barn wood sign. I will go through a few of the methods I discovered during my research. I attempted to choose the methods that were the most cost-effective and simple. As a guide and overall explanation, I wanted to include the below video which is an excellent example of your generic barn wood sign.
Background – To Distress or Not To Distress
Prior to putting your lettering or image on your barn wood sign, you need to ask yourself the question what background do you want? Do you want a plain, distressed, or crackle type of background (Typical barn wood sign backgrounds). All of these options are incredible and provide a great barn wood sign appearance.
If you would like a plain background, this is the simplest process and doesn’t involve a lot of technique. However, does involve some considerations which you may or may not know. If you would like to know more information about background painting and choosing the best paint/process you can go to my post – “Down To Earth Way Of Painting Wood Signs“
Stencil
Stenciling letters or images on barn wood signs is a very popular option. There are various ways to stencil your barn wood sign and I will explain the most common way to apply your stencil. If you would like to know more detailed information on stenciling you can read my article – “Stencil Painting Without Stencil Bleeding On Your Wood Sign”
Basically, you place your stencil on your barn wood sign and apply paint with a cloth, brush or sponge. You can use multiple colors and designs to create a true masterpiece. I have included a great video below for a basic understanding of stenciling.
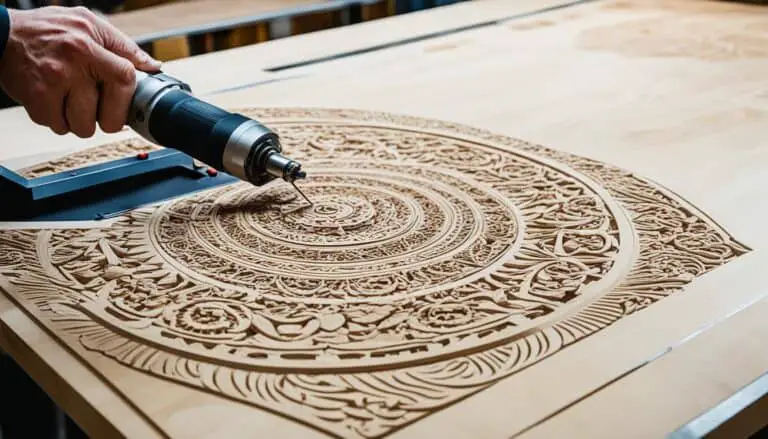
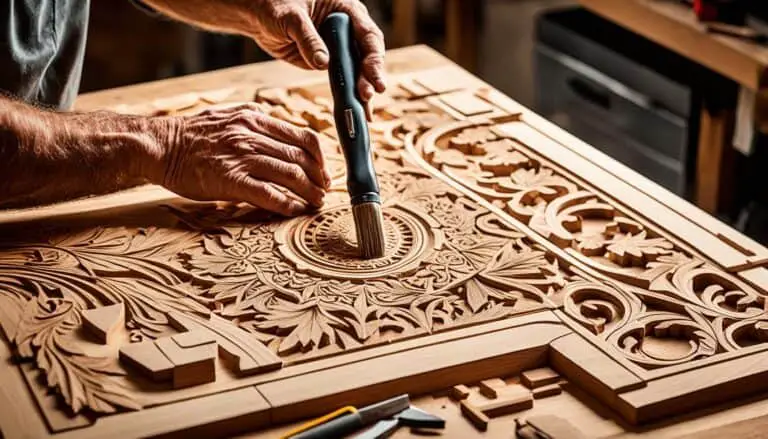
Carve Your Lettering Or Images
If you have the capability of carving this is a very flexible creative way of creating your barn wood sign. The options much like stencils are pretty much limitless. The main difference with carving is it gives a 3 dimensional (3D) depth to the appearance of your barn wood sign.
You can utilize a Computer Numerical Control (CNC) machine to carve your lettering or images or you can hand carve. CNC utilizes software for the design of a Gcode which is then utilized with a CNC machine.
Hand carving is an art. Using hand carving tools or small grinding tools of various sizes you carve the letters and/or images on your wood sign.
Once your lettering and/or images are complete you paint all or some of the lettering creating your final product.
Hand Painting
Hand Painting is not as difficult as you may think although more time-consuming. If you are limited on your resources and don’t have the machines for Stencils or Carving this is a good option.
Using your home computer and a word processing program (You can use Microsoft Word for example) to create your lettering or images. Print out your file on paper. If your print will be larger then the generic 11.5×8 paper you can use a free online service at rapidsizer.com to print across several pages and then line up to apply to the board.

Once you get your image to paper you can tape together your papers and then flip over the paper and trace with a pencil each of the letters/images.
Tape your paper (Fact Front) to the stain/painted barn wood board. Trace the lettering on the front which will transfer the lines to the barn wood board.
Using the paint of your choice use a board flat paint brush and a thin paint brush to paint in the lines of the traced lettering/image. If you would like to know more about paint and wood signs you can see my page – “Painting“
Finish – What Finish Do You Use?
Finishing a barn wood sign is a matter of choice. If you like to original look of the barn wood sign I would suggest a coat of polyurethane. This will protect your barn wood sign as well complement your design. I would suggest a spray can version for a light coat for barn wood signs with an indoor purpose.
There are other options for finishing your barn wood sign. Clear coating, using a lacquer, etc. These options are all good choices. However, for your best option polyurethane is the best option.
If you like the information provided please ensure you Pin the below for this article to Pinterest and also follow me on Pinterest