Have you ever been captivated by the beauty of finely crafted wooden furniture or intricate wooden sculptures? Do you want to unleash your inner artisan and create stunning woodworking projects with your own hands? If so, you’re in the right place. Whether you’re a beginner or have some experience, this article will provide you with expert DIY woodworking tips to help you embark on your creative journey with wood.
Woodworking is more than just a hobby; it’s a craft that allows you to transform raw materials into functional and artistic pieces. From small crafts to large furniture projects, woodworking gives you the power to bring your ideas to life. But where do you begin? What tools do you need? How do you choose the right wood? What techniques should you master? Don’t worry, we have all the answers.
Get ready to dive into the world of DIY woodworking and discover the endless possibilities that await you. Whether you want to build a custom bookshelf, carve a beautiful wooden bowl, or craft a unique gift for someone special, these tips and techniques will set you on the path to success.
Key Takeaways:
- DIY woodworking allows you to embrace your creativity and create beautiful projects.
- Whether you’re a beginner or have some experience, these expert tips will help you get started.
- Choosing the right tools and wood is essential for successful woodworking projects.
- Understanding woodworking techniques and safety precautions will ensure your projects turn out beautifully.
- Explore woodworking tutorials and ideas to expand your skills and find inspiration for new projects.
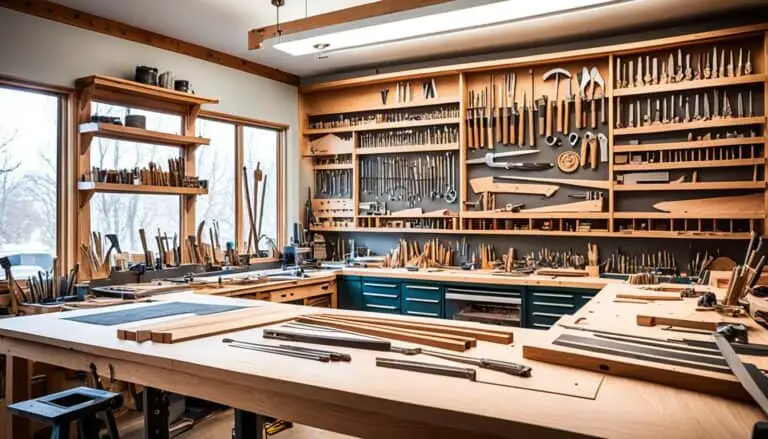
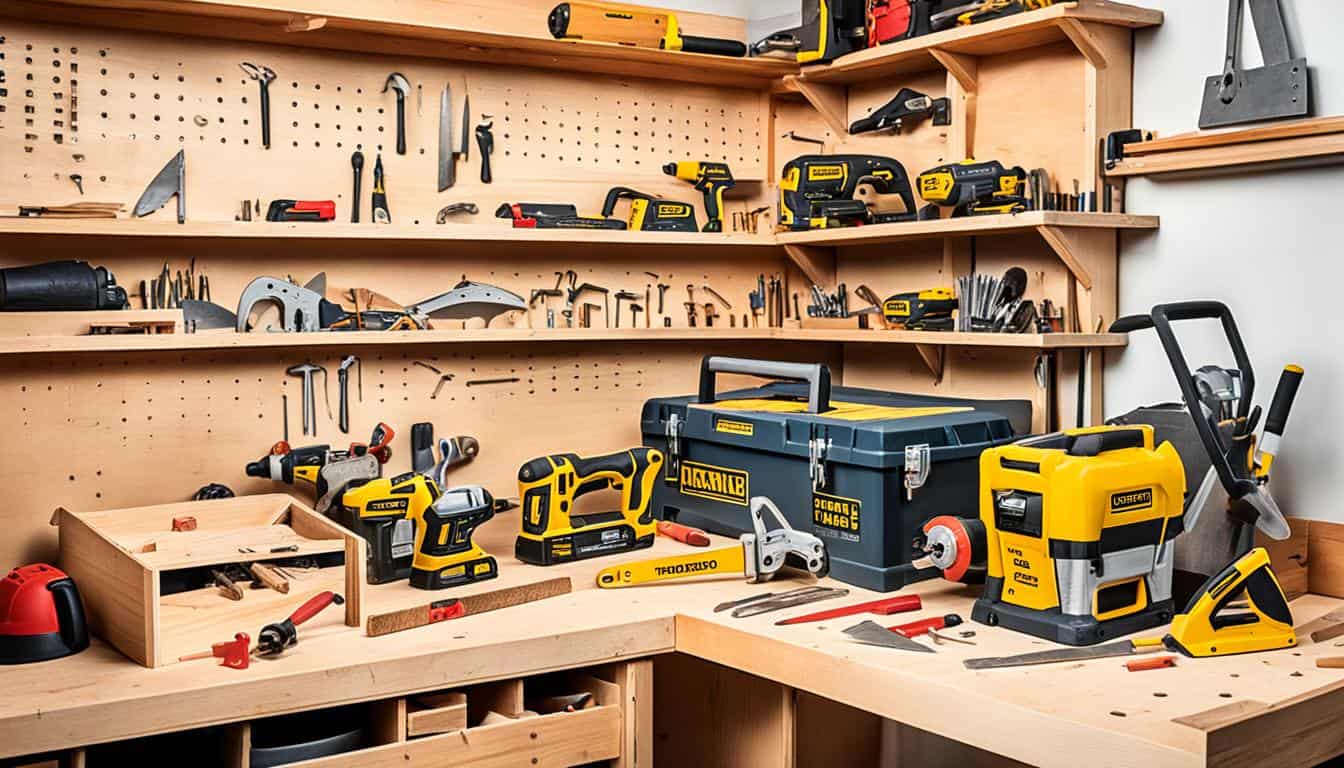
Essential Woodworking Tools for Beginners
Before you embark on your woodworking journey, it is important to have the right tools. As a beginner, having the essential woodworking tools will help you get started on your DIY woodworking projects. Here are some tools you should consider:
Saw
A saw is a primary tool in any woodworker’s arsenal. It allows you to make accurate and precise cuts in various types of wood. A basic hand saw or a circular saw would be suitable for beginner woodworking projects.
Drill
A drill is essential for making holes and attaching or assembling pieces of wood. Look for a cordless drill with adjustable speed settings for versatility. It will come in handy for drilling pilot holes, countersinking screws, and more.
Chisel Set
A chisel set is useful for shaping wood and creating intricate details. It helps you remove excess material, smooth edges, and carve out joints. Invest in a set with different sizes and shapes to accommodate various woodworking tasks.
Measuring Tape
Accurate measurements are crucial in woodworking to ensure precise cuts and alignments. A measuring tape with both imperial and metric measurements will be useful for a wide range of projects. Make sure to double-check your measurements before making any cuts.
Sandpaper
Finishing is an important step in woodworking to achieve smooth surfaces and remove any imperfections. Sandpaper of varying grits will help you remove rough edges, smoothen surfaces, and prepare wood for staining or painting.
Having these essential woodworking tools will provide a good foundation for your journey as a beginner woodworker. As you gain more experience and tackle more advanced projects, you can gradually expand your collection to include additional specialized tools.
Choosing the Right Wood for Your Project
When embarking on a DIY woodworking project, selecting the appropriate wood is crucial to ensure the success and longevity of your creation. Different woods possess distinct characteristics that make them suitable for specific purposes. This section explores some common types of wood used in woodworking, including pine, oak, cherry, and walnut, and provides insights on how to choose the right wood for your project.
Factors to Consider
When selecting woodworking materials, you should consider several factors:
- Durability: Evaluate the wood’s durability in relation to its intended use. Some projects may require a more robust and resilient wood, while others may benefit from a lighter and more flexible option.
- Appearance: Take into account the aesthetics of the wood. Each type of wood has unique grain patterns, color variations, and natural beauty. Consider how the wood’s appearance aligns with your project’s overall design and desired visual impact.
- Workability: Assess the ease of working with the wood. Some woods are softer and easier to shape and carve, making them ideal for detailed projects, while others may require more advanced woodworking techniques.
Common Woods Used in Woodworking
Here are some popular types of wood often used in woodworking:
| Wood Type | Characteristics | Common Uses |
|---|---|---|
| Pine | Lightweight, affordable, easy to work with, versatile | Furniture, cabinets, trim, interior projects |
| Oak | Durable, strong, distinct grain pattern | Furniture, flooring, cabinets, trim |
| Cherry | Beautiful reddish-brown color, smooth texture | Furniture, cabinets, decorative projects |
| Walnut | Rich dark brown color, straight grain, easy to carve | Furniture, decorative objects, musical instruments |
Remember that this is just a selection of common woods, and there are many other options available based on your specific project requirements and personal preferences.
By considering the relevant factors and choosing the right wood for your project, you can ensure that your DIY woodworking creation not only looks stunning but also stands the test of time.

Understanding Woodworking Joints
Joinery is an essential aspect of woodworking. By mastering different types of woodworking joints, such as butt joints, miter joints, and dovetail joints, you can create strong and durable connections in your projects. Learning how to cut and assemble these joints properly is crucial for successful woodworking.
Woodworking techniques play a pivotal role in creating sturdy joints that withstand the test of time. Let’s take a closer look at some common woodworking joints:
- Butt Joints: These joints are simple but require precision. They involve joining two pieces of wood by abutting them and securing them with fasteners like screws or nails. While butt joints may not be as strong as other types, they can serve well in certain applications.
- Miter Joints: Miter joints are commonly used in corners, such as picture frames or moldings. They require cutting two pieces of wood at an angle and joining them together to form a 90-degree corner. Miter joints can be reinforced with adhesives or splines for added strength.
- Dovetail Joints: Dovetail joints are renowned for their strength and aesthetic appeal. They feature interlocking projections, or “tails” and “pins,” that create a secure bond between two pieces of wood. Dovetail joints are commonly used in furniture making and cabinetry.
Understanding these woodworking joints empowers you to choose the most appropriate joint for your project, depending on factors such as strength requirements, aesthetics, and personal preference. It’s essential to practice these woodworking techniques to achieve precise cuts and accurate joinery.
Remember, woodworking is an art that requires patience and attention to detail. By mastering different woodworking joints, you can elevate the quality and durability of your DIY woodworking projects.
Expert Tip:
When working with woodworking joints, ensure that your measurements and cuts are accurate. A small deviation can significantly impact the final fit and integrity of the joint.
Combining superior woodworking techniques with the right tools and materials allows you to create beautiful and functional woodworking projects. In the next section, you will learn essential safety tips to ensure your woodworking journey is enjoyable and accident-free.
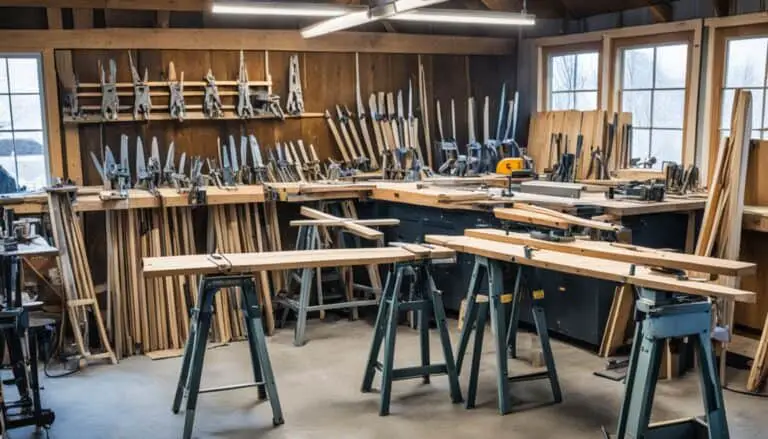
Safety Tips for DIY Woodworking
When it comes to DIY woodworking, safety should always be your top priority. Whether you’re a beginner or have some experience, it’s important to take precautions to protect yourself and others while working with wood. Follow these safety tips to ensure a safe and enjoyable woodworking experience:
- Wear protective goggles and gloves: Woodworking involves cutting, sanding, and handling various materials. Protect your eyes with safety goggles and your hands with gloves to prevent injuries.
- Use proper cutting techniques: Whether you’re using a saw or a chisel, make sure you know how to use the tool correctly. Follow the manufacturer’s instructions and avoid making hasty or careless cuts.
- Keep your work area clean and organized: Cluttered workspaces can increase the risk of accidents. Keep your tools, materials, and workspace tidy to minimize tripping hazards and maximize efficiency.
- Secure your wood: Before making any cuts, ensure that your wood is properly secured. Use clamps or other appropriate methods to prevent the wood from moving or slipping during cutting or shaping.
- Take breaks: Woodworking can be physically demanding, so it’s essential to take regular breaks. Prolonged periods of repetitive motion or strain can lead to fatigue and increased risk of accidents.
- Keep children and pets away: Woodworking tools and materials can pose serious dangers to children and pets. Always work in a controlled environment and keep them at a safe distance from your work area.
By following these safety tips, you can minimize the risk of accidents and injuries while enjoying the art of woodworking. Remember, a safe workshop is a productive workshop!
“Safety is not an option in woodworking. It’s a necessity. Always prioritize your well-being and take the necessary precautions to avoid accidents and injuries.” – Expert Woodworker
Here’s an image highlighting the importance of woodworking safety:

Planning Your Woodworking Projects
Before diving into your woodworking projects, taking the time to plan ahead can make all the difference in ensuring a smooth and successful construction process. When you have a well-thought-out plan in place, you’ll be able to stay organized, budget appropriately, and create stunning pieces of craftsmanship. Here are some essential steps to consider when planning your woodworking projects:
1. Sketch Your Project
Start by visualizing your end goal and sketching out your project on paper or using a digital design tool. This step allows you to refine your ideas, identify potential issues, and make necessary adjustments before the actual construction begins.
2. Create a Materials and Tools List
Take an inventory of the materials and tools you’ll need for your woodworking project. Consider the type and quantity of wood, hardware, finishes, and other supplies required. Make a comprehensive list to help you stay organized when purchasing and gathering everything you need.
3. Estimate Time and Cost
Estimating the time and cost involved in your woodworking project is crucial for proper planning. Consider factors such as the complexity of the design, your skill level, and the availability of tools and equipment. Research the prices of materials and determine how long each phase of the project may take to complete.
4. Break Down the Project into Phases
Divide your woodworking project into smaller, manageable phases. This approach allows you to tackle each step one at a time, ensuring quality and attention to detail. Breaking down the project also helps you prioritize tasks and gives you a sense of accomplishment as you complete each phase.
5. Set Realistic Deadlines
Establish realistic deadlines for each phase of your woodworking project. This step helps you stay on track and maintain momentum throughout the construction process. Be sure to give yourself enough time to complete each step without rushing, as precision and craftsmanship are fundamental in woodworking.
6. Consider Safety Precautions
Prioritize safety in your woodworking plan. Identify potential hazards and incorporate safety measures into your project design. Consider personal protective equipment, proper ventilation, and safe techniques when using tools and machinery.
7. Seek Inspiration and Guidance
Research and gather inspiration from woodworking books, magazines, online resources, and social media platforms. Look for tutorials, project plans, and tips that align with your woodworking goals. Studying successful projects and learning from experienced woodworkers can provide valuable insights and guidance as you plan your own projects.
By investing time in planning your woodworking projects, you set a solid foundation for a successful and enjoyable experience. Whether you’re a beginner or an experienced woodworker, careful planning will help you bring your vision to life with confidence and precision.
Tips for Accurate Wood Measurements
Accurate measurements are crucial in woodworking. Whether you’re a beginner or an experienced woodworker, precision is key to achieving professional-looking results. By using the right tools and adopting the correct techniques, you can ensure that your cuts and joints are precise and fit perfectly. Here are some essential tips for accurate wood measurements:
1. Use Quality Measuring Tools
Invest in a reliable measuring tape that provides accurate readings. Look for one that has clear markings and a durable construction. Additionally, having marking tools like a pencil or a marking knife will help you make precise layout lines on your wood.
2. Double-Check Your Measurements
Before making any cuts or adjustments, always double-check your measurements. Even a small error can lead to costly mistakes. Take your time to ensure that your measurements are accurate and match your project plans.
3. Measure Twice, Cut Once
An old saying in woodworking that holds true to this day is “Measure twice, cut once.” Taking the time to measure your wood accurately will save you from making irreversible mistakes. Avoid rushing through this crucial step and be mindful of every measurement you take.
4. Use Reference Points
When measuring multiple pieces of wood for the same project, use reference points to maintain consistency. Mark a reference point on each piece, such as the top or bottom edge, and align your measurements accordingly. This will ensure that all your pieces are uniform and fit together perfectly.
“Accurate measurements are the foundation of precise woodworking.”
Remember, accuracy in woodworking measurements contributes to the overall quality and functionality of your project. By following these tips, you can achieve precise cuts, joints, and assemblies, resulting in a finished product that meets your expectations.

| Tool | Description |
|---|---|
| Measuring Tape | A flexible and retractable tool used for measuring length, width, and height. |
| Marking Knife | A sharp knife used to create precise layout lines on wood. |
| Pencil | A versatile tool for marking measurements and layout lines on wood. |
Proper Cutting Techniques in Woodworking
Proper cutting techniques are crucial for achieving clean and accurate results in woodworking. Whether you’re using a hand saw or a power saw, understanding and applying the right cutting techniques will enhance your woodworking skills. Here are some essential tips to improve your cutting accuracy:
- Straight Cuts: To make precise straight cuts, ensure that your saw blade is aligned with the cut line. Use a straight edge or a guide to maintain a straight path and apply even pressure as you cut.
- Angled Cuts: When working with angles, use a miter gauge or a bevel gauge to set the desired angle on your saw. Maintain a steady hand and guide the material through the cut, keeping it firmly against the fence or guide to prevent it from shifting.
- Curved Cuts: For curved cuts, use a coping saw, jigsaw, or bandsaw with a narrow blade. Take your time and follow the marked line closely, using gentle, controlled movements. If needed, use sandpaper or a rasp to refine the curves.
Quote:
“Proper cutting techniques are like the precision strokes of an artist’s brush – they bring life and beauty to your woodworking creations.” – Mark Adams
Remember, practice is key to mastering cutting techniques in woodworking. Start with simple projects before taking on more complex cuts. Each cut you make contributes to your understanding of the craft.
Now let’s take a look at a table summarizing the key cutting techniques and their applications:
| Cutting Technique | Application |
|---|---|
| Straight Cuts | Ideal for creating precise, straight lines in woodworking projects. |
| Angled Cuts | Used to make angled joints, beveled edges, or create geometric shapes. |
| Curved Cuts | Perfect for shaping arcs, circles, or intricate patterns in your workpieces. |

By applying proper cutting techniques and honing your skills, you’ll achieve cleaner cuts and more accurate woodworking projects. Stay focused, practice consistently, and let your passion for woodworking guide your hands.
Sanding and Finishing Tips for Woodworking
Sanding and finishing play a crucial role in the overall success of your woodworking project. These final steps determine the final appearance and smoothness of the wood surface. By following proper sanding techniques and selecting the appropriate finish, you can achieve a polished and professional look for your masterpiece.
Proper Sanding Techniques
When it comes to sanding, using the right techniques can make a significant difference in the outcome. Here are some tips to help you achieve a smooth finish:
- Start with coarse-grit sandpaper and gradually move to finer grits. This progression ensures that you remove any roughness or imperfections from the wood surface.
- Sand in the direction of the wood grain to avoid creating scratches or marks.
- Apply even pressure while sanding to maintain a consistent finish.
- Regularly check the smoothness of the wood by running your hand over the surface. Sand until it feels smooth and free of any bumps or roughness.
Selecting the Right Finish
Choosing the appropriate finish is essential to enhance the natural beauty of the wood and protect it from wear and tear. Consider the following factors when selecting a finish:
- Type of Wood: Different types of wood may require different finishes to achieve the desired look. For example, a light-colored wood may benefit from a clear varnish, while a dark wood may look stunning with an oil-based finish.
- Desired Appearance: Determine the level of sheen or gloss you want for your project. Options range from matte to high-gloss finishes.
- Usage: Consider the function of your project. If it will be exposed to moisture or heavy use, opt for a more durable and water-resistant finish, such as polyurethane or epoxy.
Experiment with different finishes on scrap wood pieces to see how they interact with the type of wood you are working with. This will help you make an informed decision for your project.
Remember, proper sanding and finishing techniques can elevate the quality and appearance of your woodworking projects. Take your time, pay attention to detail, and enjoy the rewarding process of sanding and finishing your creations.
Common Woodworking Mistakes to Avoid
Woodworking is a craft that requires precision and attention to detail. As a beginner woodworker, it’s common to encounter certain mistakes that can negatively impact the outcome of your projects. By being aware of these mistakes and taking steps to avoid them, you can improve the quality of your woodworking and save yourself time and frustration.
1. Not using the right tools for the job
Using the appropriate tools for different woodworking tasks is crucial. Using the wrong tool can result in sloppy cuts, uneven joints, and compromised overall structural integrity. Invest in a basic set of essential woodworking tools, such as a saw, chisel set, and drill, to ensure you have the right equipment for each project.
2. Not measuring accurately
Accurate measurements are the foundation of successful woodworking. Failing to measure accurately can lead to pieces that don’t fit together correctly or misaligned cuts. Always double-check your measurements before making any cuts or joining pieces together. Use a quality measuring tape and consider using marking tools, such as a marking knife, for precise measurements.
3. Rushing through the project
Woodworking requires patience and a methodical approach. Rushing through a project can result in careless mistakes and compromised quality. Take your time to plan, measure, and execute each step carefully. It’s better to spend a little extra time ensuring accuracy than to rush and have to redo sections of your project.
4. Neglecting safety precautions
Safety should always be a priority when working with wood. Not wearing protective goggles and gloves, failing to use safety guards on power tools, or neglecting to properly secure your workpiece can lead to accidents and injuries. Familiarize yourself with safety guidelines and always follow them to protect yourself and others in your woodworking space.
By avoiding these common woodworking mistakes, you’ll be on your way to becoming a more skilled and confident woodworker. Remember to take your time, use the right tools, measure accurately, and prioritize safety in everything you do.
Getting Started with Woodworking Tutorials
As a beginner in woodworking, it can sometimes be overwhelming to know where to start. That’s where woodworking tutorials come in handy. These valuable resources provide step-by-step guidance on various woodworking techniques and projects, helping you build your skills and confidence in the craft.
There are different types of woodworking tutorials available, including online video tutorials, instructional books, and even hands-on workshops. By following along with these tutorials, you can learn the basics of woodworking and gain practical knowledge that you can apply to your own projects.
Whether you want to learn how to build a simple bookshelf or create intricate furniture pieces, there are woodworking tutorials available for a wide range of projects. These tutorials often include detailed instructions, measurements, and illustrations to make the process easier to understand.
Benefits of Woodworking Tutorials
Woodworking tutorials offer several benefits for beginners:
- Step-by-step guidance: Tutorials provide a clear roadmap, breaking down complex projects into manageable steps.
- Learning at your own pace: You can pause, rewind, and revisit tutorials as needed, allowing you to learn at a comfortable pace.
- Visual demonstrations: Videos and illustrations help you visualize the techniques and processes involved in woodworking.
- Building foundational skills: Tutorials teach you essential woodworking techniques, such as measuring, cutting, joining, and finishing.
It’s important to note that while woodworking tutorials are a valuable resource, they should complement hands-on practice. Working with wood and developing a feel for the material is an important aspect of mastering woodworking skills.
| Woodworking Tutorial Platforms | Description |
|---|---|
| YouTube | A popular platform with a vast collection of woodworking tutorial videos, ranging from beginner-friendly to advanced techniques. |
| Woodworking Websites | There are dedicated websites that offer a wide range of woodworking tutorials, articles, and project plans. |
| Online Courses | Some websites and platforms offer comprehensive online courses that cover various aspects of woodworking, including beginner projects. |
| Instructional Books | Books written by experienced woodworkers provide detailed instructions, illustrations, and project plans. |
No matter which platform you choose, make sure to explore different tutorials and find the ones that suit your learning style and interests. Start with beginner-friendly projects and gradually challenge yourself with more complex tasks as you gain experience.
Remember, practice makes perfect. The more you practice the techniques you learn from tutorials, the more proficient you will become in woodworking.
As you progress in your woodworking journey, don’t hesitate to experiment, ask questions, and seek guidance from experienced woodworkers. Woodworking forums and communities can be great sources of inspiration and knowledge.
So, if you’re ready to dive into the world of woodworking, start exploring woodworking tutorials today. With dedication, practice, and the help of these valuable resources, you’ll be well on your way to mastering the art of woodworking.
Exploring DIY Woodworking Ideas
Are you ready to unleash your creativity through DIY woodworking? There is a world of possibilities waiting for you to explore! Whether you’re a beginner or have some experience, woodworking offers endless opportunities to bring your ideas to life and create beautiful, functional pieces. From furniture to decorative items, the only limit is your imagination.
If you’re just starting out in the world of woodworking, don’t worry! Many woodworking ideas are beginner-friendly and require only basic tools and materials. These projects will not only build your skills but also give you a sense of accomplishment as you see your creations take shape.
One popular beginner woodworking idea is building a simple bookshelf. With a few pieces of wood and some basic tools like a saw, drill, and screws, you can create a stylish and functional storage solution for your books and decor items. Add a coat of paint or stain to match your home decor, and you’ll have a personalized piece that showcases your craftsmanship.
If you enjoy spending time outdoors, consider building a wooden planter box. This project allows you to combine your love for woodworking with gardening. By following a simple plan and using weather-resistant wood, you can create a beautiful planter box to showcase your favorite flowers or herbs. Imagine the satisfaction of growing your own plants in a container that you built with your own hands.
If you’re looking to add some rustic charm to your home, consider making a wooden picture frame. This project is a great way to display your favorite photos or artwork while adding a touch of warmth and traditional craftsmanship to your space. With the right tools and techniques, you can create custom-sized frames that perfectly complement your decor.
For those who love the idea of repurposing materials, woodworking offers endless opportunities. Upcycling old pallets into furniture pieces, such as coffee tables or outdoor benches, is a popular trend in the DIY woodworking community. Not only does this help reduce waste, but it also allows you to put your own unique spin on the design, making it truly one-of-a-kind.
Remember, the key to successful woodworking projects is to start with a clear plan. Research different woodworking ideas, gather the necessary materials and tools, and take the time to understand the techniques involved. Whether you’re following step-by-step tutorials or creating your own designs, take pleasure in the process and let your creativity shine.
Woodworking Ideas Inspiration
| Project | Description |
|---|---|
| 1. Floating Shelves | Create sleek and modern storage solutions for your walls with floating shelves. Use different wood types and finishes to match your decor style. |
| 2. Wooden Wine Rack | Showcase your wine collection with a handmade wooden wine rack. Customize the design and size to fit your space and number of bottles. |
| 3. Cutting Board | Produce a stylish and functional kitchen essential by crafting a wooden cutting board. Experiment with different wood combinations and shapes for a unique result. |
| 4. Jewelry Box | Design and build a wooden jewelry box that reflects your personal style. Add compartments, dividers, and a velvet lining for an elegant touch. |
| 5. Outdoor Plant Stand | Bring your plants to new heights with a DIY outdoor plant stand. Use different levels and tiers to create an eye-catching display for your garden or patio. |
As you can see, the world of DIY woodworking is full of exciting ideas and projects for all skill levels. Whether you’re a beginner or a seasoned woodworker, there’s always something new to explore and create. So start brainstorming, gather your tools, and embark on your next woodworking adventure. Your imagination is the only limit!
Conclusion
Woodworking is a versatile and rewarding craft that allows you to create beautiful projects while expressing your creativity. With the right tips and techniques, you can enhance your woodworking skills and take on DIY woodworking projects with confidence.
Throughout this article, we have provided a comprehensive guide to help you get started in woodworking. From choosing the right tools and materials to understanding woodworking joints and safety precautions, you now have a solid foundation to embark on your woodworking journey.
Remember, safety should always be your top priority. Wear protective gear, work in a clean and organized environment, and familiarize yourself with safety guidelines before starting any project. By prioritizing safety, you can enjoy the process of bringing your woodworking ideas to life without compromising your well-being.
Whether you are a beginner or have some experience, the woodworking tips and techniques shared in this article are designed to help you succeed. So roll up your sleeves, grab your tools, and let your creativity soar as you dive into the world of DIY woodworking.
FAQ
What are some essential woodworking tools for beginners?
Some essential woodworking tools for beginners include a saw, a drill, a chisel set, a measuring tape, and sandpaper.
How do I choose the right wood for my DIY woodworking project?
When choosing wood for your project, consider factors such as durability, appearance, and workability. Common types of wood used in woodworking include pine, oak, cherry, and walnut.
What are some important woodworking joints to understand?
Some important woodworking joints to understand include butt joints, miter joints, and dovetail joints. Learning how to cut and assemble these joints will help you create strong connections in your projects.
What are some safety tips for DIY woodworking?
Some safety tips for DIY woodworking include wearing protective goggles and gloves, using proper cutting and sanding techniques, and keeping your work area clean and organized.
How do I plan my woodworking projects?
Planning your woodworking projects involves sketching your project, creating a list of materials and tools needed, and estimating the time and cost involved.
How do I ensure accurate wood measurements?
To ensure accurate wood measurements, use a quality measuring tape and marking tools such as a pencil or marking knife. Double-check measurements before making cuts to avoid mistakes.
What are some cutting techniques I should know in woodworking?
Learn how to make straight cuts, angled cuts, and curved cuts using the appropriate cutting techniques for the desired result.
How do I properly sand and finish my woodworking projects?
Start with coarse-grit sandpaper and progressively move to finer grits to achieve a smooth finish. Choose the appropriate finish, such as varnish or paint, based on the wood and desired look.
What are some common woodworking mistakes to avoid?
Common woodworking mistakes to avoid include using the wrong tools, measuring inaccurately, rushing through the project, and neglecting safety precautions.
Where can I find woodworking tutorials?
Woodworking tutorials can be found online, through videos, and in instructional books. These resources provide step-by-step guidance on various woodworking techniques and projects.
What are some DIY woodworking ideas I can explore?
DIY woodworking offers endless possibilities, from building furniture to creating decorative items. Explore different woodworking ideas to find inspiration for your next project.