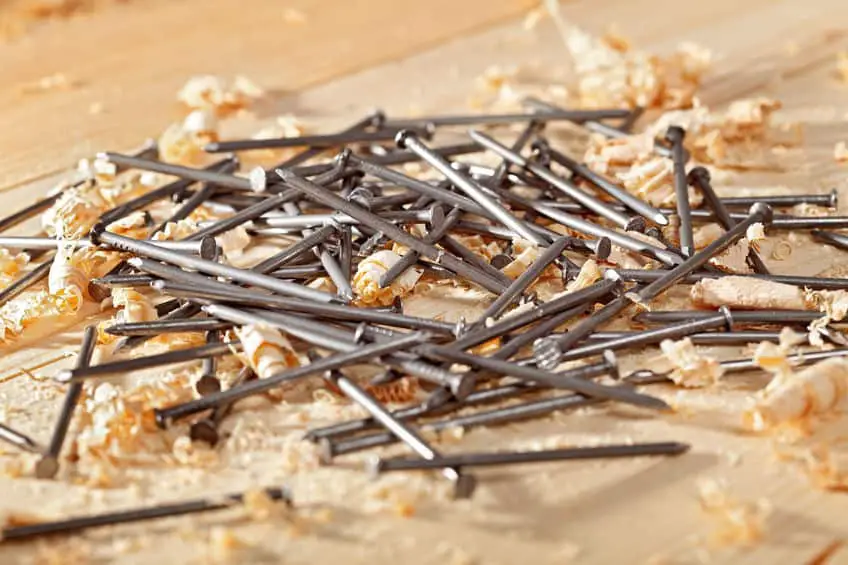
Wood nails come in all sizes and lengths that you can use with your wood projects. When considering how far a wood nail needs to go into your wood material you need to know several things. Each of these things will help you use your wood nails efficiently and get the hold you desire. So knowing more about wood nails will help you know that when you nail into your wood project it will be used correctly.
The general rule of thumb for how far a nail should go into your wood project is 1/2 to 3/4 the depth of the wood you nailing into. This is the best depth for holding two or more pieces of wood together. For example, if you have a 3/4 inch piece of wood and are nailing into a 3/4 inch piece of wood you would want to use a 1 1/2 inch nail.
Knowing the nails you are using and the material you are using them in can greatly benefit you in providing the best hold and long endurance you want when nailing wood. There are a lot of different types of nails and many myths which surround using nails. I wanted to provide the best information for you to consider when nailing pieces of wood together.
Wood Nail Basics
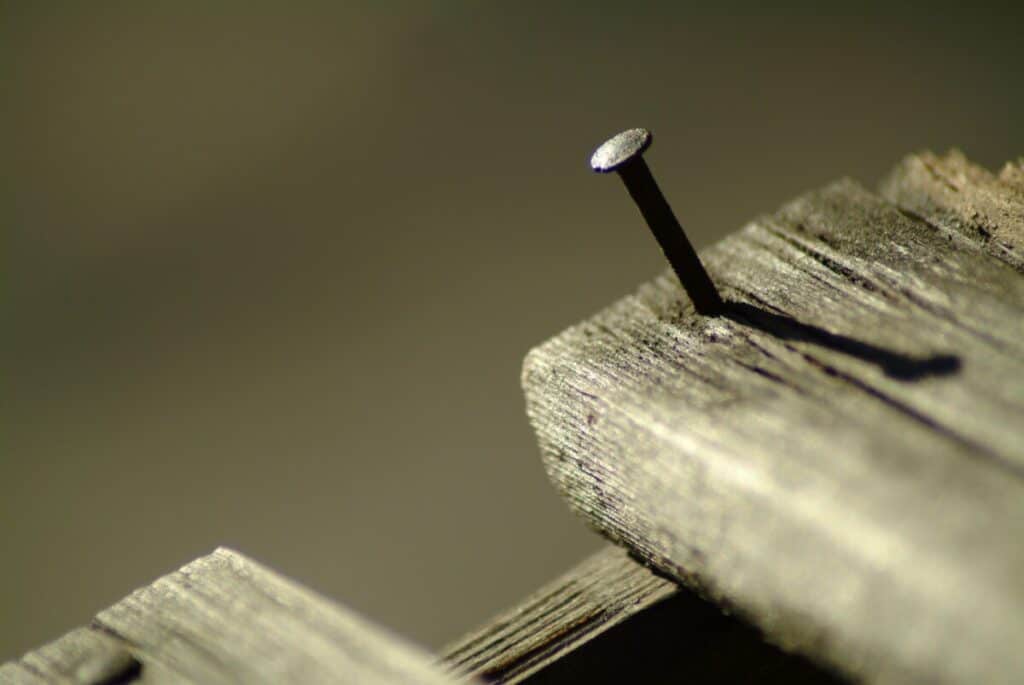
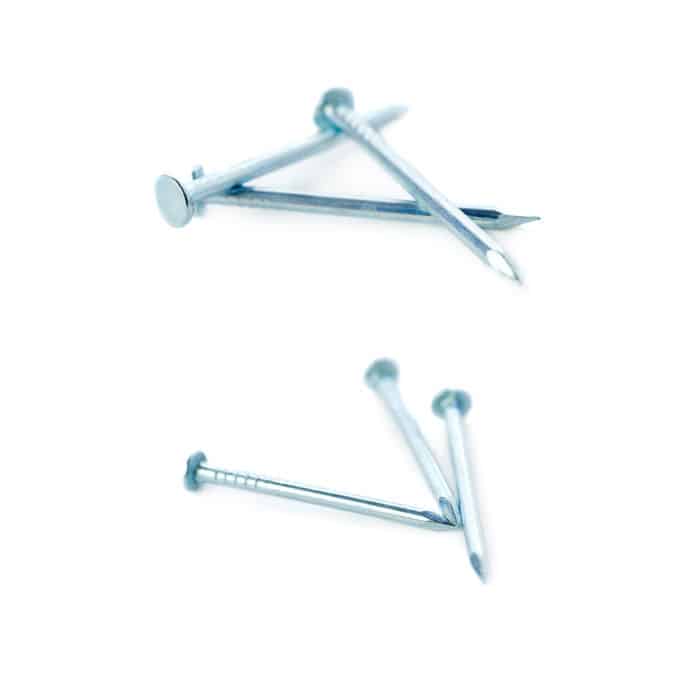
The makeup and use of a nail are pretty simple. The head of the nail includes a flat surface and the shaft of the nail generally is smooth (sometimes includes ribs or threads). When you use a hammer, you will drive the nail into your wood material to hold two different pieces of wood together.
Knowing these nails come in all different sizes and shapes allows you to use them for multiple purposes, projects, and different applications. I wanted to go over the basics of wood nails to more clearly show what options are available to you, so let’s dive into the different types of wood nails and what they and what materials they are created with.
Nail Materials
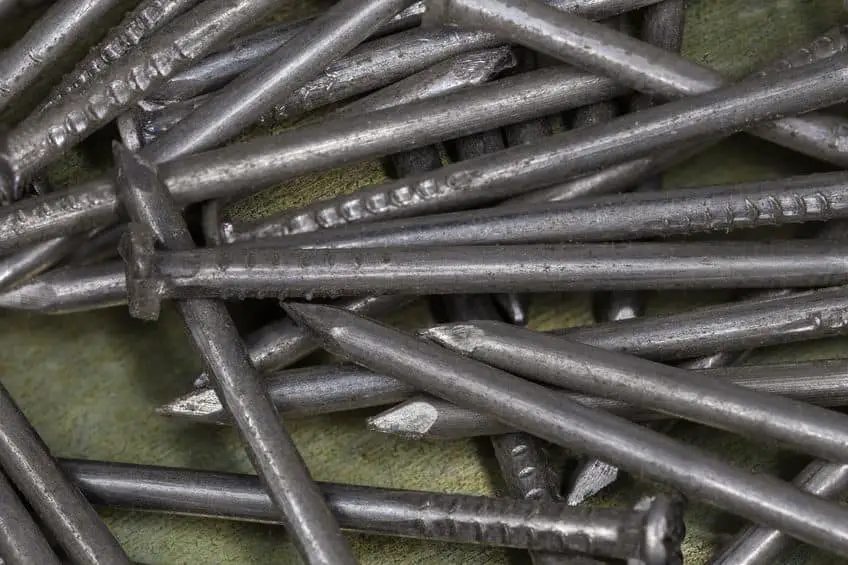
The materials that nails are made up of various and are sometimes purpose-driven for the application you will be using them for. Metals such as steel, stainless steel, brass, copper, and aluminum are common materials you will discover nails are made from.
Nails can be galvanized or coated with zinc or other coatings to enhance their protection from the elements of weather or chemicals which may reside in the treated wood you are using for the construction of your wood projects. They also can be coated with vinyl to lubricate the nail as it is driven into the wood material.
Typical Nail Types
- Common Nails
- Box Nails
- Duplex Head Nails
- Annular Ring (Ring Shank Nails)
- Casing Nails or Finish Nails
- Brad Nails
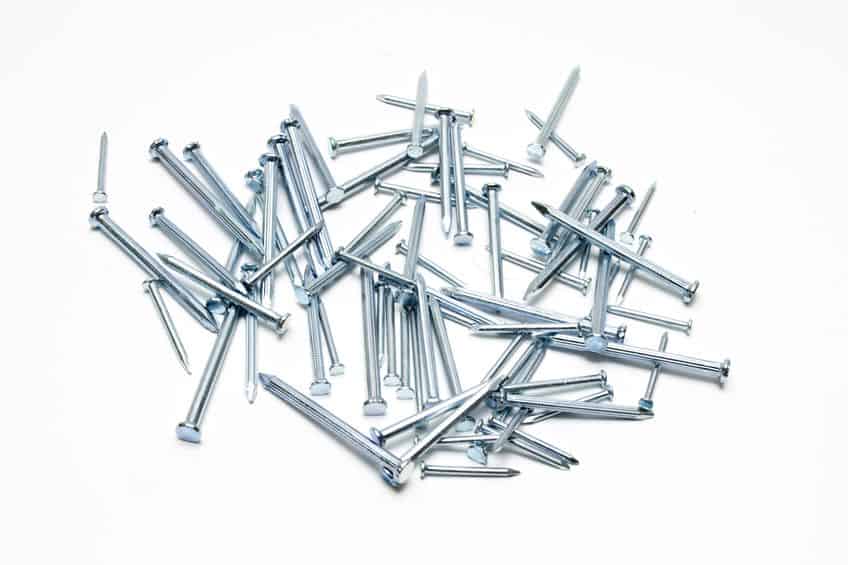
Common Nails
This is the most used nail (Common Nail) in construction and is more commonly used with framing and structural work. The nail has a wide head thick shank and a sharp point. The key to the common nail is the thickness (diameter) of the nail and secures the joint made when used in construction material. One of the downsides to the common nail is it can make wood split if not used properly or when a thinner nail is a better solution.
Box Nails
These nails (Box Nails) are very comparable to common nails and can sometimes be confused with common nails. The greatest difference between common nails and box nails is the thickness of the shank. This allows you to get the same hold in your wood projects with thinner wood. It also allows you to avoid the possibility of splitting the wood with thinner wood material. Please note that box nails should not be used in the framing or construction of structural projects as they don’t have the holding power a common nail does.
Duplex Head Nails
These types of nails are unique and are used for special projects. They have a double head, one on top of each other for the ability to be removed when the temporary wood project is done. Examples of this would include temporary cleats for roofing projects or framing for concrete which would need to be removed. The double head makes them easy to remove with a pull bar or hammer claw.
Annular Ring or Ring Shank Nails
The annular ring nail resembles a screw to a degree. Also known as a ring shank the nail has rings on the shank of the nail to provide the extra hold and also resist being pulled out. The most common use for an annular or ring shank nail is for the installation of subflooring. They prevent the subfloor from moving and hence squeaking.
Casing/ Finishing Nails
The casing and finish nails are used for what the names imply finishing work with wood such as trim. If you were to look at a casing nail and a finish nail it would be very difficult to tell them apart. The biggest difference between them is the head. If you would look closely the finishing nail has a small rounded head which is just a hair bigger than the shank. This gives the nail the ability to counter-sink when used.
On the other hand, the casing nail is basically the finishing nail however larger, and is used mostly for outside applications because they typically include a protective coating. Additionally, the head is tapered to allow the head of the nail to be flush with the wood surface when used.
Brad Nails
Commonly known as brads these are the most common type of nails used in woodworking shops. They are used to connect joins with glue and are very efficient at holding those joins. They are smaller in size and length typically and in most applications will not split the wood when used.
Nail Lengths: Rules of thumb?
A common question asked is what length of nail do I need. The general rule of thumb when it comes to nail length is the nail should be 2 1/2 to 3 times the thickness of the wood material you are nailing through. This is a general rule and should be followed most of the time. However, there are exceptions to the rule for specific applications such as structure or framing for example. Finishing nails and case nails are other examples when you may only need enough to penetrate the wood material below or join when using glue is another example.
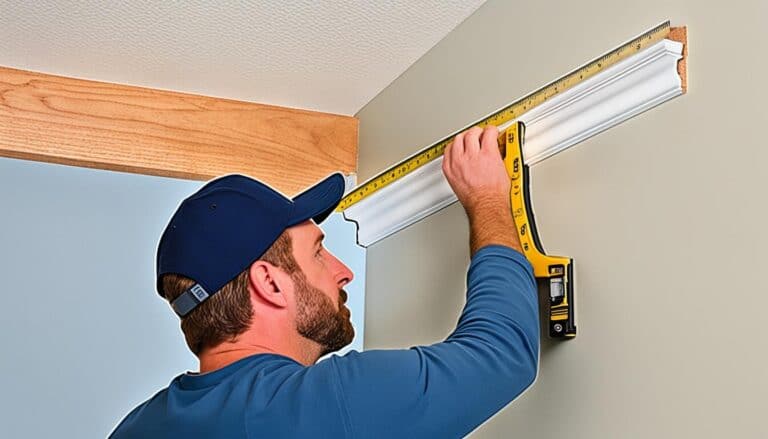
How to Drive Finish Nails into Wood
When using finish nails or case nails you will want to ensure the nail is recessed into the wood for a smooth finish. The recessing of the nail allows for you to apply wood putty or filler into the hole above the nail and complete the finished look of transparency for your wood project. If you are using a hammer or a nailer gun sometimes the nail doesn’t want to go in the depth that you want it to.
In these situations, a nail set can be used to tap the nail further into the wood to allow you to finish the wood project. A nail set is a tap which you place on the head of the nail in the wood project and using a hammer you would lightly tap the nail further into the wood.
Toenailing Basics (DIY)
Toenailing a nail is where you put the nail at an angle through the material into the board below. This technique is used for applications such as studding in a wall, flooring or decking boards, and even joists. Here is how you toenail a nail into your wood project.
- Typically using a common nail you will want to hammer the nail in straight to the board for about an 1/8th of an inch. This will get your nail started into the wood material.
- Then move the nail to a 45 degree angle in the direction of the material you are wanting to nail into.
- Hammer the nail until it reaches approximately 1 inch into the wood material you are nailing into.
If you are having a hard time getting the nail to start you can also drill an initial pilot hole to help. Ensure you do not drill the hole too deep and the drill bit matches the diameter of the nail as close as you can.
Lastly, you will want to use the toenail technique with two nails on each side of the face of the board to ensure a secure hold.
Common Questions Asked
Which Is Better To Prevent Wood From Splitting, Nail, Or Screw?
Both the nail and the screw are great solutions for joining two pieces of wood material. The choice of the nail versus the screw is purpose-driven and what holds you will want. If you want a stronger hold the screw is the best choice. Both the nail and the screw can split the wood depending on the size of the screw/nail, the density of the wood, and how close to the edge of the material you are using.
The best solution for preventing the split of wood while using a nail or a screw is to pre-drill holes prior to using them. This prevents the stress of the fibers of the wood from splitting and allows you to get a great hold when joining them.
What Size Nails For 1/2 Plywood
Plywood is manufactured layers of wood put together and can provide a challenge when choosing the right size and type of nail to use. The general rule of thumb for plywood is to use the size of the nail to penetrate the wood material you are nailing to not go thru. For example, if you are nailing a 1/2 inch thick piece of plywood you would want to use a least a 1 1/4 nail. This would allow the penetration of the wood material you are nail to by 3/4 of an inch.