A speed square is most likely the most misunderstood tool we have in our wood shop, however, it is also the most used. They have multiple uses and I would guess that most of us using them don’t know how to use them correctly. Being one of those folks who didn’t know a lot about the speed square I wanted to research and use it correctly.
If you want to use a speed square like a pro you need to take advantage of its multiple capabilities. The speed square can be used as a ruler, try square, a protractor, scribing tool, and a saw guide. The speed square is the most valuable tool you will have in your wood shop and toolbox.
Looking at the speed square most of us use it for marking 90-degree cuts by placing the lip edge on the material and marking a straight line. Did you know that it has multiple uses? During my research, I discovered many uses for the speed square which I thought I knew but didn’t.
Here I wanted to provide a good overview and list of the many uses of the speed square which you may not know you could perform.
What Is A Speed Square
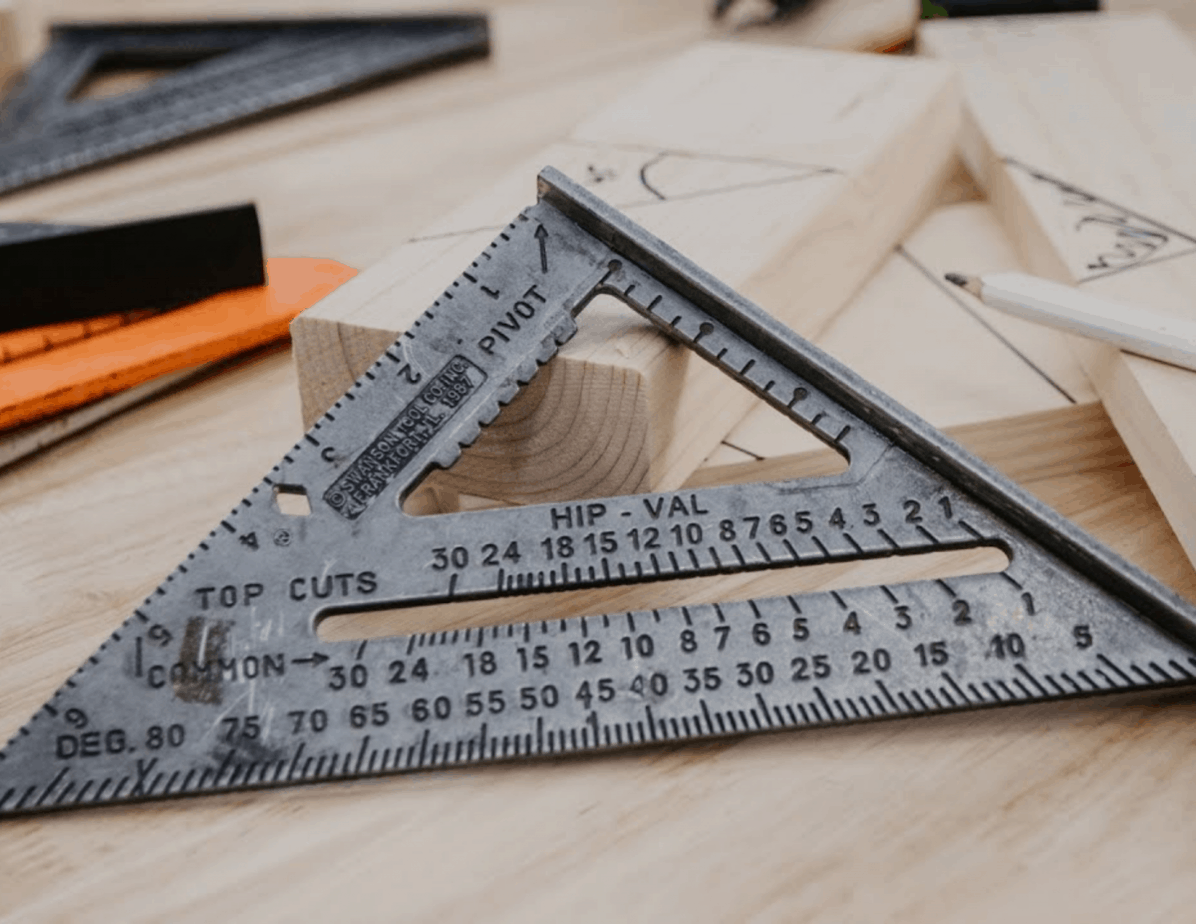
According to Wikipedia, a speed square is a triangular carpenters’ marking out tool. The speed square has several names. It is often referred to as a “Rafter Square” or “Triangle Square”. It has evolved over the years but remained basically the same tool we see today.
The basic tool was invented by Albert Swanson back in 1925. He designed and invented the tool so he could make it easier to quickly determine roof pitches. Over time the tool has changed and been modified due to input from other carpenters and is the tool you see today.
The tool comes in many different types of materials, such as steel, aluminum, or plastic. Although opinion varies on which one to use they all have the same capability.
Recommended Speed Squares
#1 – Swanson Tool Co S0101 7 Inch Speed Square

The original speed square is the Swanson Tool. This speed square is the best one on the market and the most familiar to most carpenters. Here is the basic information for you to consider.
- The Speed Square, made in the USA since 1925, is essential for every carpenter, construction professional, roofer, and DIYer
- Speed Square belongs on every tradesman’s tool bench; includes Try Square, Miter Square, saw guide, line scriber, and protractor
- Includes pocket-sized Swanson Blue Book, a comprehensive guide to help workers make correct angle cuts for any pitched roof
- Features: 1/4-in spaced scribing notches and the Diamond cutout for easy rafter seat cuts and scribing the most common and popular stud widths
- Gradations included for marking common, hip, valley, and jack rafters; Useful for determining and marking angles and making square cuts on boards
Pros:
- This speed square has a great reputation and all of the original functions
- Easy to use and easy to read the markings
- Strong construction
- Small enough to fit into your tool belt
Cons:
- Does not have pre-drill (but notches) holes for ease of use at each measurement for marking – User preference
- Only uses Imperial measurement system if metric system desired
If you would like to purchase – You can purchase from Amazon here.
#2 – DEWALT Premium Rafter Square, 12″
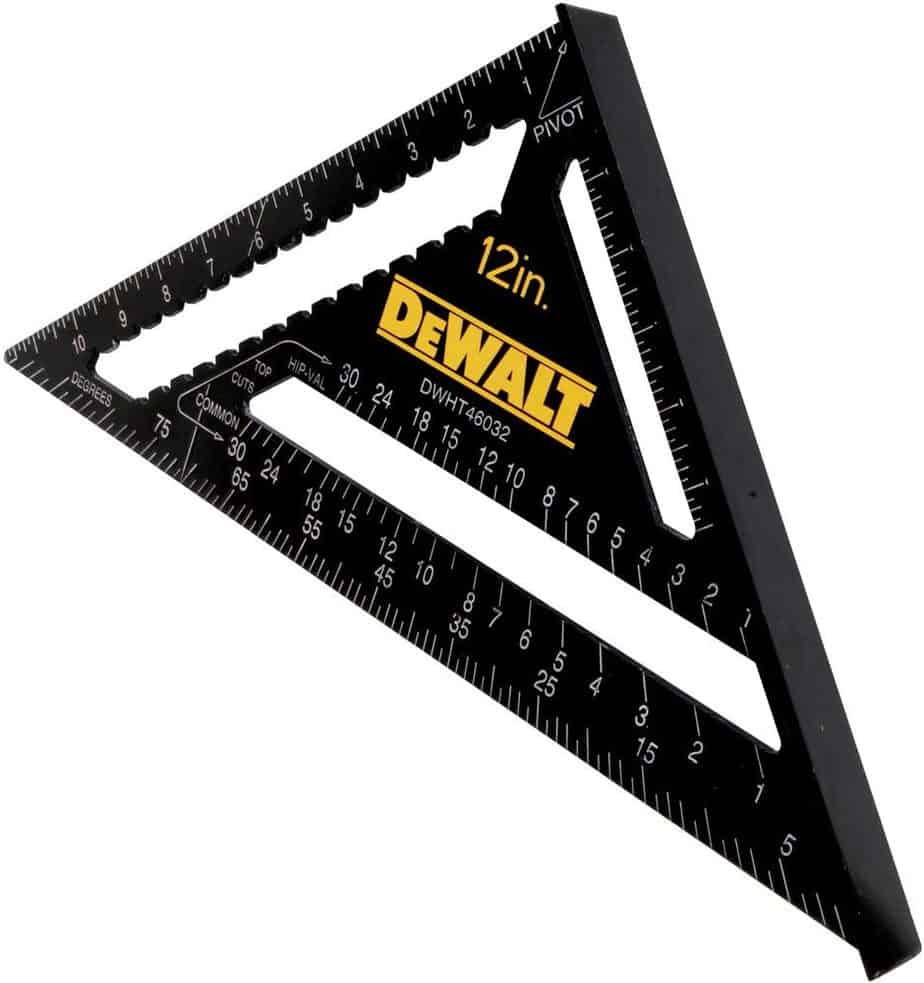
The Dewalt 12 inch rafter square is an excellent speed square for your larger wood projects. If you typically use larger wood material, then this speed square would be a better tool to use and determine your cuts and angle marks. Here is the basic information for you to consider.
- Stamped-in contrasting color graduations for better readability
- Extra-thick extruded aluminum body holds up to heavy-duty use, ideal for use as saw guide
- Large base helps provide better grip on materials
- Scribe line notches for marking rip cuts
Pros:
- Great size for larger material exceeding the standard 6 1/2 speed square.
- Easy to use and easy to read the markings
- Strong construction
- Provides the same capability of the Swanson speed square but larger size
Cons:
- Does not have pre-drill (but notches) holes for ease of use at each measurement for marking – User preference
- Only uses Imperial measurement system if metric system desired
- Does not fit well into your tool belt
If you would like to purchase – You can purchase from Amazon here.
What Are The Correct Basic Uses of the Speed Square
Let’s get into the basics of what the tool is capable of being used for and you may be surprised as to what it can actually do for you and your wood shop projects.
Below I have provided a great video for seeing the basic uses for the speed square.
How Do You Use A Speed Square
You will want to ensure you place flat on the material and then move the speed square according to the mark you are wanting to make. Using the markings on the speed square move using the pivot at the bottom right corner to change the angle of your marking.
The most common overall size you see on the market is a 6 1/4 inch speed square which allows you to confidently mark 6-inch boards. They do come in different sizes up to 12 inches. It is used mostly by putting the lip up to the edge of your material to mark 90-degree marks for cutting across the grain of the wood.
Let’s get into the specifics of the capabilities of the speed square.
Draw A Straight Line
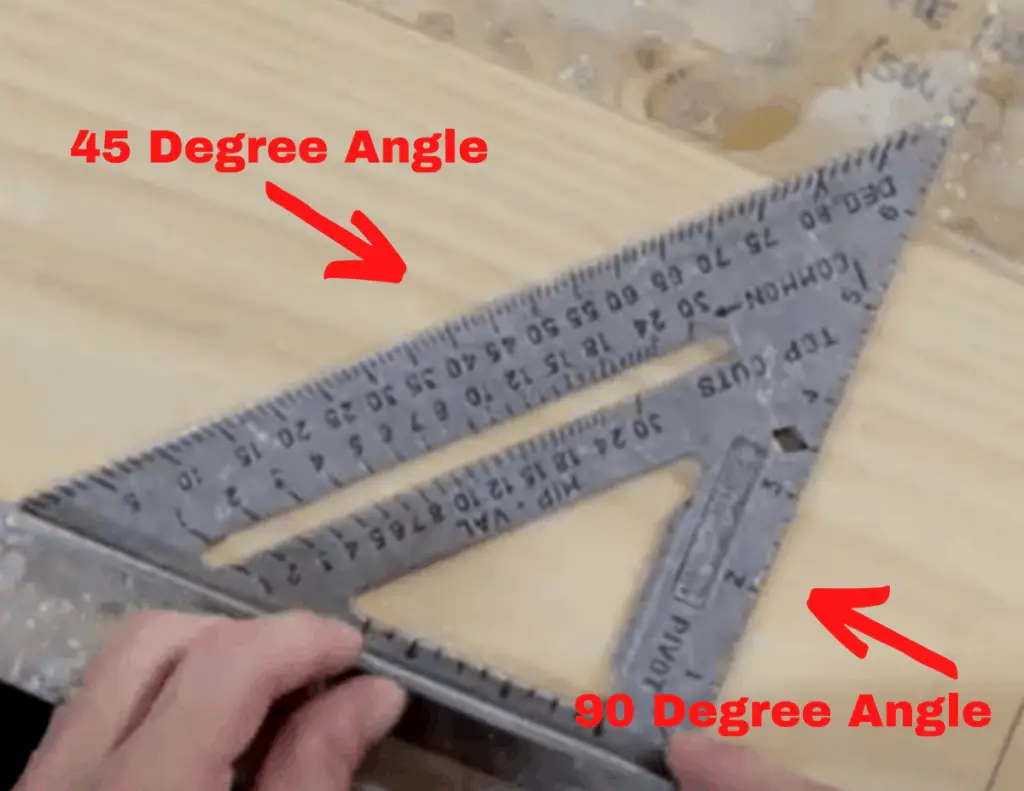
This by far is the most common use for the speed square. You place the lip edge over the edge of the material and push tightly against the wood material. Then you mark on the right-hand side of the speed square and draw a 90-degree angle or down the angled side for a 45-degree angle.
The speed square excels at keeping lines straight and you are honest on your measurements.
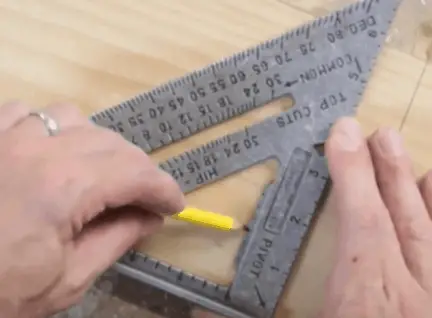
Draw Angles
The speed square is great for drawing angles and is actually one of the main reasons it was created. The simple answer to angles on the speed square is to use the “Pivot” mark on the bottom right-hand side.
Using the pivot you can make angled lines with ease. If you remember your Geometry class in school, it is like using the Protractor. Simply put the pivot on the bottom-right edge of the wood material move the speed square to the left and stop at the angle marked on the far edge (45-degree side).
This comes in handy if you are working on wood projects which require angled cuts. This allows you to quickly mark your angle and not have to worry whether or not it is truly 15 degrees for example and bypass the complicated math.
Mark Material For Ripping
The majority of the speed squares on the market have notches on the inside edge of the 90-degree side which are marked for you to use and slide along the material with a pencil marking a consistent line down your material.
As shown in the above video this is greatly beneficial for those quick lines you want to mark and knowing that it is accurate. Quick and easy.
A Saw Fence
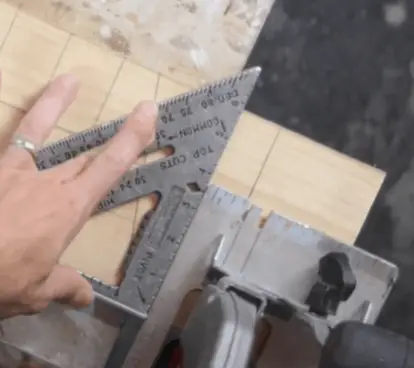
Using the speed square as a fence is also a great option and not as well known to most beginner woodworkers. You can place the speed square on the material as you would for drawing a 90-degree line and then place the saw next to the speed square as a guide or fence to guide your cut with your saw, a circular saw for example.
This ensures a clean and straight cut for your wood project. Additionally, it allows for a quick cut and confidence that the cut is truly straight.
Framing Layout
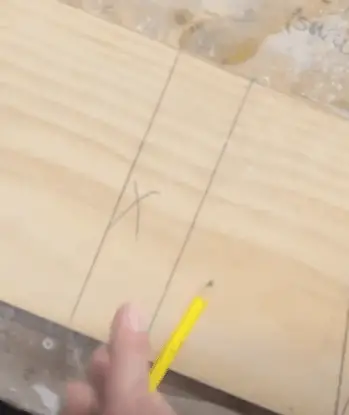
If you are wanting to place studs with a speed square, it is extremely easy thanks to the marking on the tool. Using common 2×4 studs which would measure 1 1/2″ x 3 1/2″, there are markings on the speed square that allow you to quickly mark where the next stud would be and then mark your straight line across the material without moving the tool.
Roof Slope – Measuring Pitches
We all know that determining the slope of a roofing project can be daunting. If you are familiar with the markings on the speed square it makes your markings for cutting the material much easier. If you need help determining roof slope you can take a look at “Measuring Roof Slope and Pitch” on the internal Association of Certified Home Inspectors here.
Roof slopes are determined by telling the rise to the run ratio. For example, if your roof would rise 4 inches for every 12 inches across, you would call that a 4/12 roof slope. A speed square held up to your projected roof slope can greatly help you in determining your cuts.
The Diamond Shaped Cut Out
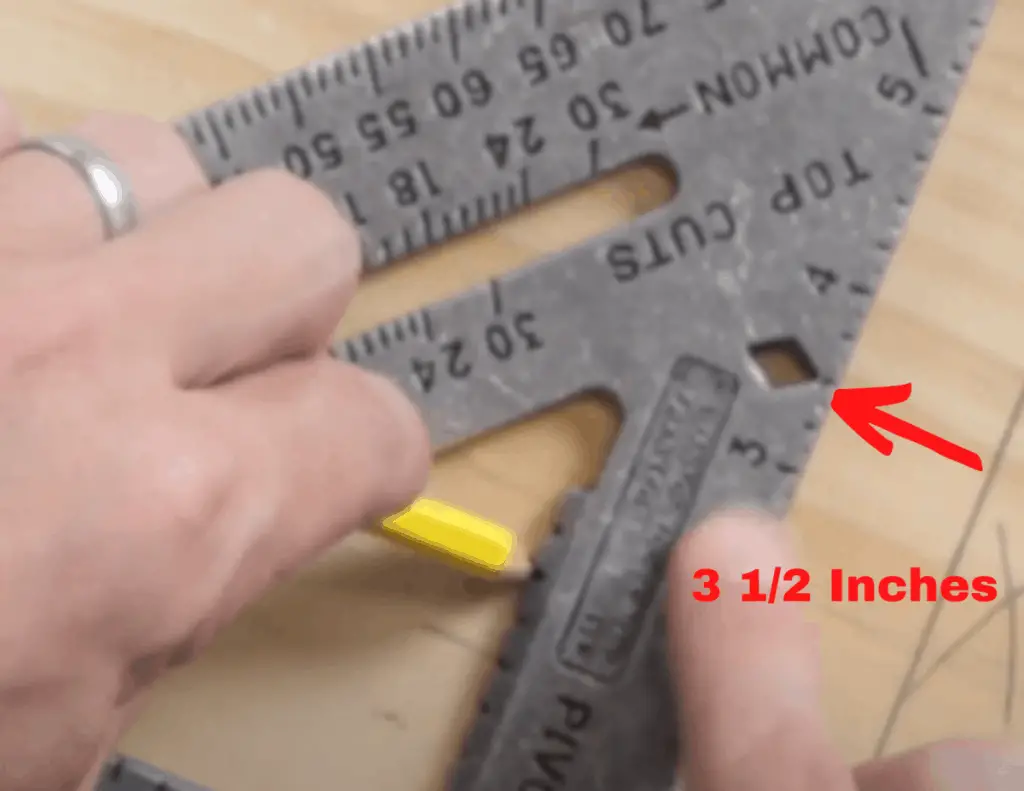
I’m sure you have looked at the speed square and noticed the diamond-shaped cutout. As noted in the picture above, you can see the ruler along the 90-degree side of the speed square. If you are using a typical 6 1/2 size-speed square and are marking on a 6-inch piece of material, you can mark the center of the material easily as the diamond cut out.
In the case of the 6-inch piece of material, you can mark the 3 1/2 mark easily by simply putting your pencil inside the diamond cut out and moving the speed square along the side of the material.
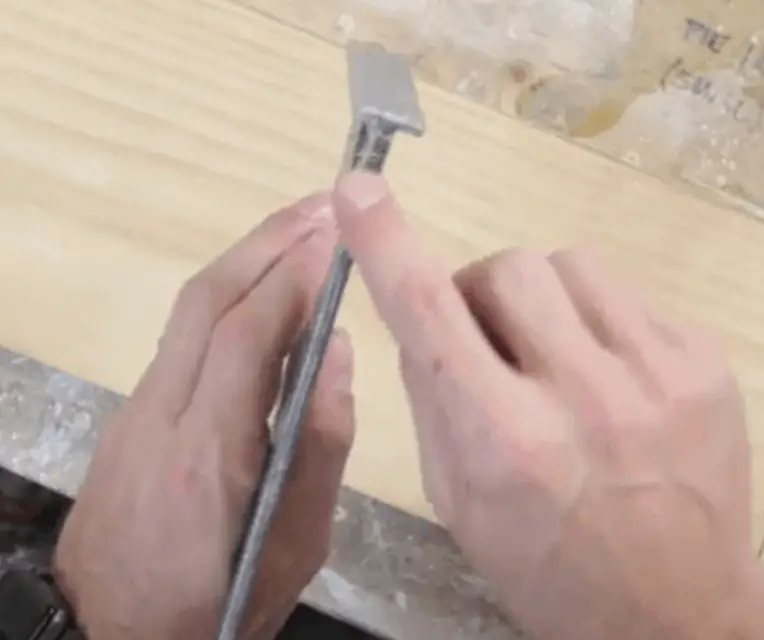
What Is The Lip On The Speed Square Used For
The “T” on the end of the speed square is very useful and benefits you in ways you may not know. Primarily it is used to place against the material to allow you to mark the cuts. Secondly, as mentioned above allows you to use the speed square as a fence for making cuts with a circular saw for example.
Additionally, it allows you to hold the bottom right corner against the material and use the pivot to move the speed square at an angle and determine your angle cut. This is crucial to allow you to have accurate angled cuts.
Bonus Information
If you are interested in having a copy of the original Swanson’s Book of Rafter Lengths and Roof Construction here is link [PDF] for you. This PDF is great information on determining roof lengths and pitches using the Swanson speed square.
If that link didn’t work for you here is an alternative, Stanley’s Quick Square Instruction Manual [PDF].