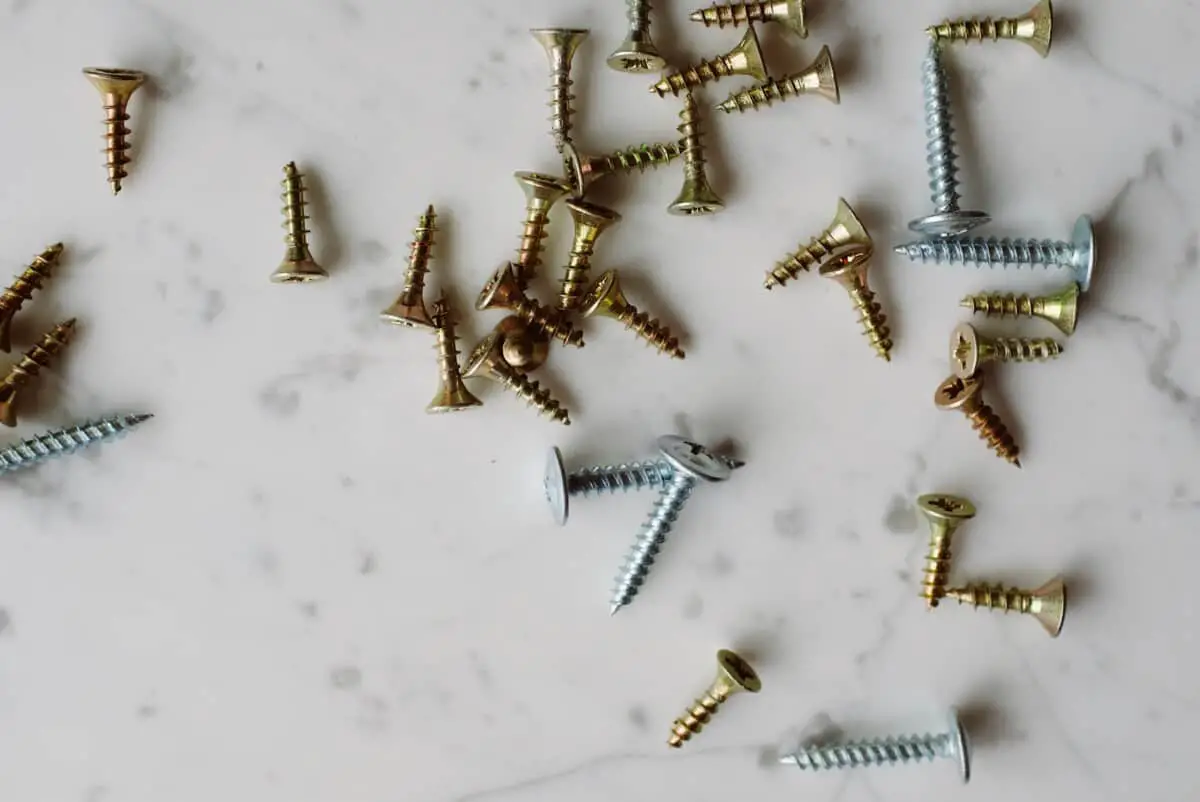
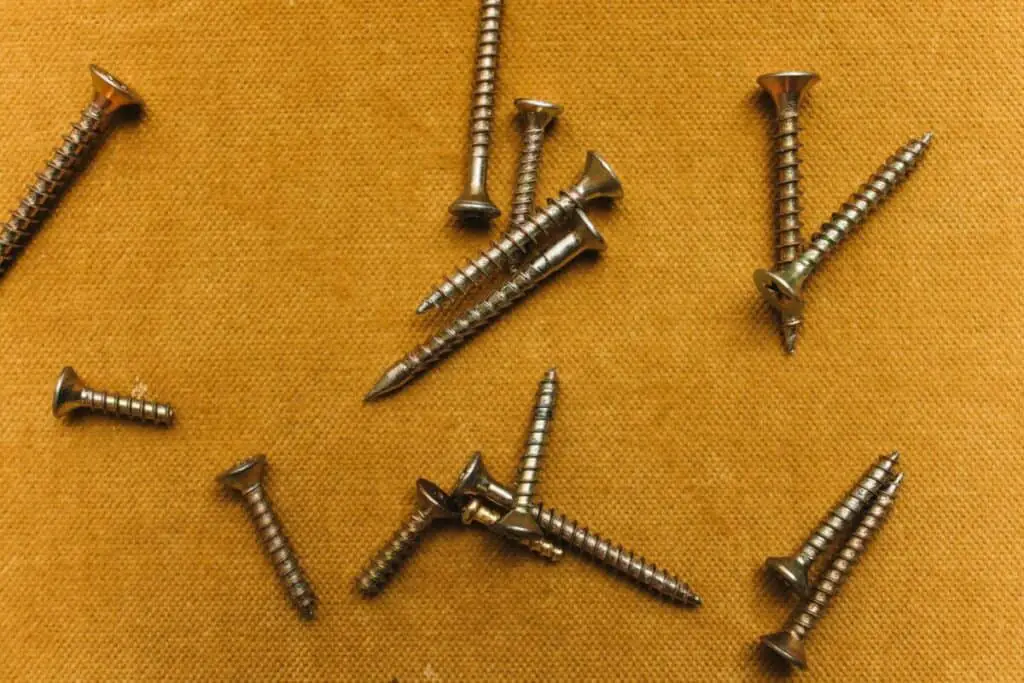
Joining two pieces of wood together can be tricky and there are many different techniques for joining them. Using screws to join them is a very popular technique and works very well for a solid solution that will last a long time. Looking at wood screws we have many questions and the biggest question is how far a should screw penetrate the wood. Let’s look at the wood screw and the more specifically the screw depth rule of thumb.
The most important thing to remember when wondering how far a wood screw needs to go into the material is the length of the wood screw. You will want to ensure the wood screw you are using will penetrate the bottom material at least half of the thickness of the bottom material. A good example of this is 3/4 of an inch depth for a typical 2×4 board.
The other consideration is the gauge or diameter of the wood screw you are using. You will want to ensure that you are using the appropriate size for the wood material you are using. For example, if the wood screw is too big it will most likely split the wood material and if you use too small of a wood screw it will not provide the hold you are looking for or not hold at all. Let’s get into some more specifics regarding wood screw depth and things you need to know.
How Does A Wood Screw Work?
Put simply wood screws hold two different pieces of wood material together. However, using wood screws for your wood projects is more than that. There are different techniques that really take advantage of wood screws and use them the way they were meant and also are used while enhancing the wood project by properly tightening with pressuring the two wood pieces.
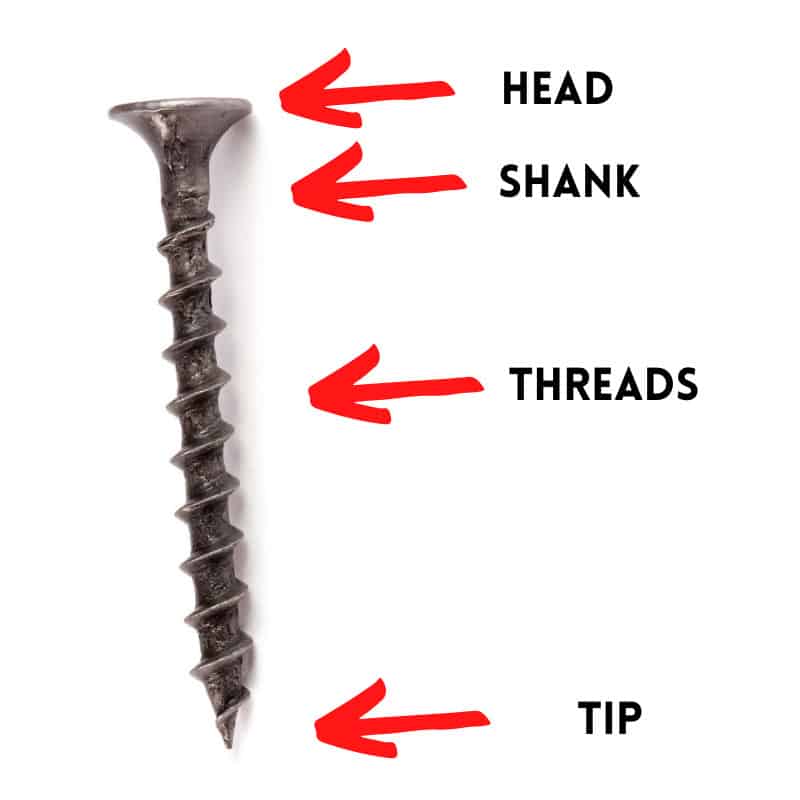
To know how to use a wood screw you need to know the parts of a wood screw. Each wood screw has the following parts. If you would like more detailed information on wood screws you can read our article – “What Screws Do I Use For Wood Projects” here.
- Head
- Shank
- Threads
- Tip
Now we know what a wood screw is and the anatomy of a wood screw lets look at how to properly use a wood screw. Most folks when they use a wood screw take two pieces of wood and go directly to putting the two pieces of wood together and getting they drill out and put the wood screw directly into the top piece and into the bottom. If you have done this you most likely have encountered the below.
- The top wood piece splitting
- The two pieces of wood don’t come together completely
- Stripped out the screw head
- Broke the screw completely
These are common problems that occur when using wood screws. There are ways to properly use wood screws that will prevent these issues. Let’s look at the ways to ensure success all of the time.
Create a Path For The Wood Screw – Pilot Hole
Creating a path for the wood screw ensures you will not split and have a better hold on the wood material below which you are connecting it. There are two techniques for this process, one is for softwoods and the other is for hardwoods.
Softwoods – If your material is softwood such as pine for example you will want to simply drill a pilot hole all the way through both of your wood pieces. You do this by drilling a pilot hole with a drill bit slightly smaller than the diameter of the wood screw. This ensures the path of the wood screw has no resistance while then accessing the wood material below and gripping and creating the tight and compressed bond.
Hardwoods – With hardwoods such as oak you may want to create a clearance hole first. You do this by drilling a hole slightly smaller than the wood screw all the way through the wood material, both pieces. Then drill again in the same hole with a slightly bigger drill bit than the wood screw only in the top piece of material so the wood screw will pass with no resistance. This is the preferred method to ensure no resistance on the wood screw and allow the wood screw to draw tight the bottom piece for the best connection.
Countersinking Wood Screws – (Countersink & Counterbored)
Countersink and Counterbored holes for your wood screws provide a pocket in the wood which allows for the wood screw to sit in. This provides a look that may be beneficial to your wood projects.
- Countersinking – Using a drill bit for countersinking will create a beveled hole on the top of the wood surface and allow the beveled wood screw to sit in the pocket. The end result will be the wood screw sitting in the wood material at the level of the wood.
- Counterboring – Using a drill bit for counterboring will create a deeper pocket for putting your wood screw. The deeper pocket will allow for you to use a dowel to fill the hole on the finished wood project, hence completely covering the wood screw.
Here is an excellent video that explains in detail:
How Far Should Screws Go Into Wood?
A good rule of thumb for wood screw depth or screw depth rule of thumb is to ensure your wood screw goes half the thickness into the piece of wood material on the bottom. The attached wood will then be secured and have a lasting bond. For example, if you are connecting two boards that are both 1 inch thick, you would want your wood screw to be 1 1/2 long and when you screw the wood screw into the bottom material it would be 1/2 inch into that piece.
This ensures the two pieces of wood have a great bond and will not separate. If you go over this rule of thumb and use a wood screw too long you will possibly encounter wood splitting on the bottom piece or the wood screw will encounter too much resistance which will either break the wood screw or you may strip the wood screw head.
Common Questions for Wood Screws

How Far Should Screw Go Into Stud?
When you look at using a wood screw to screw into a stud the most common situation is you are wanting to hang something on your wall. When hanging something on your wall you will want to consider what you are hanging on your wall for things like weight and size. For more information on these subjects you can read our article – “Hanging Hardware Wood Sign On Wall – Helpful Guide“.
To start, you will want to find your stud in the wall with a stud finder. This can be challenging at times especially in your older homes, however, a general rule of thumb is to look at 16 inches or 24 inches apart and on center. The stud finder will definitely help you here.
Once you find the stud in your wall consider the wood screw which you will use. For a typical wall in your home with drywall being 5/8 inches thick, you will want to use a 1 5/8 inch wood screw. This follows the other general rule of thumb which is putting the wood screw 1/2 into the bottom wood material because the stud is turned vertical to you in the wall and 2 inches thick.
Another consideration for using a 1 5/8 inch wood screw is if there are wires or plumbing in the wall you are screwing your wood screw into this will generally not penetrate as the routing for those items are generally in the center of the stud when put in. If you hit a metal plate you definitely will not want to drill a hole into the metal plate. The metal plate is intentionally placed to block nails and wood screws from penetrating wires and plumbing.
How Long Should Screws Be For 2×4?
Using the general rule of thumb for wood screws you will want to ensure the length of the wood screw is 1/2 the thickness of the wood material you are screwing into. This means if you have the 2×4’s flat the depth of the wood material would be 1 1/2 thick. Then to connect them you would want to use a 2-inch wood screw to connect them.
If you are connecting them with them on the side, the thickness of them would be 2 inches thick a piece. Again, using the general rule of thumb you would want to use a 3-inch wood screw. This would effectively connect the two 2×4’s together.
Lastly, ensure you utilize the pilot hole technique mentioned above so you don’t split the wood or strip out your wood screw while you are connecting them.
Can You Screw Directly Into Wood?
The quick answer to this question is yes you can. However, you need to also be aware of the concerns which may occur if you screw directly into wood. Without looking at these factors you may damage your wood project and need to start all over again.
Here are some considerations you need to think about when screwing directly into the wood without a pilot hole or using the correct size of wood screw.
- The top wood piece splitting
- The two pieces of wood don’t come together completely
- Stripped out the screw head
- Broke the screw completely
These are easily solved by using a pilot hole to properly use the wood screw and ensure the best and tightest fit of the wood screw. Utilizing a pilot hole properly will ensure you will always have a great connection between the two pieces of wood you are screwing together and will last a long time.