Welcome to our DIY guide on how to make a cutting board at home! If you enjoy woodworking projects and kitchen crafts, this step-by-step tutorial is perfect for you. Making your own cutting board allows you to create a personalized kitchen essential that is not only functional but also adds a touch of handmade charm to your culinary experience.
Whether you are a beginner or an experienced woodworker, our detailed instructions will guide you through the process, from choosing the right materials and tools to designing and finishing your cutting board. With our woodworking instructions, you’ll have all the knowledge you need to create a beautiful and practical cutting board that suits your style and needs.
Key Takeaways:
- Learn how to make a cutting board from scratch with our step-by-step tutorial.
- Create a personalized cutting board that reflects your style and adds a unique touch to your kitchen.
- Discover the different types of wood and designs to choose from for your cutting board.
- Understand the importance of proper cleaning, maintenance, and sealing for a long-lasting cutting board.
- Enjoy the benefits of DIY cutting boards, including cost-effectiveness and customization.
Is a Plastic Cutting Board Safer?
When it comes to choosing a cutting board for your kitchen, the debate between plastic and wood has been ongoing. Plastic cutting boards have gained popularity due to their durability and ease of cleaning. But is a plastic cutting board really safer than a wood cutting board? Let’s explore the pros and cons of each type and delve into cutting board safety and cleaning practices.
Plastic Cutting Boards:
Plastic cutting boards are known for their resilience and longevity. They are resistant to knife cuts, which helps prevent deep grooves where harmful bacteria can thrive. Additionally, plastic cutting boards are dishwasher-safe, making cleaning a breeze. These factors contribute to the perception that plastic cutting boards are more hygienic.
However, plastic cutting boards can develop deep knife marks over time, creating a haven for bacteria if not cleaned thoroughly. Although they can be sanitized in the dishwasher, they can warp or become damaged when exposed to high temperatures. This compromises their integrity and creates an uneven surface for food preparation.
Wood Cutting Boards:
Wood cutting boards possess natural antimicrobial properties that can inhibit the growth of bacteria. They have been used for centuries and are favored by professional chefs for their durability and aesthetics. Contrary to popular belief, wood cutting boards can be just as safe as plastic boards if properly cared for.
Wood cutting boards do require special attention when it comes to cleaning and maintenance. They should not be submerged in water or cleaned in the dishwasher, as excessive moisture can promote mold and warping. Instead, wood cutting boards should be hand washed with hot, soapy water and dried promptly. Additionally, regular oiling and occasional sanding can help keep the board in optimal condition.
Ultimately, the safety of your cutting board depends on how well you clean and maintain it, regardless of whether it’s plastic or wood. Both types have their advantages and drawbacks, and practicing good cutting board hygiene is crucial for food safety.
“The type of cutting board you choose is less important than how well you clean and maintain it.”
Regardless of the material, here are some essential tips to keep in mind when it comes to cutting board safety and cleanliness:
- Wash your cutting board with hot, soapy water after each use.
- Avoid using abrasive cleaners or scouring pads that can damage the surface.
- Sanitize your cutting board regularly, especially after cutting raw meat, poultry, or fish.
- Consider using separate cutting boards for different types of food to prevent cross-contamination.
- Allow your cutting board to dry completely before storing it to prevent moisture-related issues.
By implementing these practices, you can ensure the safety and cleanliness of your cutting board, regardless of whether it is made of plastic or wood.
Types of Wood to Use
When it comes to making a cutting board, selecting the right type of wood is crucial for both durability and functionality. Hardwood options such as maple, walnut, and cherry are highly recommended due to their strength and resistance to knife cuts. These hardwoods not only provide a sturdy surface for chopping, slicing, and dicing but also offer an attractive wood grain pattern that adds beauty to your kitchen.
When choosing the wood for your cutting board, ensure that it is free from warps and blemishes, as these can impact the board’s stability and lifespan. Additionally, the thickness of the board is also an important consideration. A cutting board with a thickness ranging from 1 1/4 to 2 inches offers optimal durability and strength.
By using hardwoods like maple, walnut, or cherry and taking into account the wood grain pattern and cutting board thickness, you can create a cutting board that not only serves its purpose but also adds a touch of natural elegance to your culinary endeavors.

Types of Cutting Boards
When it comes to cutting boards, there are different types available, each with its own unique characteristics. Understanding the differences between these types can help you choose the right cutting board for your needs. In this section, we will explore three common types of cutting boards: face grain, edge grain, and end grain.
Face Grain Cutting Board
A face grain cutting board is made by gluing together long, wide boards with their broadest side facing up. This type of cutting board is less expensive and easier to make compared to other types. However, face grain boards may be more prone to warping or cracking over time. They are still a popular choice for general cutting and chopping tasks, but may not be the best option for heavy-duty use.
Edge Grain Cutting Board
Edge grain cutting boards are constructed by gluing together boards with their narrow edges facing up. This creates a vertical grain pattern on the cutting surface. Edge grain boards are known for their durability and are ideal for slicing and dicing due to their flat and stable surface. They are less prone to warping compared to face grain boards and are a popular choice among chefs and cooking enthusiasts.
End Grain Cutting Board
The end grain cutting board is considered the pinnacle of cutting board design. It is made by arranging wood blocks so that the end grain faces up, forming a checkerboard pattern. This construction method results in a highly durable and forgiving cutting surface. The end grain of the wood fibers absorbs the impact of the knife, making it less prone to dulling the blade. End grain cutting boards are often favored by professional chefs and those seeking the highest quality cutting experience.
With the knowledge of these different types of cutting boards, you can make an informed decision based on your specific needs and preferences. Whether you prioritize affordability, durability, or cutting performance, there is a cutting board design that suits you. Explore the design options and choose a cutting board that not only enhances your kitchen activities but also adds a touch of style to your culinary space.
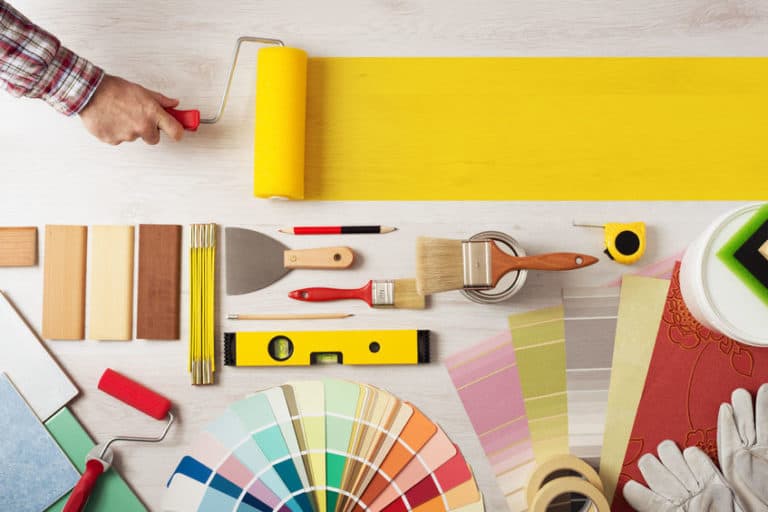
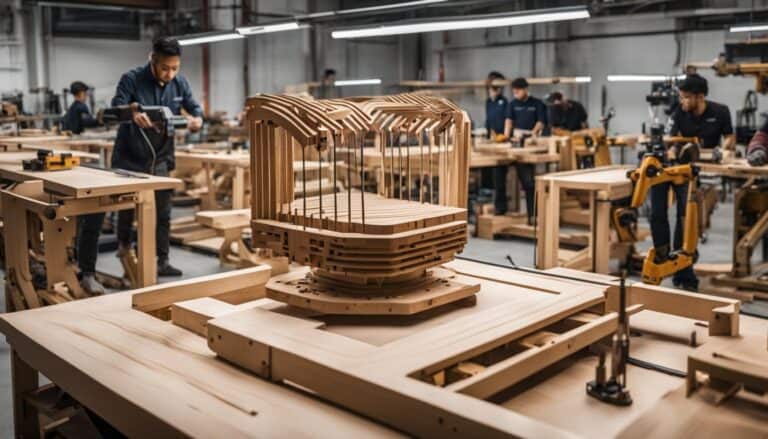
Gather Your Tools
Before you begin your cutting board project, it’s important to gather all the necessary tools. Having the right tools will ensure a smooth and successful woodworking experience. Here is a comprehensive list of cutting board tools, woodworking tools, power tools, hand tools, and safety equipment you’ll need:
Cutting Board Tools:
- Tape measure
- Hand saw
- Clamps
- Sandpaper or sanding block
- Wood glue
- Wood oil or food-grade mineral oil (for sealing)
- Wax (optional, for finishing)
Woodworking Tools:
- Power drill
- Router (for creating decorative edges or grooves)
- Chisel (for carving handles or decorative details)
- Block plane (for smoothing rough edges)
- Sander (electric or manual)
Power Tools:
- Electric drill
- Router
- Sander
Hand Tools:
- Hand saw
- Chisel
- Block plane
- Sanding block
Safety Equipment:
- Eye protection (safety goggles)
- Ear protection (earplugs or earmuffs)
- Dust mask (to protect against wood dust)
- Gloves (optional, for added grip)
Having these tools on hand will make the process of creating your cutting board easier and safer. Remember to always prioritize safety when working with power tools and wear the appropriate protective gear. Now that you have gathered your tools, you’re ready to move on to the next steps in creating your own personalized cutting board!
How to Make a Face-Grain Cutting Board
In this section, we will guide you through the process of making a face-grain cutting board. Whether you’re a woodworking enthusiast or a DIY beginner, you’ll find our step-by-step instructions and handy tips invaluable in creating a beautiful and functional cutting board.
Materials and Tools
Before you begin, gather the following materials and tools:
- Hardwood boards (e.g., maple, walnut, cherry)
- Tape measure
- Miter saw or table saw
- Router and roundover bit
- Sander or sandpaper
- Clamps
- Wood glue
- Food-safe finish
- Paintbrush or foam brush
Once you have everything ready, you can proceed with the following steps:
Step 1: Prepare the Wood
Start by cutting the hardwood boards to your desired dimensions for the cutting board. Take into consideration the overall size you want, as well as how many people you usually cook for. Typically, a cutting board measuring around 12×18 inches works well for most kitchens.
Step 2: Create Handles
To make your cutting board more functional and easy to carry, you can add handles on the sides. Measure and mark the desired handle locations on the board. Use a router with a roundover bit to shape the handles. Start by making shallow passes and gradually increase the depth until you achieve the desired shape.
Step 3: Sand the Board
Smooth out any rough edges and surfaces using a sander or sandpaper. Begin with a grit of around 120 and gradually move up to finer grits, such as 220 or 320, for a flawless finish. Pay extra attention to the handle areas, ensuring they are comfortable to grip.
Step 4: Assemble the Board
Apply wood glue to the edges of each board, and then align and clamp them together. Use clamps to secure the boards tightly and allow the glue to dry according to the manufacturer’s instructions. Wipe off any excess glue that may have squeezed out during clamping.
Step 5: Apply a Food-Safe Finish
Once the glue is completely dry, apply a food-safe finish to protect and enhance the beauty of the wood. Be sure to choose a finish that is specifically labeled safe for food contact. Apply the finish according to the manufacturer’s instructions, and allow it to dry thoroughly before using the cutting board.
And there you have it! Follow these steps, and you’ll have a beautiful face-grain cutting board that will be a stylish and practical addition to your kitchen.
Create a Cutting Board of Your Design
If you want your cutting board to stand out and reflect your personal style, this section is perfect for you. We’ll explore a range of cutting board design ideas that will inspire your creativity and help you create a personalized cutting board that’s both functional and beautiful.
Design Ideas for Personalized Cutting Boards
Creating a cutting board that is unique to you starts with the design. Here are some design ideas to get you started:
- Engrave your initials or family name onto the cutting board for a personal touch.
- Incorporate a meaningful symbol or pattern that represents your interests or heritage.
- Add decorative inlays using different types of wood for a striking visual effect.
- Create a mosaic-like design by arranging small wood pieces in different colors or patterns.
- Experiment with different shapes and sizes to create a cutting board that stands out.
Using Stencils for Cutting Board Designs
If you want to create intricate patterns on your cutting board, stencils can be a great tool. Here’s how to use stencils effectively:
- Choose a stencil design that complements your kitchen décor and personal style.
- Secure the stencil onto the surface of the cutting board using painter’s tape.
- Apply food-safe paint or wood dye over the stencil, making sure to fill in the design completely.
- Carefully remove the stencil and let the paint or dye dry completely.
- Seal the cutting board with a food-safe finish to protect the design and enhance its longevity.
By incorporating your own design ideas and using stencils, you can create a cutting board that is truly one-of-a-kind. Let your creativity shine through and make a cutting board that adds a personal touch to your kitchen.

Now that you know how to create a cutting board that reflects your personal style, it’s time to move on to the next section where we’ll guide you through the process of cutting a drip groove into your board.
Cut a Drip Groove
When it comes to a cutting board, functionality is key. That’s why adding a drip groove to your cutting board can be a game-changer. Not only does it help collect liquids from juicy fruits, vegetables, and meats, but it also prevents messy spills on your pristine countertop. In this section, we will walk you through the process of cutting a drip groove into your cutting board using a router. Additionally, we will provide valuable tips on how to sand the groove to achieve a smooth finish.
Mark and Cut the Groove
The first step in cutting a drip groove is marking the desired location on your cutting board. Use a pencil to draw a straight line along the area where you want the groove to be. Ensure that the line is parallel to the edge of the board and positioned at a suitable distance to contain the liquids.
Once you have marked the groove, it’s time to cut it using a router. This powerful tool will allow you to create a precise and clean groove. Choose a router bit specifically designed for cutting grooves, such as a straight bit or a spiral bit.
To cut the groove, follow these steps:
- Secure your cutting board firmly in place using clamps or a workbench.
- Place the router on the board, aligning the bit with the marked groove line.
- Turn on the router and slowly guide it along the marked line to cut the groove. Take care to maintain a steady movement and consistent depth.
- Repeat the process if needed to achieve the desired width and depth of the groove.
Sanding the Groove
After cutting the groove, it’s essential to sand it for a smooth and polished finish. The sanding process will help remove any rough edges and ensure that the groove is comfortable to use.
To sand the groove, you can use sandpaper or a sanding sponge. Wrap the sandpaper or sponge around a small, narrow object such as a dowel or a pencil to gain better control and access to the narrow groove.
Here are some tips for sanding the groove:
- Select sandpaper with a grit suitable for the desired smoothness. Start with a coarser grit and progressively move to finer grits for a polished result.
- Gently sand the inside walls and bottom of the groove, being careful not to apply too much pressure that might cause damage.
- Move the sandpaper or sponge back and forth along the groove to ensure even sanding.
- Periodically check the smoothness of the groove by running your finger along it. If necessary, continue sanding until it feels uniformly smooth.
With your drip groove cut and sanded to perfection, your cutting board is now ready for any culinary challenge. The groove will not only enhance its functionality but also add a touch of professional craftsmanship. Let’s move on to the next section where we will explore the final steps in creating a remarkable cutting board.
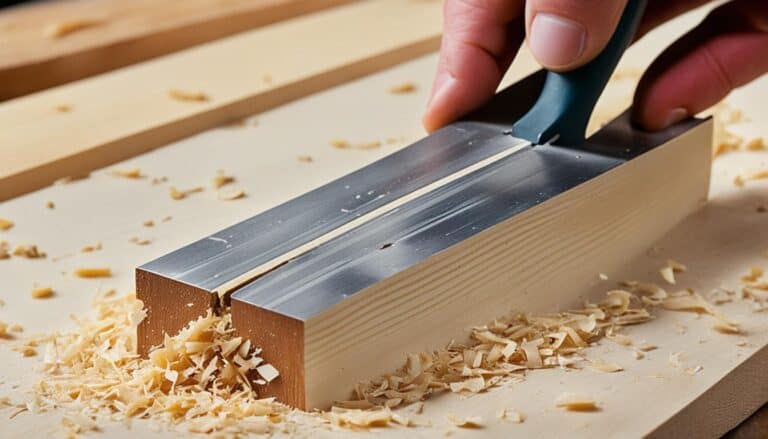
Sand It Smooth
After creating the basic shape of your cutting board, it is time to give it a smooth finish. Sanding is an essential step in the process, as it helps to remove any rough edges and achieve a professional look. Here are some tips and techniques to ensure your cutting board is perfectly smooth:
1. Choose the Right Sandpaper or Sanding Sponge
When sanding your cutting board, it’s important to use the right type of sandpaper or sanding sponge. For initial sanding and removing rough surfaces, start with medium-grit sandpaper (around 100-150 grit). Then, move on to finer grits (240-320 grit) to achieve a smoother finish. Alternatively, you can use a sanding sponge, which is a versatile and convenient tool.
2. Sand in the Direction of the Grain
To avoid damaging the wood fibers and ensure an even finish, always sand your cutting board in the direction of the grain. This helps to prevent tear-out and maintains the natural beauty of the wood.
3. Round the Sharp Corners
In addition to sanding the flat surfaces of your cutting board, consider rounding the sharp corners for both aesthetic appeal and safety. Use sandpaper or a sanding block to gently round the edges, creating a smoother and more comfortable feel.
4. Remove Dust and Debris
After sanding, it’s essential to remove any dust or debris that may have accumulated on the surface of your cutting board. Wipe it down with a clean, dry cloth or use a vacuum with a brush attachment to ensure a clean working surface.

Once you’ve completed the sanding process, your cutting board should have a smooth and polished finish. This not only enhances its appearance but also makes it easier to clean and maintain over time. The next step is to seal the board to protect it from moisture and prolong its lifespan. We will discuss this in detail in the next section.
Seal the Cutting Board
To protect your cutting board and enhance its lifespan, it is important to seal the wood. Sealing the board creates a barrier that helps prevent moisture absorption and minimizes the risk of warping or splitting. There are several options to consider when sealing your cutting board, including using wood oil or food-grade mineral oil. Here’s what you need to know:
Wood Oil
Wood oil is a popular choice for sealing cutting boards due to its natural properties and ability to penetrate the wood fibers. It helps nourish and protect the wood, keeping it in optimal condition. When choosing a wood oil, opt for a food-safe and non-toxic formula specifically designed for cutting boards. Apply the wood oil using a clean cloth or brush, following the manufacturer’s instructions. Allow the oil to fully penetrate the wood and wipe off any excess. Repeat the process periodically to maintain a well-sealed cutting board.
Food-Grade Mineral Oil
Food-grade mineral oil is another effective option for sealing cutting boards. It is a safe and odorless product that helps moisturize the wood and prevent it from drying out. To seal your cutting board with mineral oil, start by cleaning and thoroughly drying the board. Apply a generous amount of mineral oil to the surface, using a clean cloth or brush. Allow the oil to soak into the wood for a few hours or overnight. Wipe off any excess oil and repeat the process as needed to maintain the seal.
Application Tips
When applying a sealant to your cutting board, keep the following tips in mind:
- Ensure the cutting board is clean and dry before applying the sealant.
- Use a clean cloth or brush to evenly distribute the sealant, ensuring all areas are covered.
- Let the sealant soak into the wood for the recommended amount of time, allowing it to fully penetrate.
- Wipe off any excess sealant to prevent a sticky or oily residue.
- Follow the manufacturer’s instructions for reapplication intervals to maintain the seal over time.
By properly sealing your cutting board with wood oil or food-grade mineral oil, you can prolong its lifespan and ensure it remains in top condition. Regular resealing and proper care will keep your cutting board looking beautiful and functional for years to come.
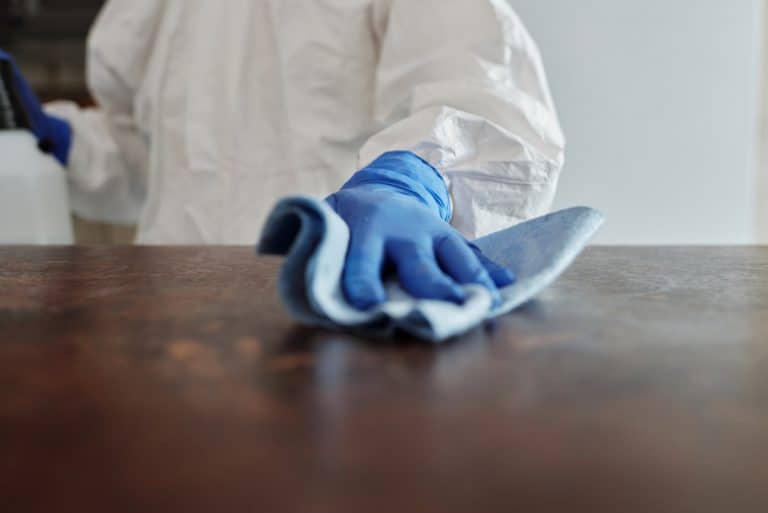
How to Clean a Wood Cutting Board
Properly cleaning a wood cutting board is essential for maintaining its hygiene and longevity. By following these tips, you can ensure that your cutting board remains clean and safe to use.
Hand Washing the Cutting Board
To clean your wood cutting board, start by hand washing it with soap and hot water. Avoid placing it in the dishwasher, as this can lead to warping or cracking of the wood. Instead, follow these steps:
- Rinse the cutting board with hot water to remove any loose food particles.
- Apply a small amount of mild dish soap to a sponge or dishcloth.
- Gently scrub the surface of the cutting board, paying extra attention to any areas with stains or strong odors.
- Rinse the board thoroughly with hot water to remove all soap residue.
- Dry the cutting board with a clean towel, ensuring that it is completely dry before storing it.
Removing Stains and Odors
If you notice stains or lingering odors on your wood cutting board, you can use natural ingredients to effectively remove them. Try these methods:
Lemon and Salt: Cut a lemon in half and sprinkle coarse salt onto the surface of the cutting board. Use the lemon halves to scrub the stained areas, squeezing out the juice as you go. Let it sit for a few minutes, then rinse with hot water and dry the cutting board.
Baking Soda and Hydrogen Peroxide: Create a paste by mixing baking soda and hydrogen peroxide. Apply the paste to the stained areas and gently scrub with a sponge or brush. Let it sit for a few minutes, then rinse with hot water and dry the cutting board.
Vinegar: Fill a spray bottle with equal parts vinegar and water. Spritz the surface of the cutting board, focusing on any stained areas. Let it sit for a few minutes, then wipe clean with a damp cloth. Rinse with hot water and dry the cutting board.
Remember to always dry your wood cutting board thoroughly after cleaning to prevent moisture from causing damage. With regular cleaning and proper maintenance, your cutting board will stay in excellent condition for years to come.
Care and Maintenance of a Wood Cutting Board
Proper care and maintenance are essential to keep your wood cutting board in optimal condition for years to come. By regularly maintaining and protecting your cutting board, you can extend its lifespan and ensure a safe and hygienic surface for food preparation.
Oiling Your Cutting Board
One crucial step in caring for a wood cutting board is oiling it regularly. Oiling prevents the wood from drying out, warping, and absorbing moisture. It also imparts a beautiful and rich finish to the board.
Tip: Use food-safe oil specifically formulated for cutting boards, such as mineral oil or cutting board oil. Avoid using vegetable oils or other types of oils, as they can turn rancid and affect the taste of your food.
To oil your cutting board, follow these steps:
- Ensure your cutting board is clean and dry.
- Apply a generous amount of oil to the surface of the board.
- Use a clean cloth or paper towel to spread the oil evenly across the entire board, including the sides and edges.
- Allow the oil to penetrate the wood for at least 4-6 hours or overnight.
- After the oil has been absorbed, remove any excess with a clean cloth.
Repeat this process every 2-4 weeks or whenever the wood starts to look dry. Regular oiling will help maintain the moisture balance of the cutting board and keep it looking beautiful.
Applying a Protective Wax Coating
In addition to oiling, applying a protective wax coating to your cutting board adds an extra layer of defense against moisture, stains, and odors. The wax creates a barrier that helps seal the wood and prolong its lifespan.
Tip: Look for a food-grade wax product that is specifically designed for cutting boards. Beeswax and mineral oil blends are popular choices for protecting wood cutting boards.
To apply a wax coating to your cutting board, follow these steps:
- Ensure your cutting board is clean, dry, and free from any oil residue.
- Apply a small amount of wax to the surface of the board.
- Using a clean cloth or applicator, spread the wax evenly across the entire board, including the sides and edges.
- Allow the wax to dry and cure according to the manufacturer’s instructions.
- Buff the board using a clean cloth to achieve a smooth and polished finish.
Repeat this process every 3-6 months or whenever the wax coating begins to wear off. Regular waxing will help protect the wood and enhance the overall appearance of your cutting board.
Remember to always follow the manufacturer’s instructions when using any oil or wax products on your cutting board. Each product may have specific recommendations and application techniques.
Additional Care Tips
Here are some additional tips to keep your wood cutting board in optimal condition:
- Never soak your cutting board in water or put it in the dishwasher. Excessive moisture can cause the wood to warp and crack.
- Always hand wash your cutting board using mild dish soap and warm water. Gently scrub the surface with a sponge or brush, then rinse and dry thoroughly.
- Avoid exposing your cutting board to extreme temperatures, direct sunlight, or prolonged periods of moisture. Store it in a cool, dry place.
- Regularly inspect your cutting board for any signs of wear or damage. If you notice deep cuts or cracks, sand them down and reapply oil or wax to the affected areas.
By following these care and maintenance tips, you can enjoy the beauty and functionality of your wood cutting board for many years to come.
Benefits of DIY Cutting Boards
Making your own cutting board has several benefits. It is a cost-effective way to acquire a high-quality cutting board, and you can personalize it to suit your style and kitchen decor. Here are some advantages of DIY cutting boards:
- Cost-effective: Homemade cutting boards are a cost-effective alternative to store-bought options. By making your own cutting board, you can save money on purchasing a high-quality board that meets your needs.
- High-quality: When you create a cutting board from scratch, you have control over the materials used. This means you can choose the best wood for durability and knife resistance, resulting in a high-quality cutting surface.
- Personalized kitchenware: With a DIY cutting board, you have the opportunity to add a personal touch to your kitchen. Whether it’s engraving your initials, creating a custom design, or incorporating specific colors, making your own cutting board allows you to showcase your personal style.
- Customized size and shape: Store-bought cutting boards may not always meet your specific requirements in terms of size and shape. By making your own, you can customize the dimensions to fit perfectly in your kitchen workspace or match your desired aesthetic.
- Unique and one-of-a-kind: DIY cutting boards are unique and one-of-a-kind. No two cutting boards will be exactly the same, making your creation a special addition to your kitchen.
By making your own cutting board, you can enjoy the benefits of a cost-effective, personalized kitchenware item that perfectly suits your needs and style.
Tips for Success
Creating a cutting board requires attention to detail and a few key techniques to ensure a successful outcome. Whether you’re a seasoned woodworker or a beginner, these tips will help you navigate the process and achieve the best results.
1. Measure and Mark Accurately
Before cutting your wood, take the time to measure and mark your dimensions accurately. Use a tape measure or a combination square for precise measurements. Double-check your markings before making any cuts to avoid errors that could affect the final dimensions of your cutting board.
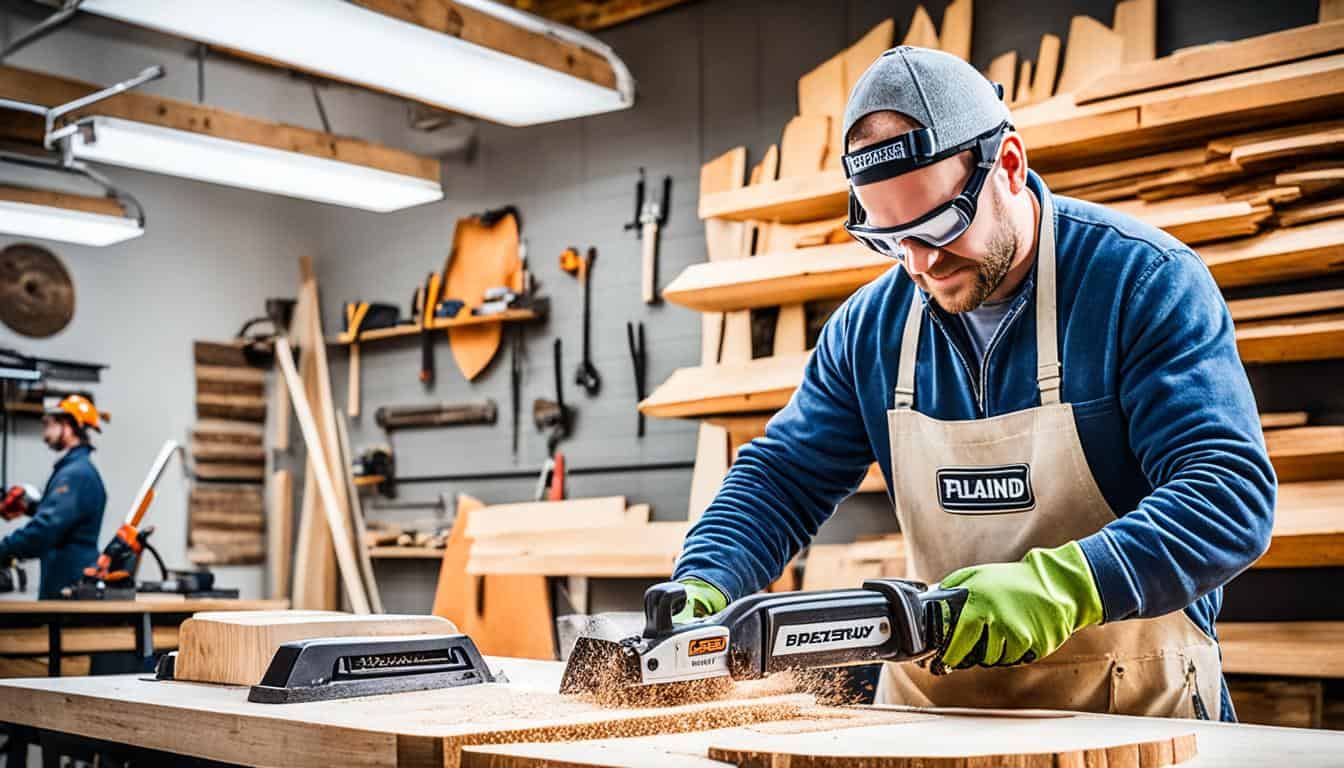
2. Use Proper Safety Equipment
Woodworking can involve sharp tools and potential hazards. Protect yourself by wearing appropriate safety equipment, including safety glasses, ear protection, and a dust mask. Follow all safety guidelines provided by the tool manufacturers and take necessary precautions to prevent accidents.
3. Choose the Right Materials
Choosing the right wood for your cutting board is crucial for both durability and aesthetics. Select hardwoods like maple, walnut, or cherry that are known for their strength and resistance to knife marks. Ensure the wood is free from knots or defects that could weaken the board over time.
4. Pay Attention to Grain Direction
When assembling your cutting board, pay attention to the direction of the wood grain. As a general rule, align the grain of each piece in the same direction to prevent warping or cracking. This ensures the board remains stable and prolongs its lifespan.
5. Take Your Time with Sanding
Sanding is a critical step in achieving a smooth and professional finish. Start with a coarse grit sandpaper and gradually work your way up to finer grits for a polished result. Take your time during this process to remove any imperfections and create a silky-smooth surface for your cutting board.
6. Apply a Food-Safe Finish
To protect your cutting board from moisture and stains, apply a food-safe finish. Use an oil specifically formulated for cutting boards, such as mineral oil or a mixture of mineral oil and beeswax. Apply multiple coats, allowing each coat to fully penetrate before applying the next.
7. Maintain Your Cutting Board
Regular maintenance is key to extending the life of your cutting board. Periodically reapply the food-safe finish to keep the wood moisturized and prevent drying or cracking. Additionally, clean your cutting board after each use with mild soap and warm water, and dry it completely to avoid bacterial growth.
8. Seek Woodworking Tips
If you’re new to woodworking, or simply looking to expand your skills, there’s always more to learn. Seek out woodworking tips and techniques from experienced woodworkers through online forums, books, or local woodworking clubs. Their knowledge and insights can help you improve your craftsmanship and achieve better results in your cutting board projects.
By following these cutting board tips, woodworking tips, and safety tips, you’ll be well-equipped to create a beautiful and functional cutting board that will be a centerpiece in your kitchen for years to come.
Conclusion
In conclusion, making your own cutting board is a rewarding and enjoyable DIY project. With the right materials, tools, and instructions, you can create a beautiful and functional cutting board that will last for years. Whether you opt for a face-grain, edge-grain, or end-grain design, the choice is yours.
By following the step-by-step guide in this article, you now have the knowledge and inspiration to get started on your own cutting board creation. Remember to choose high-quality hardwoods such as maple, walnut, or cherry, and take the time to properly sand and seal your board for maximum durability.
With a personalized touch, your cutting board can become a statement piece in your kitchen. Whether you engrave your family name, create a unique pattern, or incorporate stencils, the possibilities are endless. Enjoy the satisfaction of using a cutting board that you crafted with your own hands and showcase your woodworking skills.
So, why wait? Start your woodworking adventure today and bring your dream cutting board to life. Happy woodworking!
FAQ
Is a Plastic Cutting Board Safer?
Plastic cutting boards are a popular choice in kitchens due to their durability and ease of cleaning. However, wood cutting boards can be just as safe when properly cleaned and maintained.
What Types of Wood Should I Use for a Cutting Board?
It is important to choose hardwoods like maple, walnut, and cherry for their durability and resistance to knife cuts. The ideal thickness for a cutting board is 1 1/4 to 2 inches.
What Types of Cutting Boards Are There?
There are three main types of cutting boards: face grain, edge grain, and end grain. Each has its own characteristics and benefits for different uses.
What Tools Do I Need to Make a Cutting Board?
You will need various tools such as a tape measure, hand saw, power drill, router, clamps, sandpaper, eye and ear protection, and more.
How Do I Make a Face-Grain Cutting Board?
Creating a face-grain cutting board involves marking and cutting the wood, creating handles, and sanding the board to a smooth finish.
How Can I Create a Cutting Board with a Unique Design?
You can incorporate your personal style into the cutting board by using design ideas and stencils to create intricate patterns.
How Do I Cut a Drip Groove on a Cutting Board?
The process involves marking and cutting the groove using a router, followed by sanding the groove to a smooth finish.
How Do I Sand the Cutting Board to a Smooth Finish?
You can use sandpaper or a sanding sponge to achieve the desired smoothness. Also, rounding the sharp corners adds a professional look.
How Do I Seal a Wood Cutting Board?
You can seal the cutting board using wood oil or food-grade mineral oil. Applying the sealant properly ensures maximum effectiveness.
How Do I Clean a Wood Cutting Board?
Hand wash the cutting board using soap and hot water. You can also remove stains and odors using natural ingredients like lemon and salt.
What Do I Need to Do to Maintain a Wood Cutting Board?
Regularly oil the board to prevent drying out and apply a protective wax coating. Following a maintenance routine will keep your cutting board in optimal condition.
What Are the Benefits of DIY Cutting Boards?
DIY cutting boards are cost-effective and can be personalized to suit your style and kitchen decor.
What Tips Can You Provide for Making a Cutting Board?
Measure and mark accurately, use proper safety equipment, choose the right materials, and follow general woodworking tips for the best results.